Kids Craft Camp 2020 - Week 2: Ice Dye
I know, I know. Tie Dye is everywhere right now! But my kids and I had to try our hands at this fun trend! To change it up a little, we tried the ice dye technique that uses powdered dye instead of liquid dye, and the results were awesome! I had a bunch of powdered dye left over from dying bottle brush trees last Christmas, and I thought I would try to use what I had!
How is Ice Dying different from Regular Tie Dye?
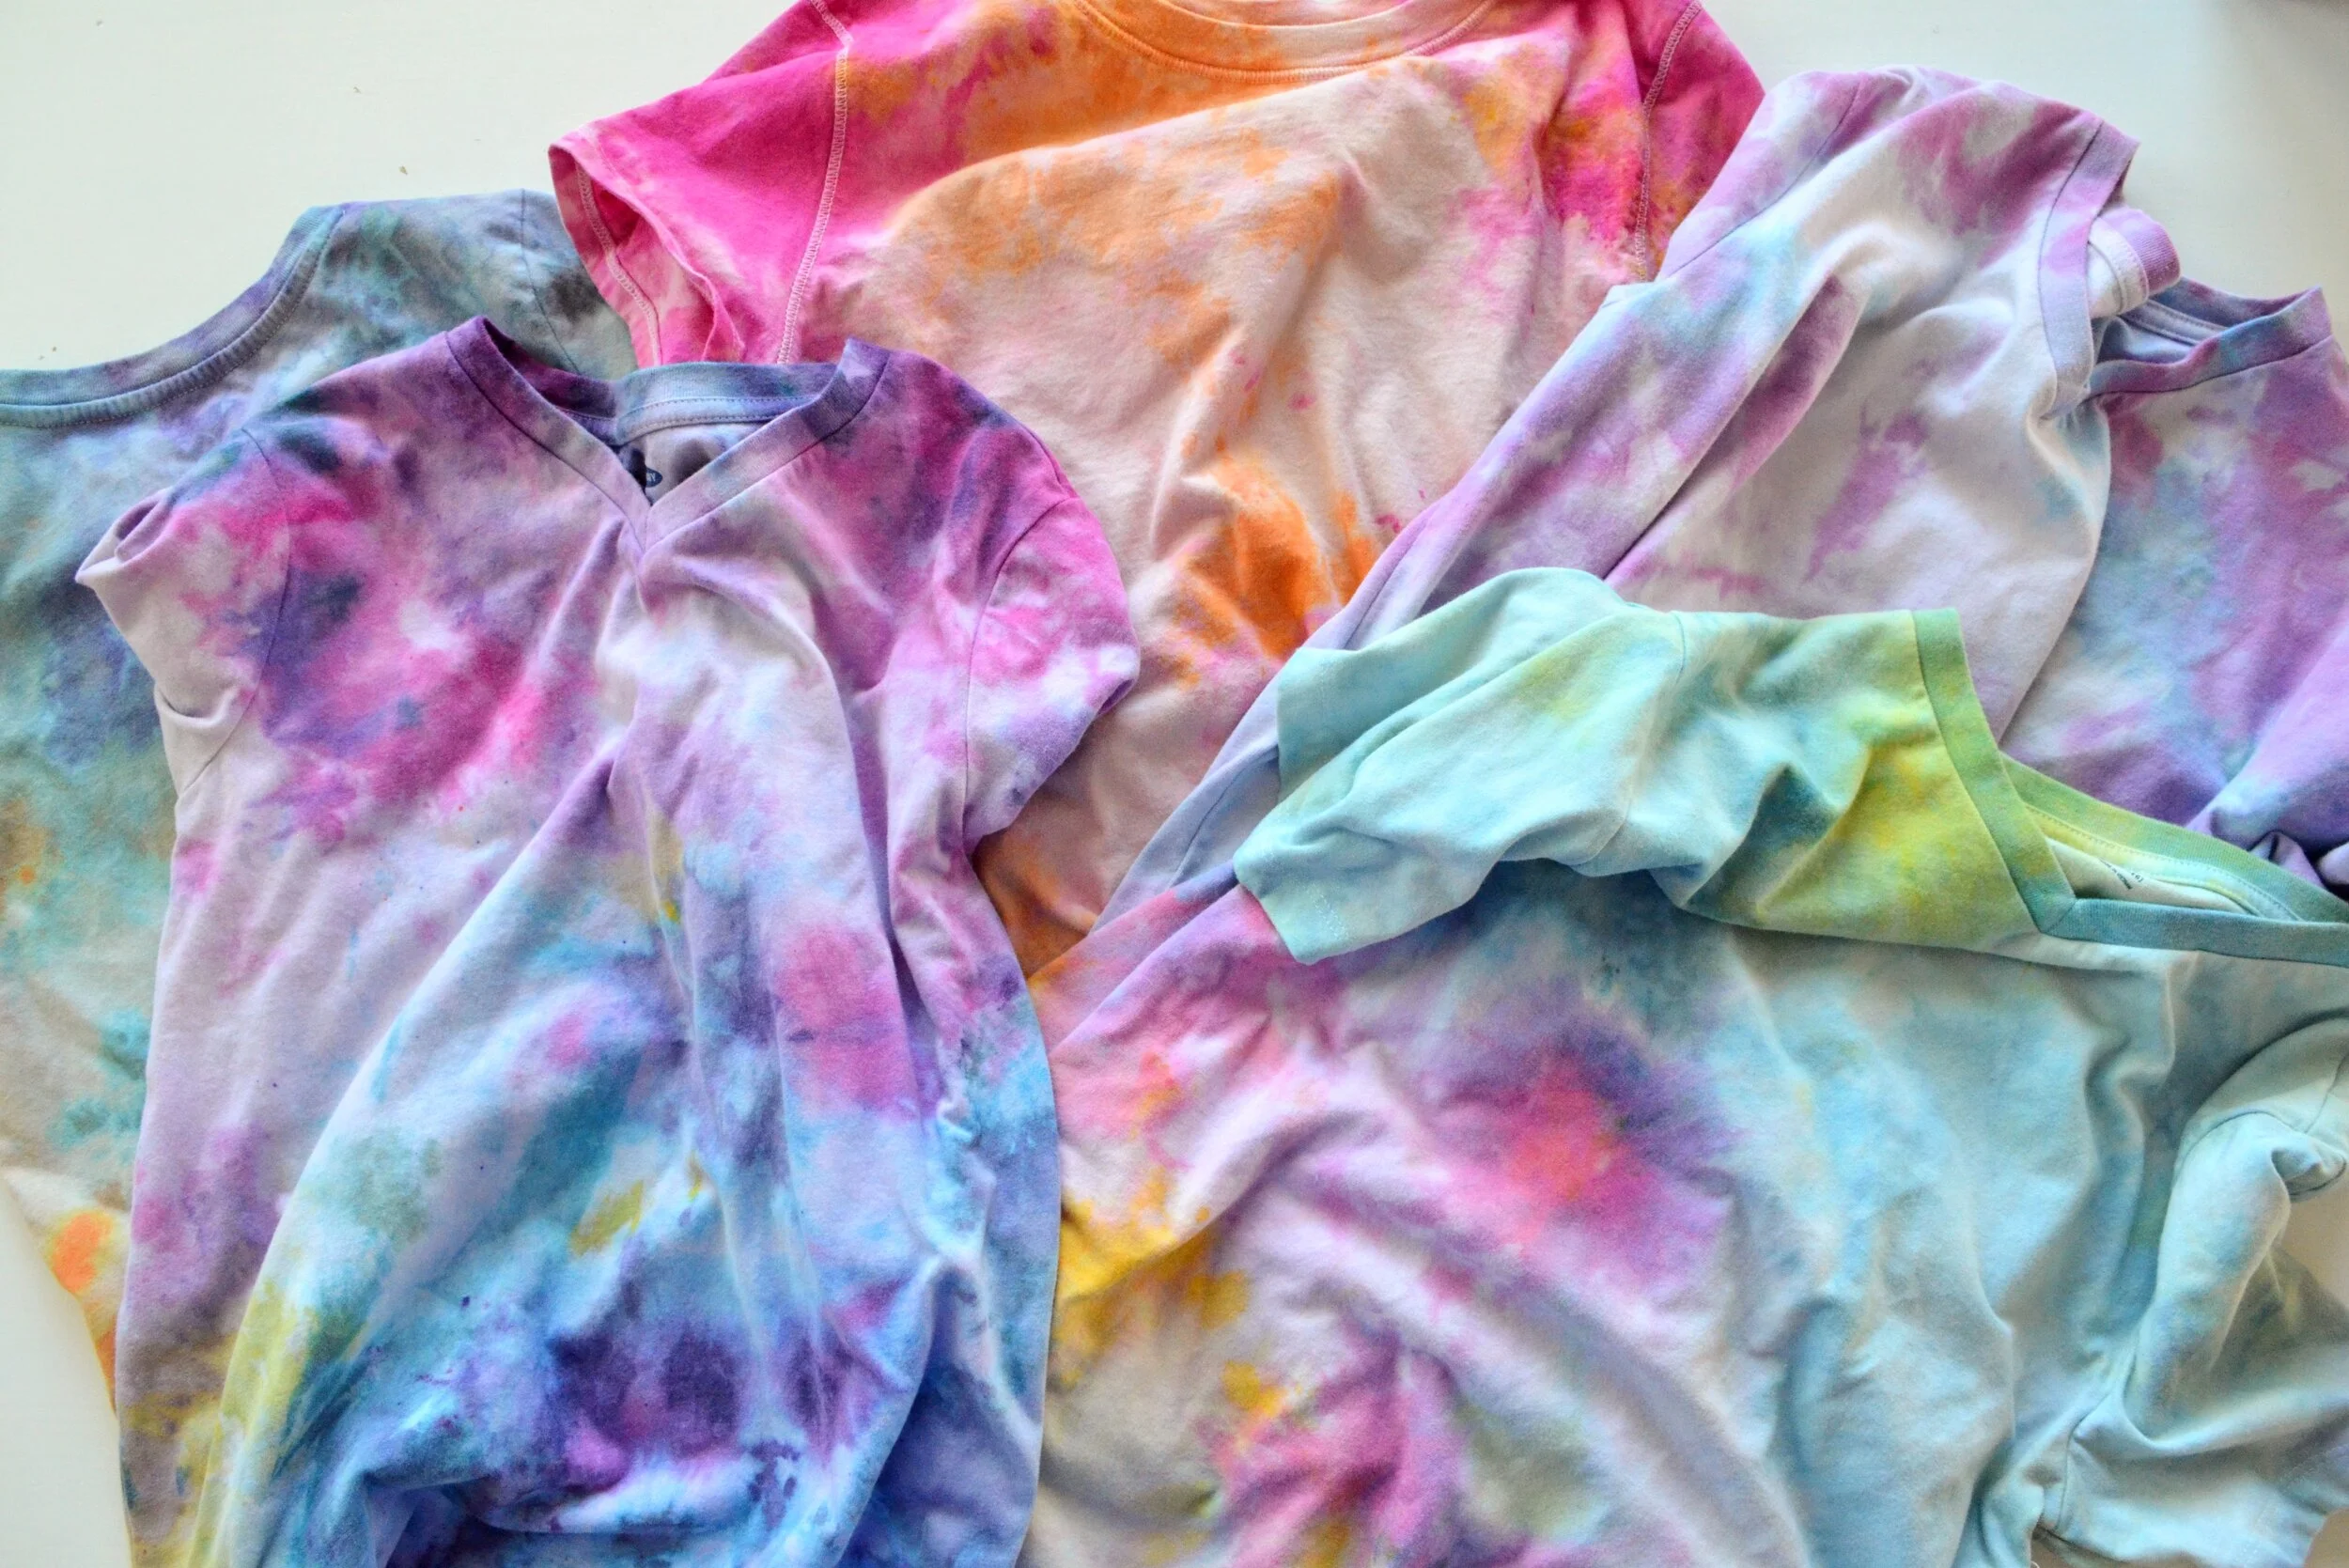
Like I said, the ice technique uses powdered dye as opposed to dye in squirt bottles. You also don’t tie your shirt beforehand with rubber bands or string. The color effect at the end is a little more watercolor-ish with this technique, and you don’t have as much control over the design, but the finished product is so fun!
Materials
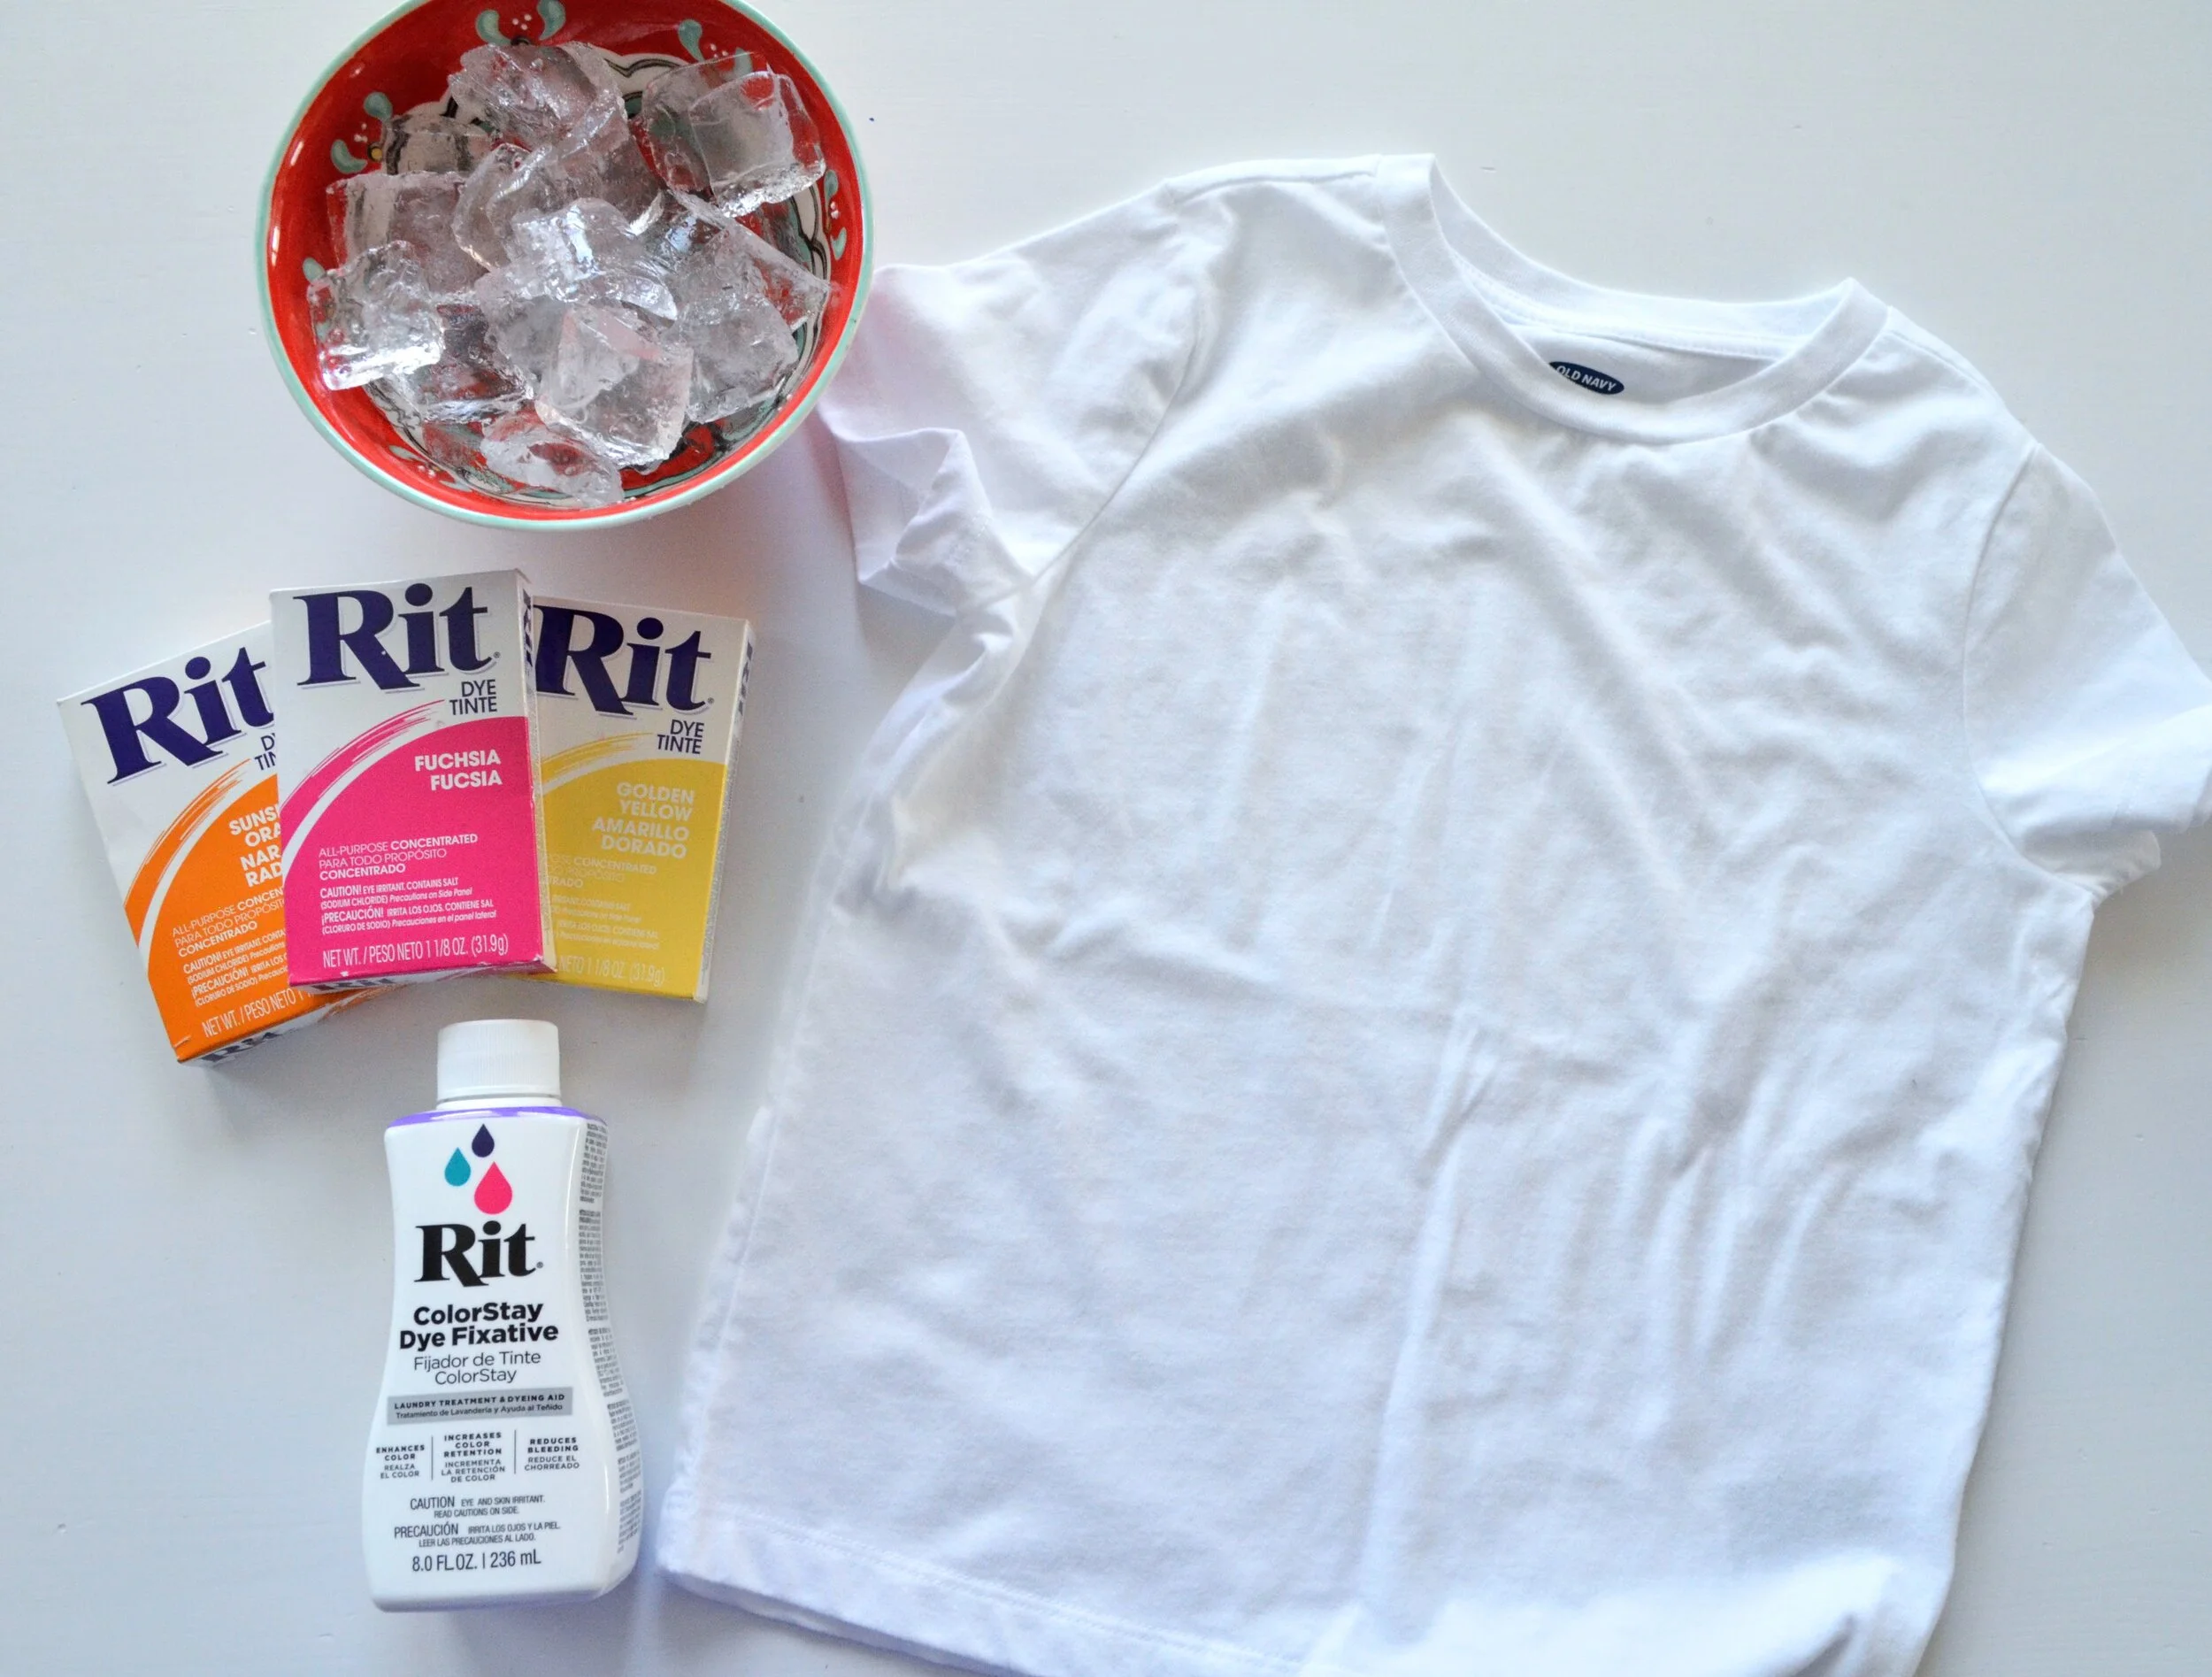
White t-shirts. I actually bought a few of ours from Old Navy online, and a few from Target online. Craft stores also sell plain white shirts that would be great for this project. You could even use an old one that you have on hand to give it new life!
Powdered Dye. I used Rit dye and Tulip powdered dye. Some of my favorite colors are Sunshine Orange, Fuchsia, Lemon, Petal Pink, and teal. Both Rit and Tulip dye can also be found at craft stores.
Rit ColorStay Dye Fixative. This is used to help fix your dye to your fabric. Can you do this project without the Fixative? Yes. I just liked the idea of keeping my colors brighter for longer.
Ice
Cookie Sheet with Wire Rack. You could put the wire rack over a plastic bin or something of that nature as well.
Disposable plastic gloves.
How To
Wash and dry your t shirts as normal.
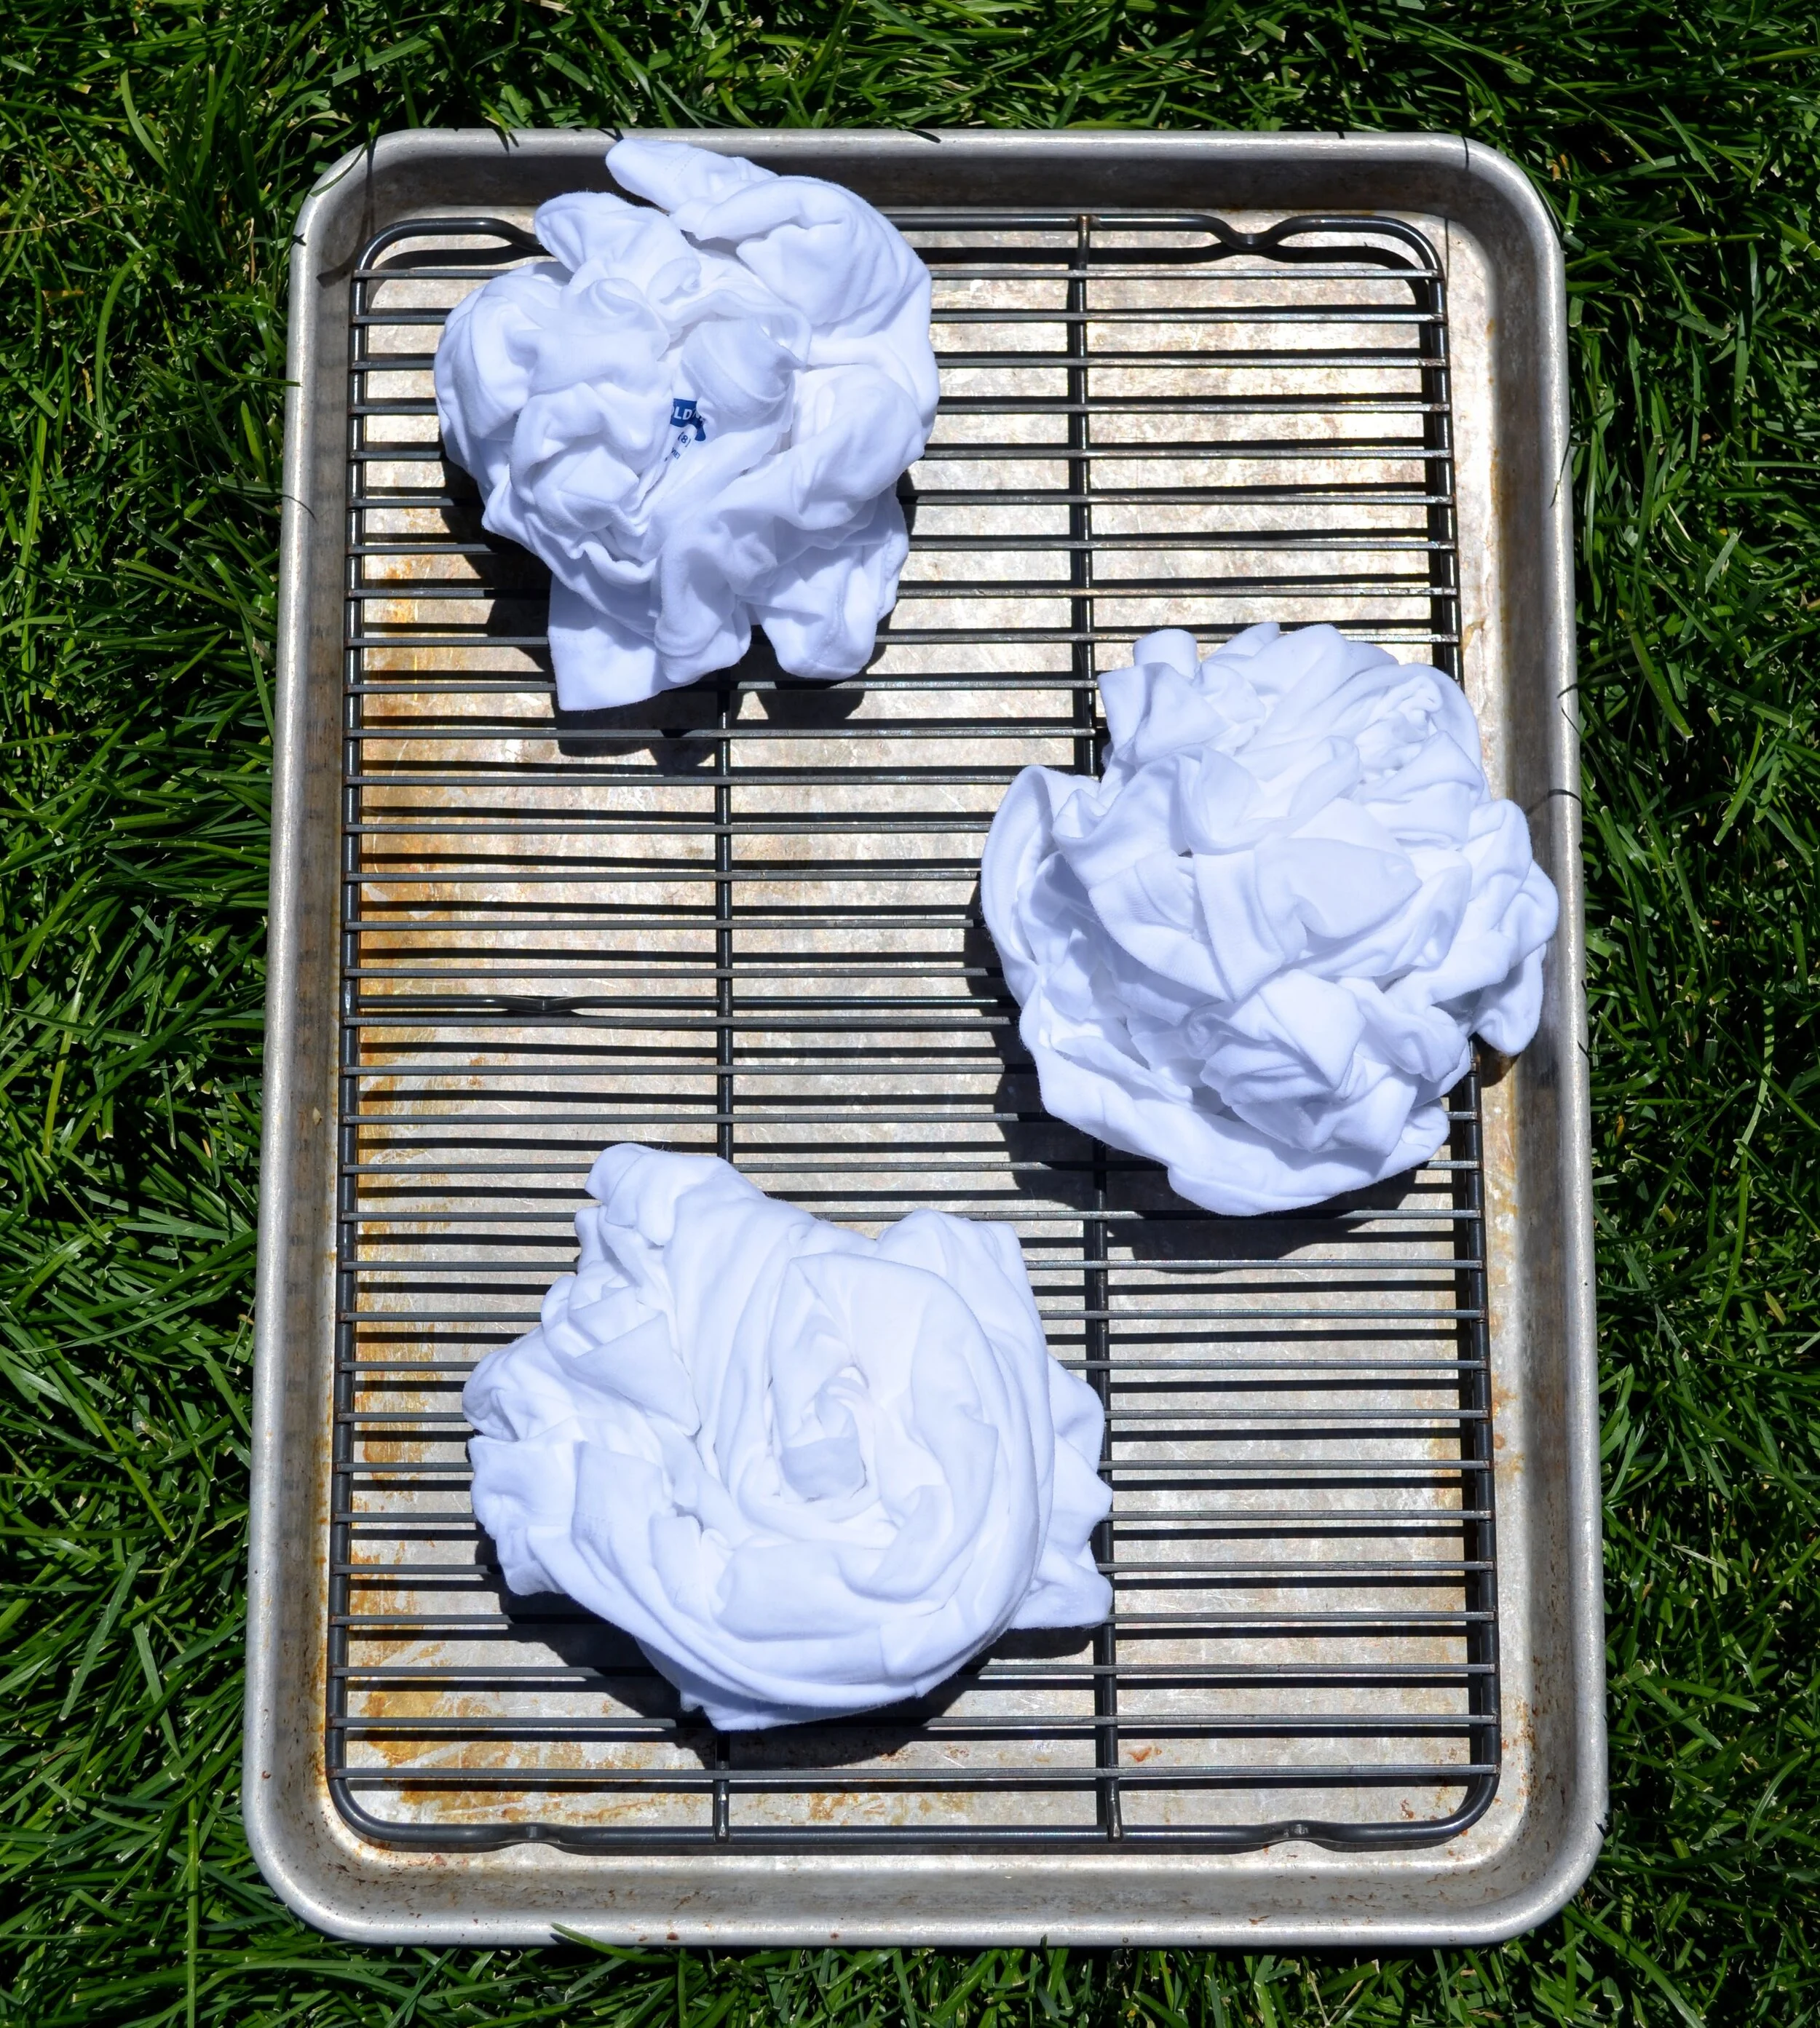
Get your t shirt wet then bunch it into a ball. You can crumple, bunch, twist, whatever! One of my daughters bunched hers by using a spiral motion, which turned out really fun. Set your bunched shirt on a wire rack on top of a cookie sheet or a plastic bin. Make sure your cookie sheet or bin is large enough to catch all of the melted ice that will drip through. We did this project outside on the grass so that any mess would end up in the grass. You might want to do this in a bathtub or sink if you cannot go outside.
Cover your shirt completely with ice.
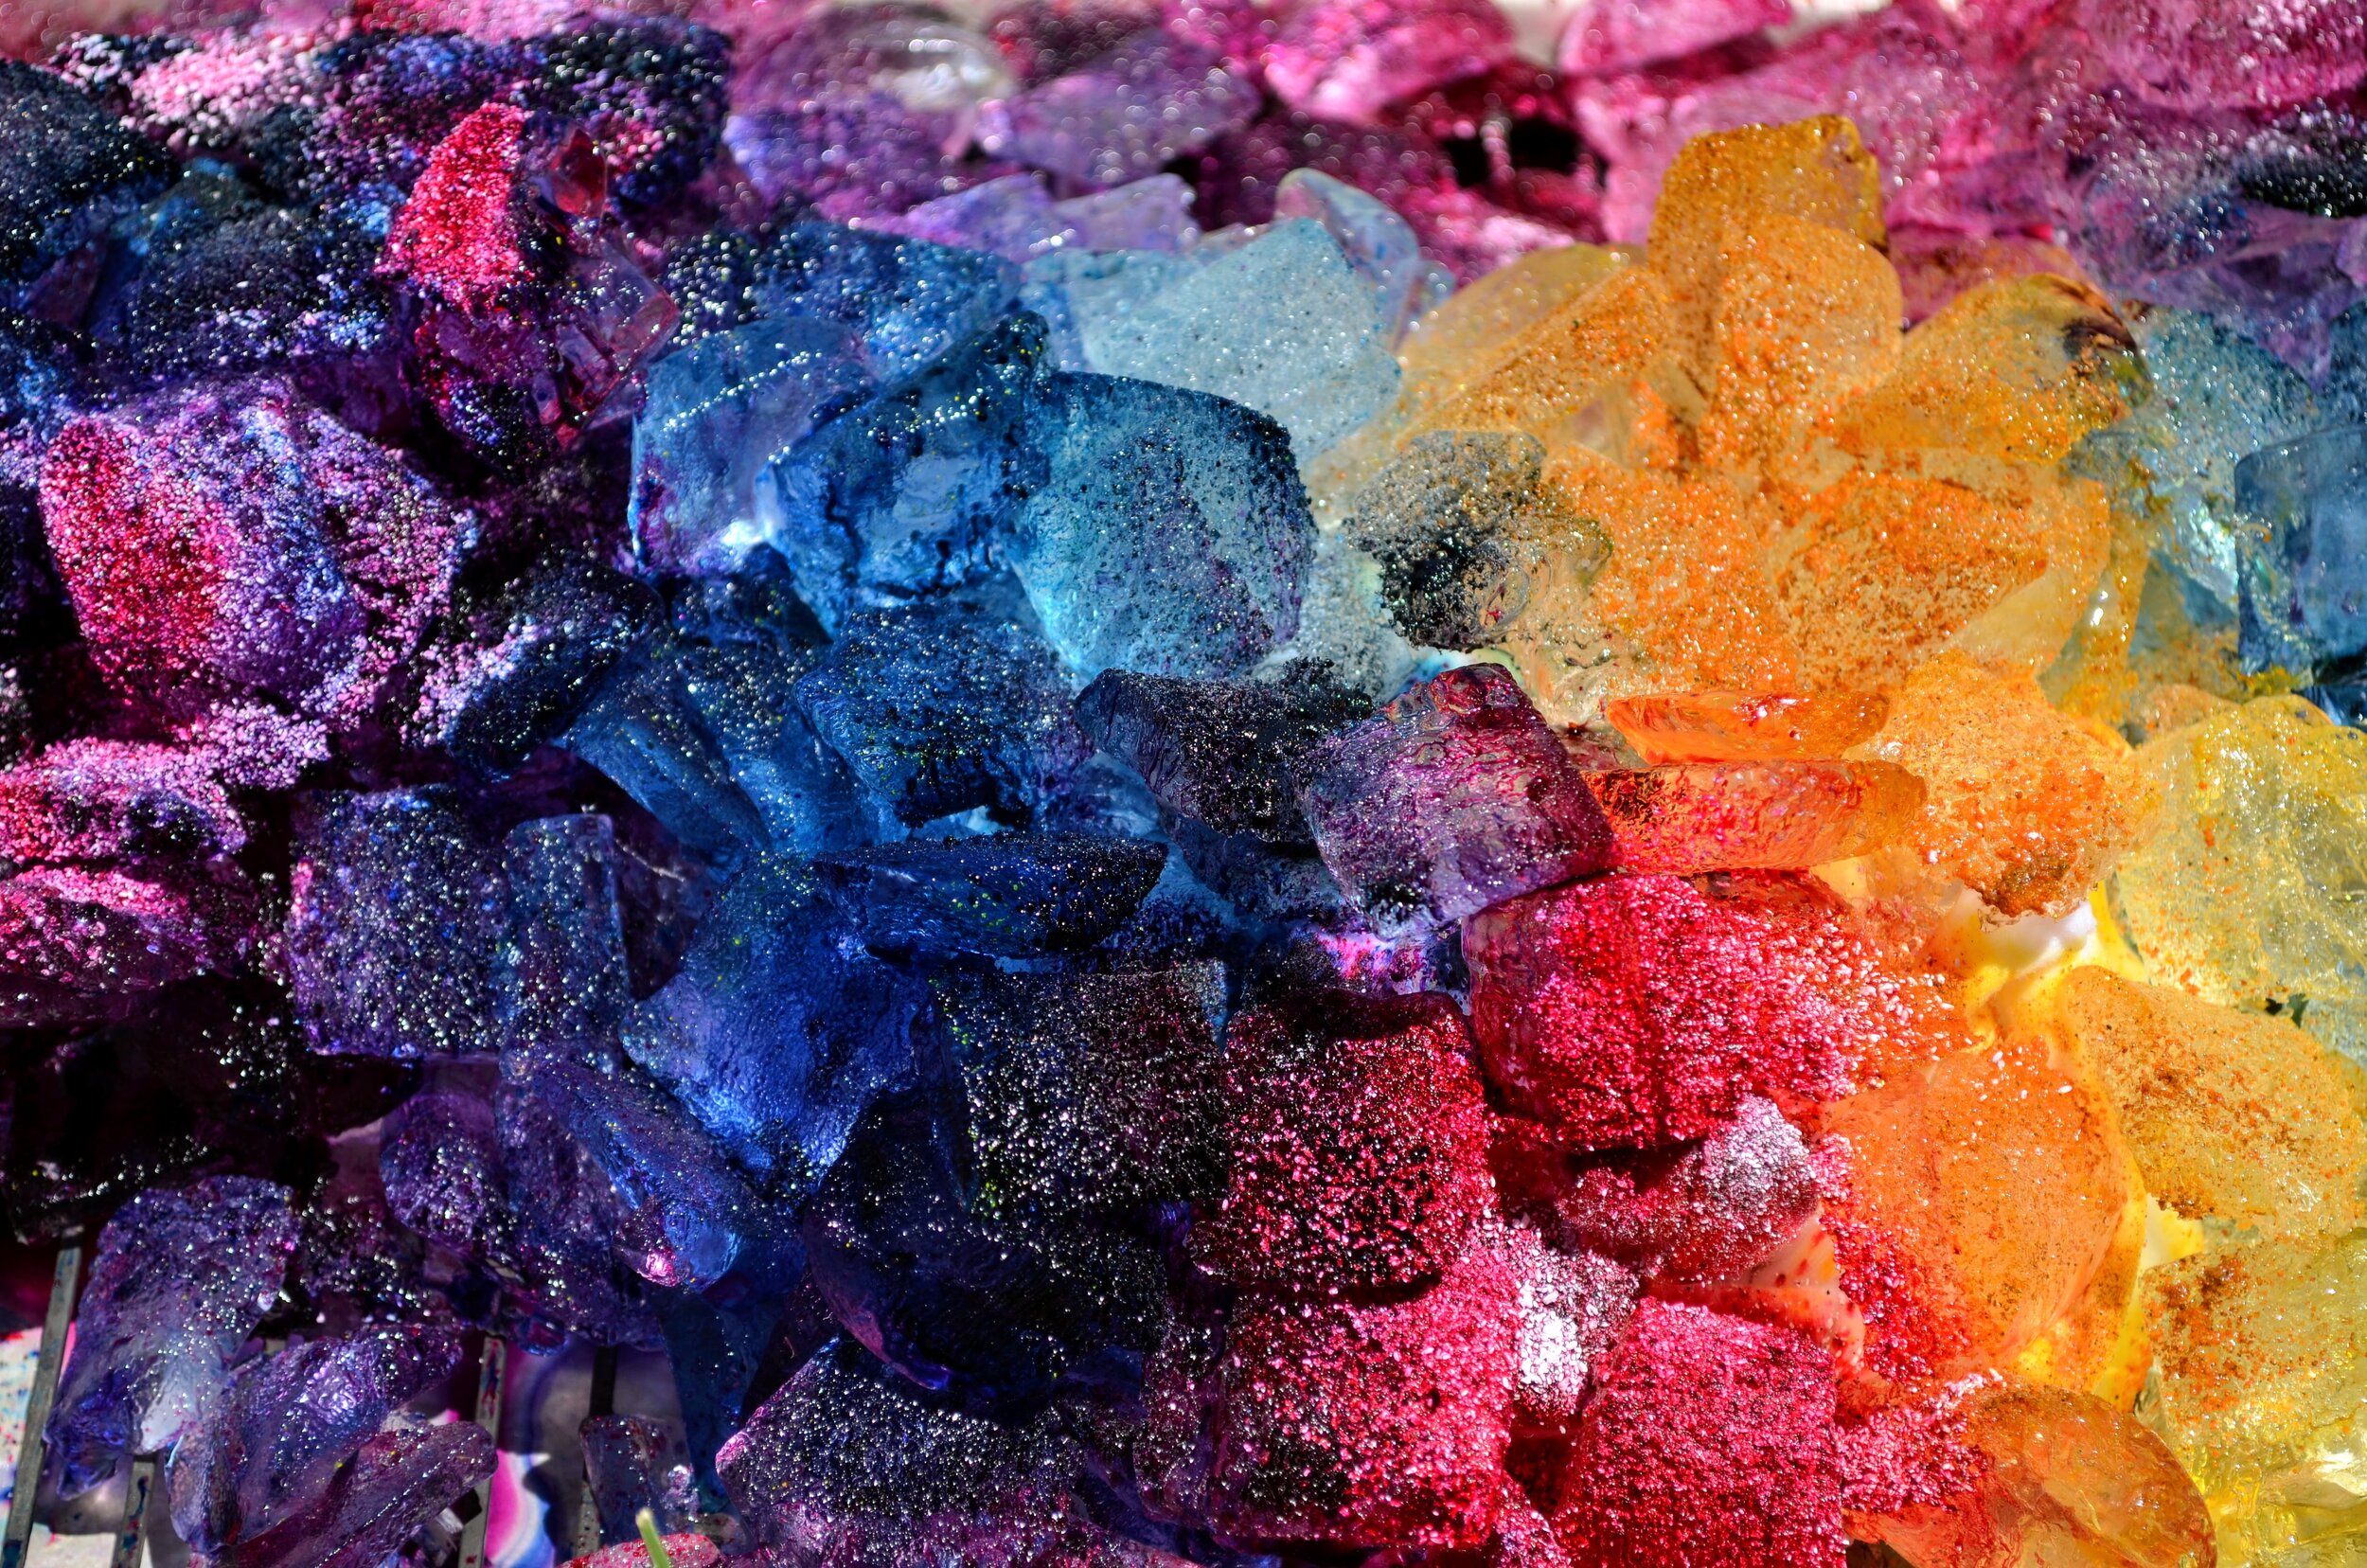
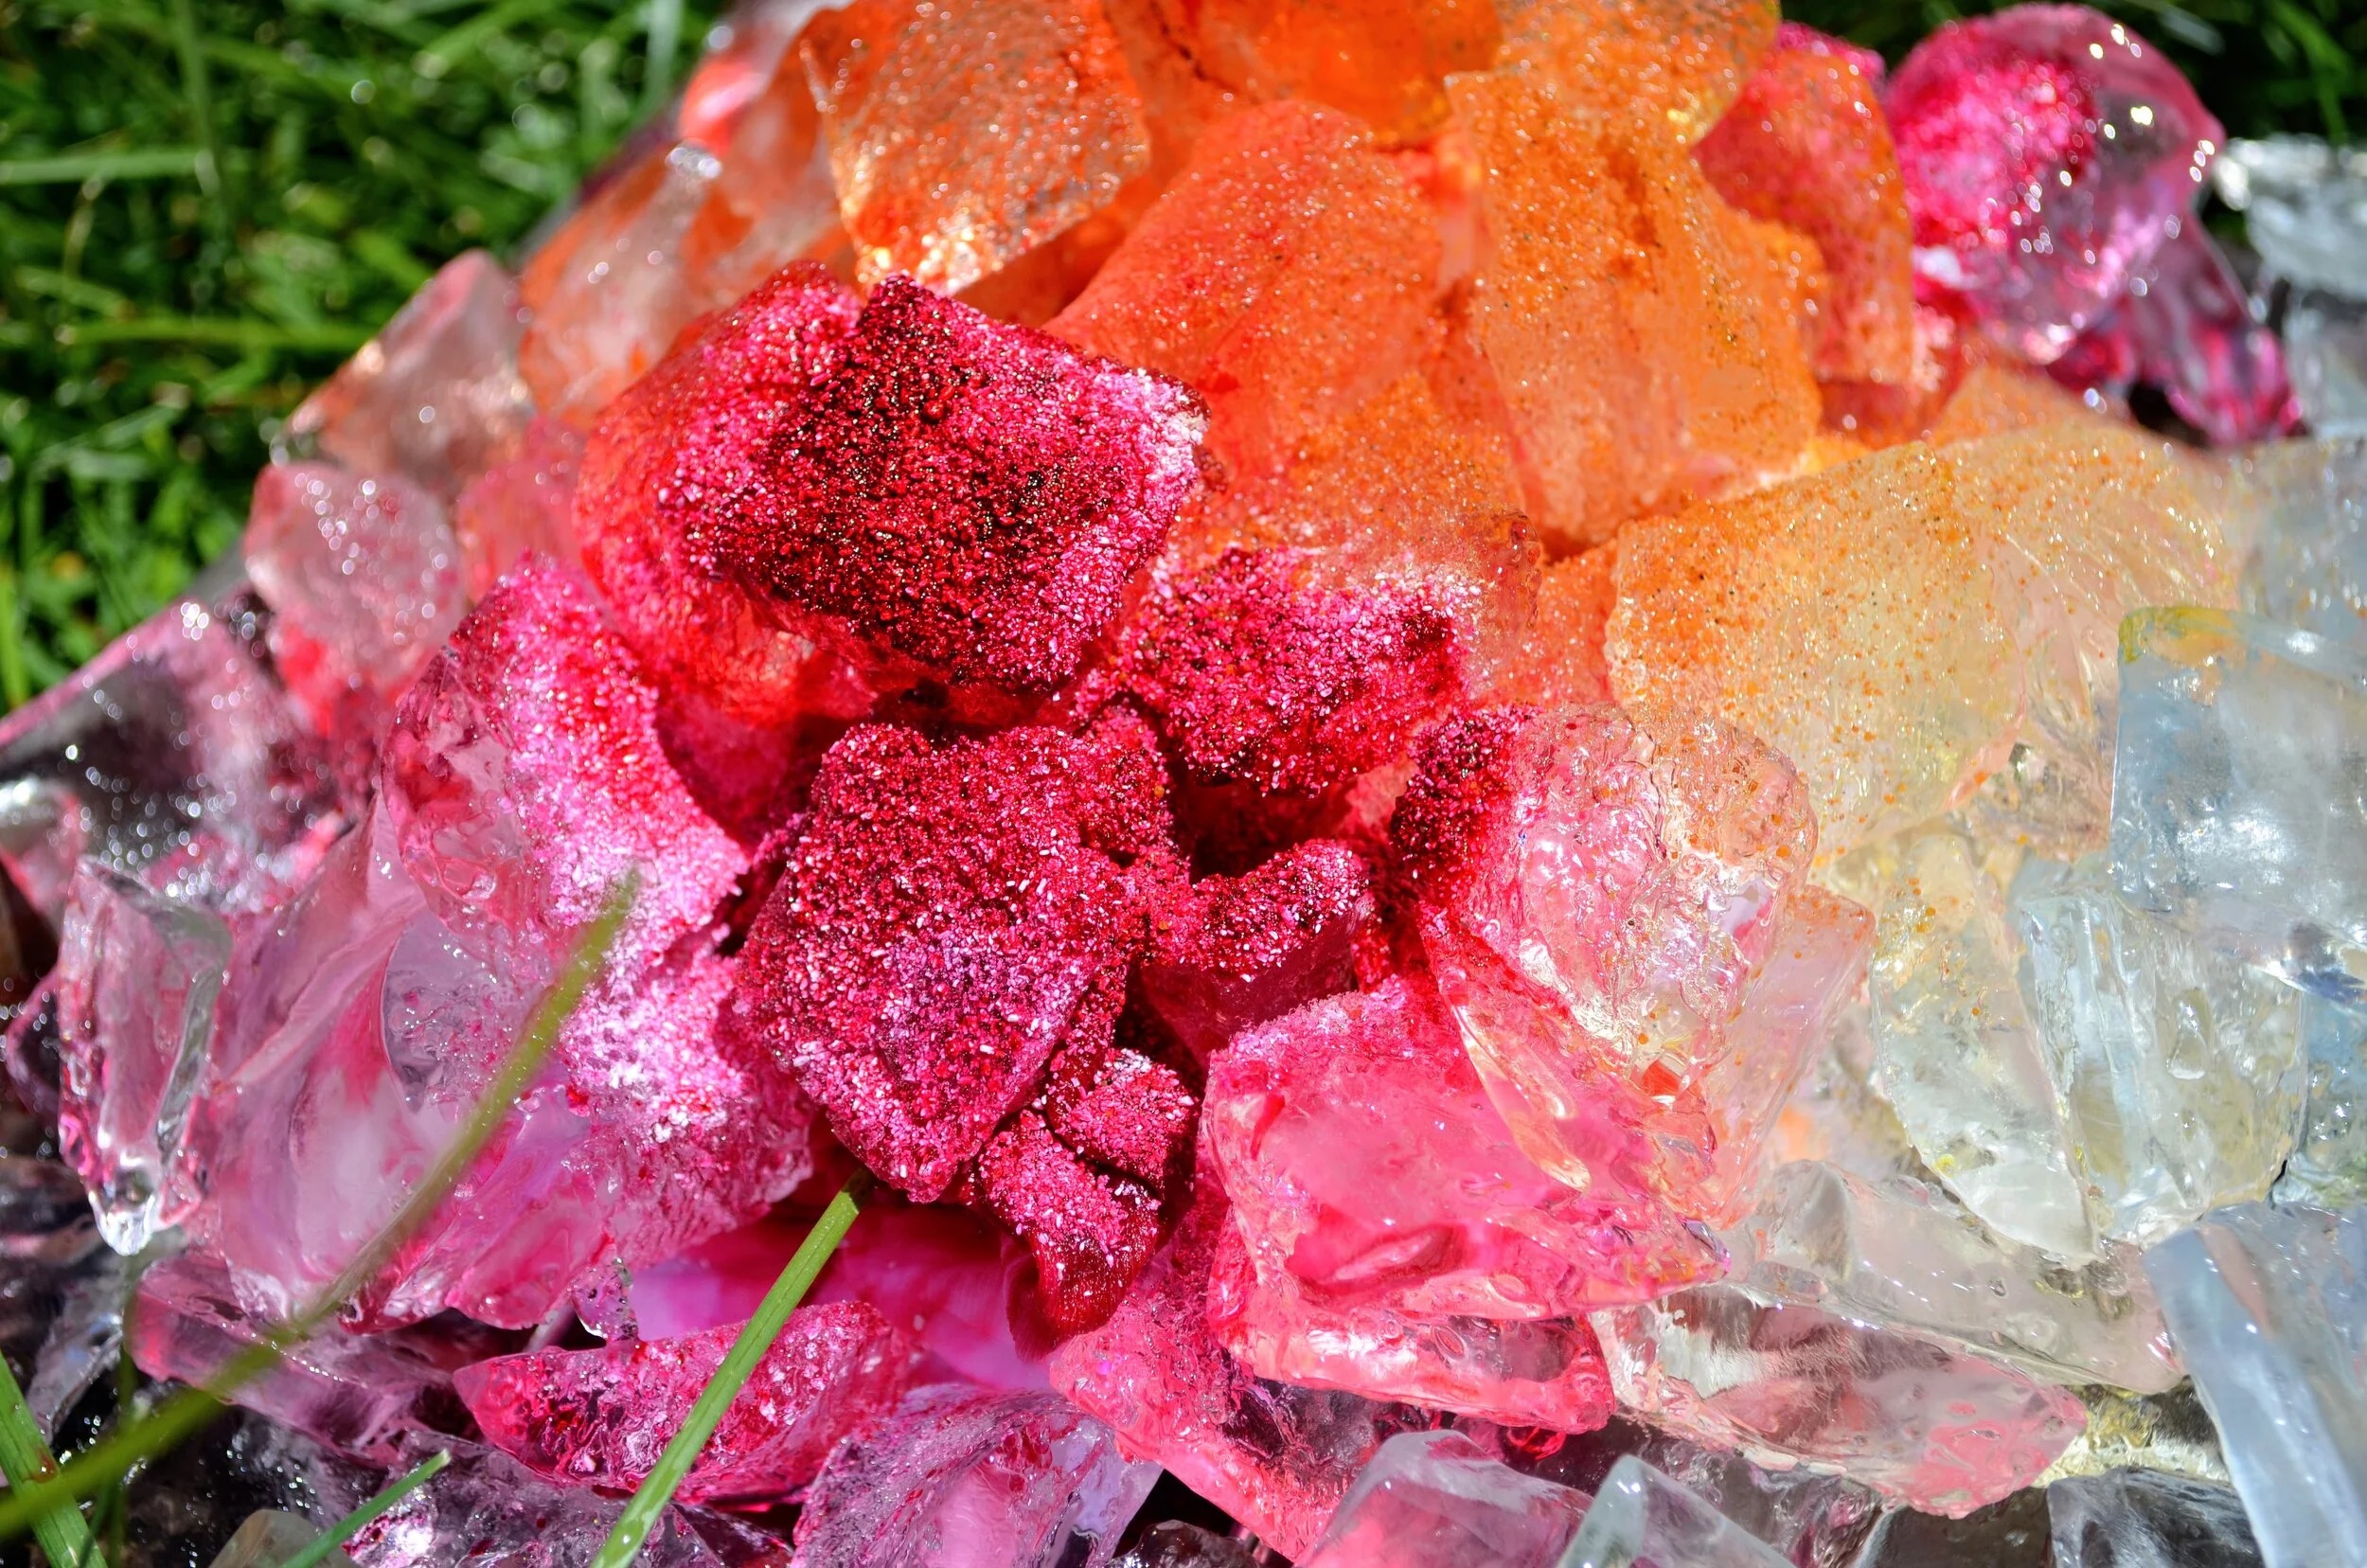
Sprinkle your dye directly onto the ice. More dye = more color. We used several colors for each shirt. IMPORTANT TIP: Powdered dye can travel in the breeze, so it can travel from one shirt to another. If you are using very different colors for each shirt, make sure to put them on separate wire racks so that they are not touching at all. I put my shirt on the same rack as my son’s shirt, and he used some grey on his. Just a tiny bit of his grey ended up on my shirt turning some of my shirt grey. If you want to make sure that your design does not get color from any other shirts, use separate wire racks.
I thought this part looked so pretty! I loved the glistening ice with the colorful powder all over it!
Allow the ice to melt completely. We did this on a very hot day, so it didn’t take long for all of the ice to melt. If you are doing this indoors or in the shade, it will probably take longer.
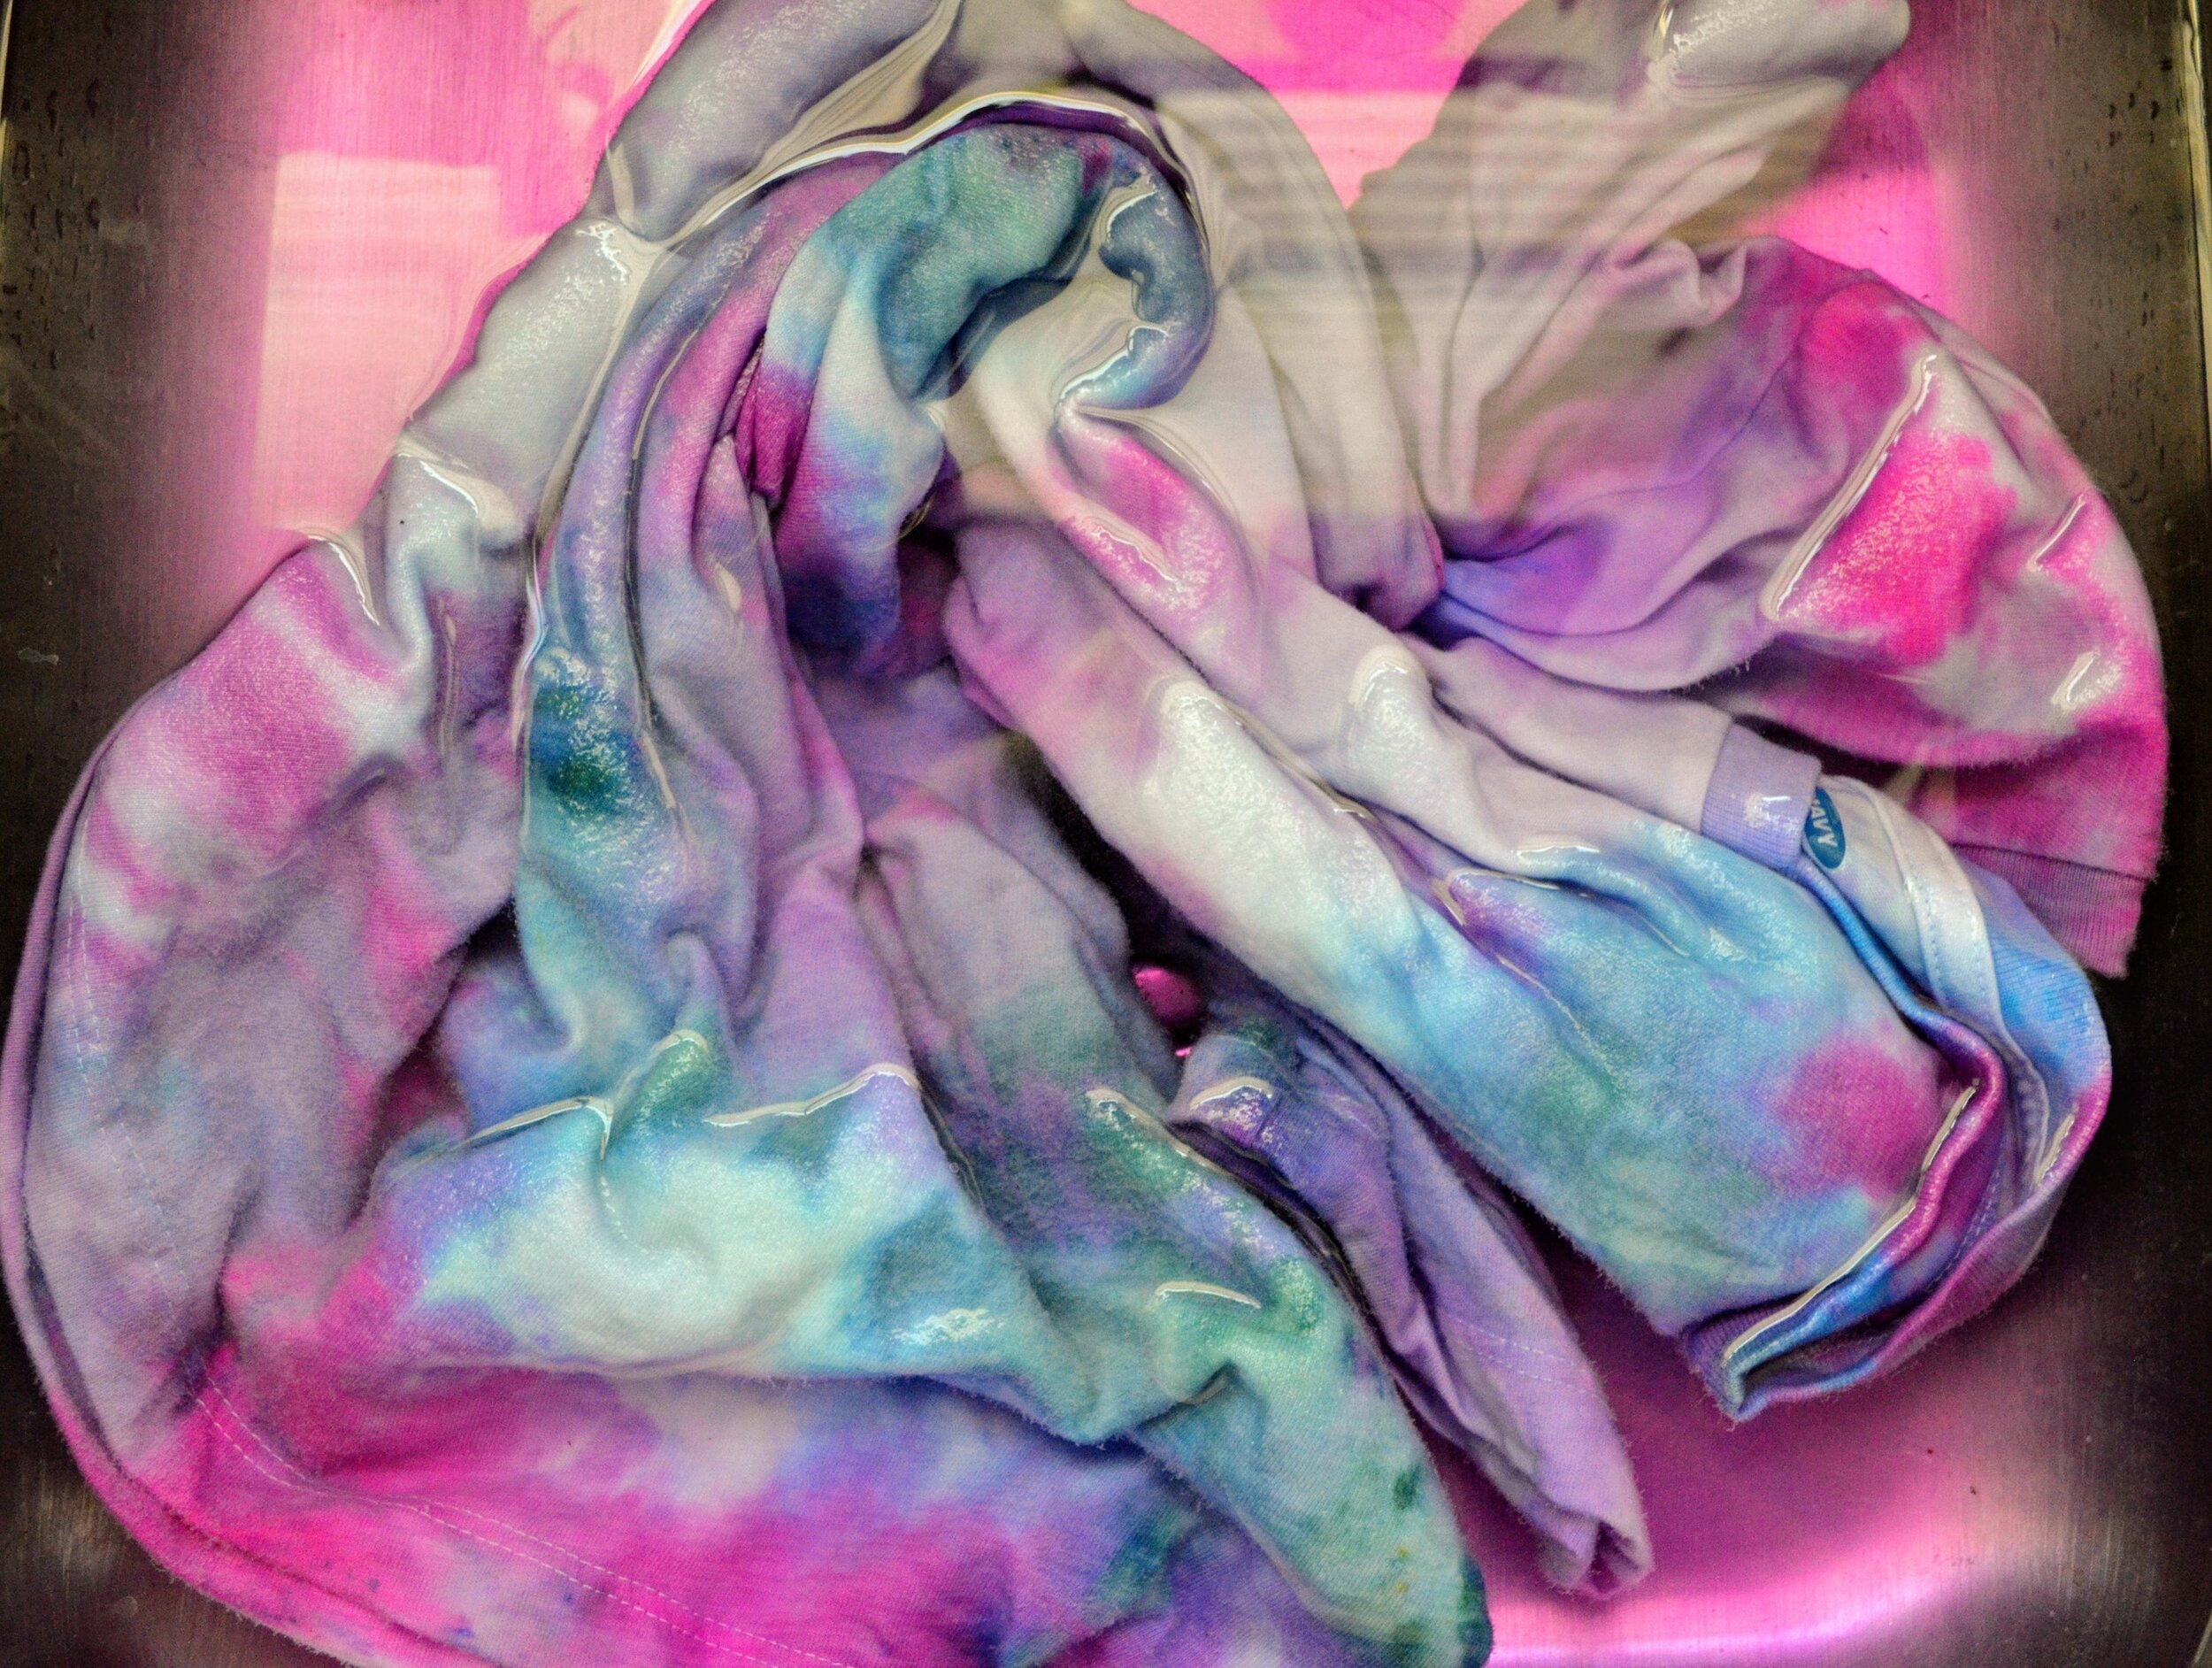
Rinse your shirt. I wanted our colors to be a little softer and I wanted to stop the dye from spreading anymore, so I rinsed each shirt in cold water before soaking in the ColorStay Fixative. I brought my shirts into the kitchen sink where I rinsed each one separately. You don’t have to rinse super well. This is just to get any extra dye off.
Fill a sink or bucket with hot water and add a few tablespoons of the ColorStay Fixative. Add your shirt to the mix and let it sit for about 15 minutes. I refilled the sink for each shirt so as not to get any transfer from other colors.
After 15 minutes, rinse your shirt again in cold water until the water runs clear.
Wash your shirt in a cold cycle and dry as normal.
Now you can throw on these shirts and be perfectly attired for summer! My kids actually loved this project so much that I have ordered a few more white shirts so that we can do it again! Who knew ice and dye could make sure beautiful art?

