Kids Summer Craft Camp Session 7: Foam Fruit Keychains
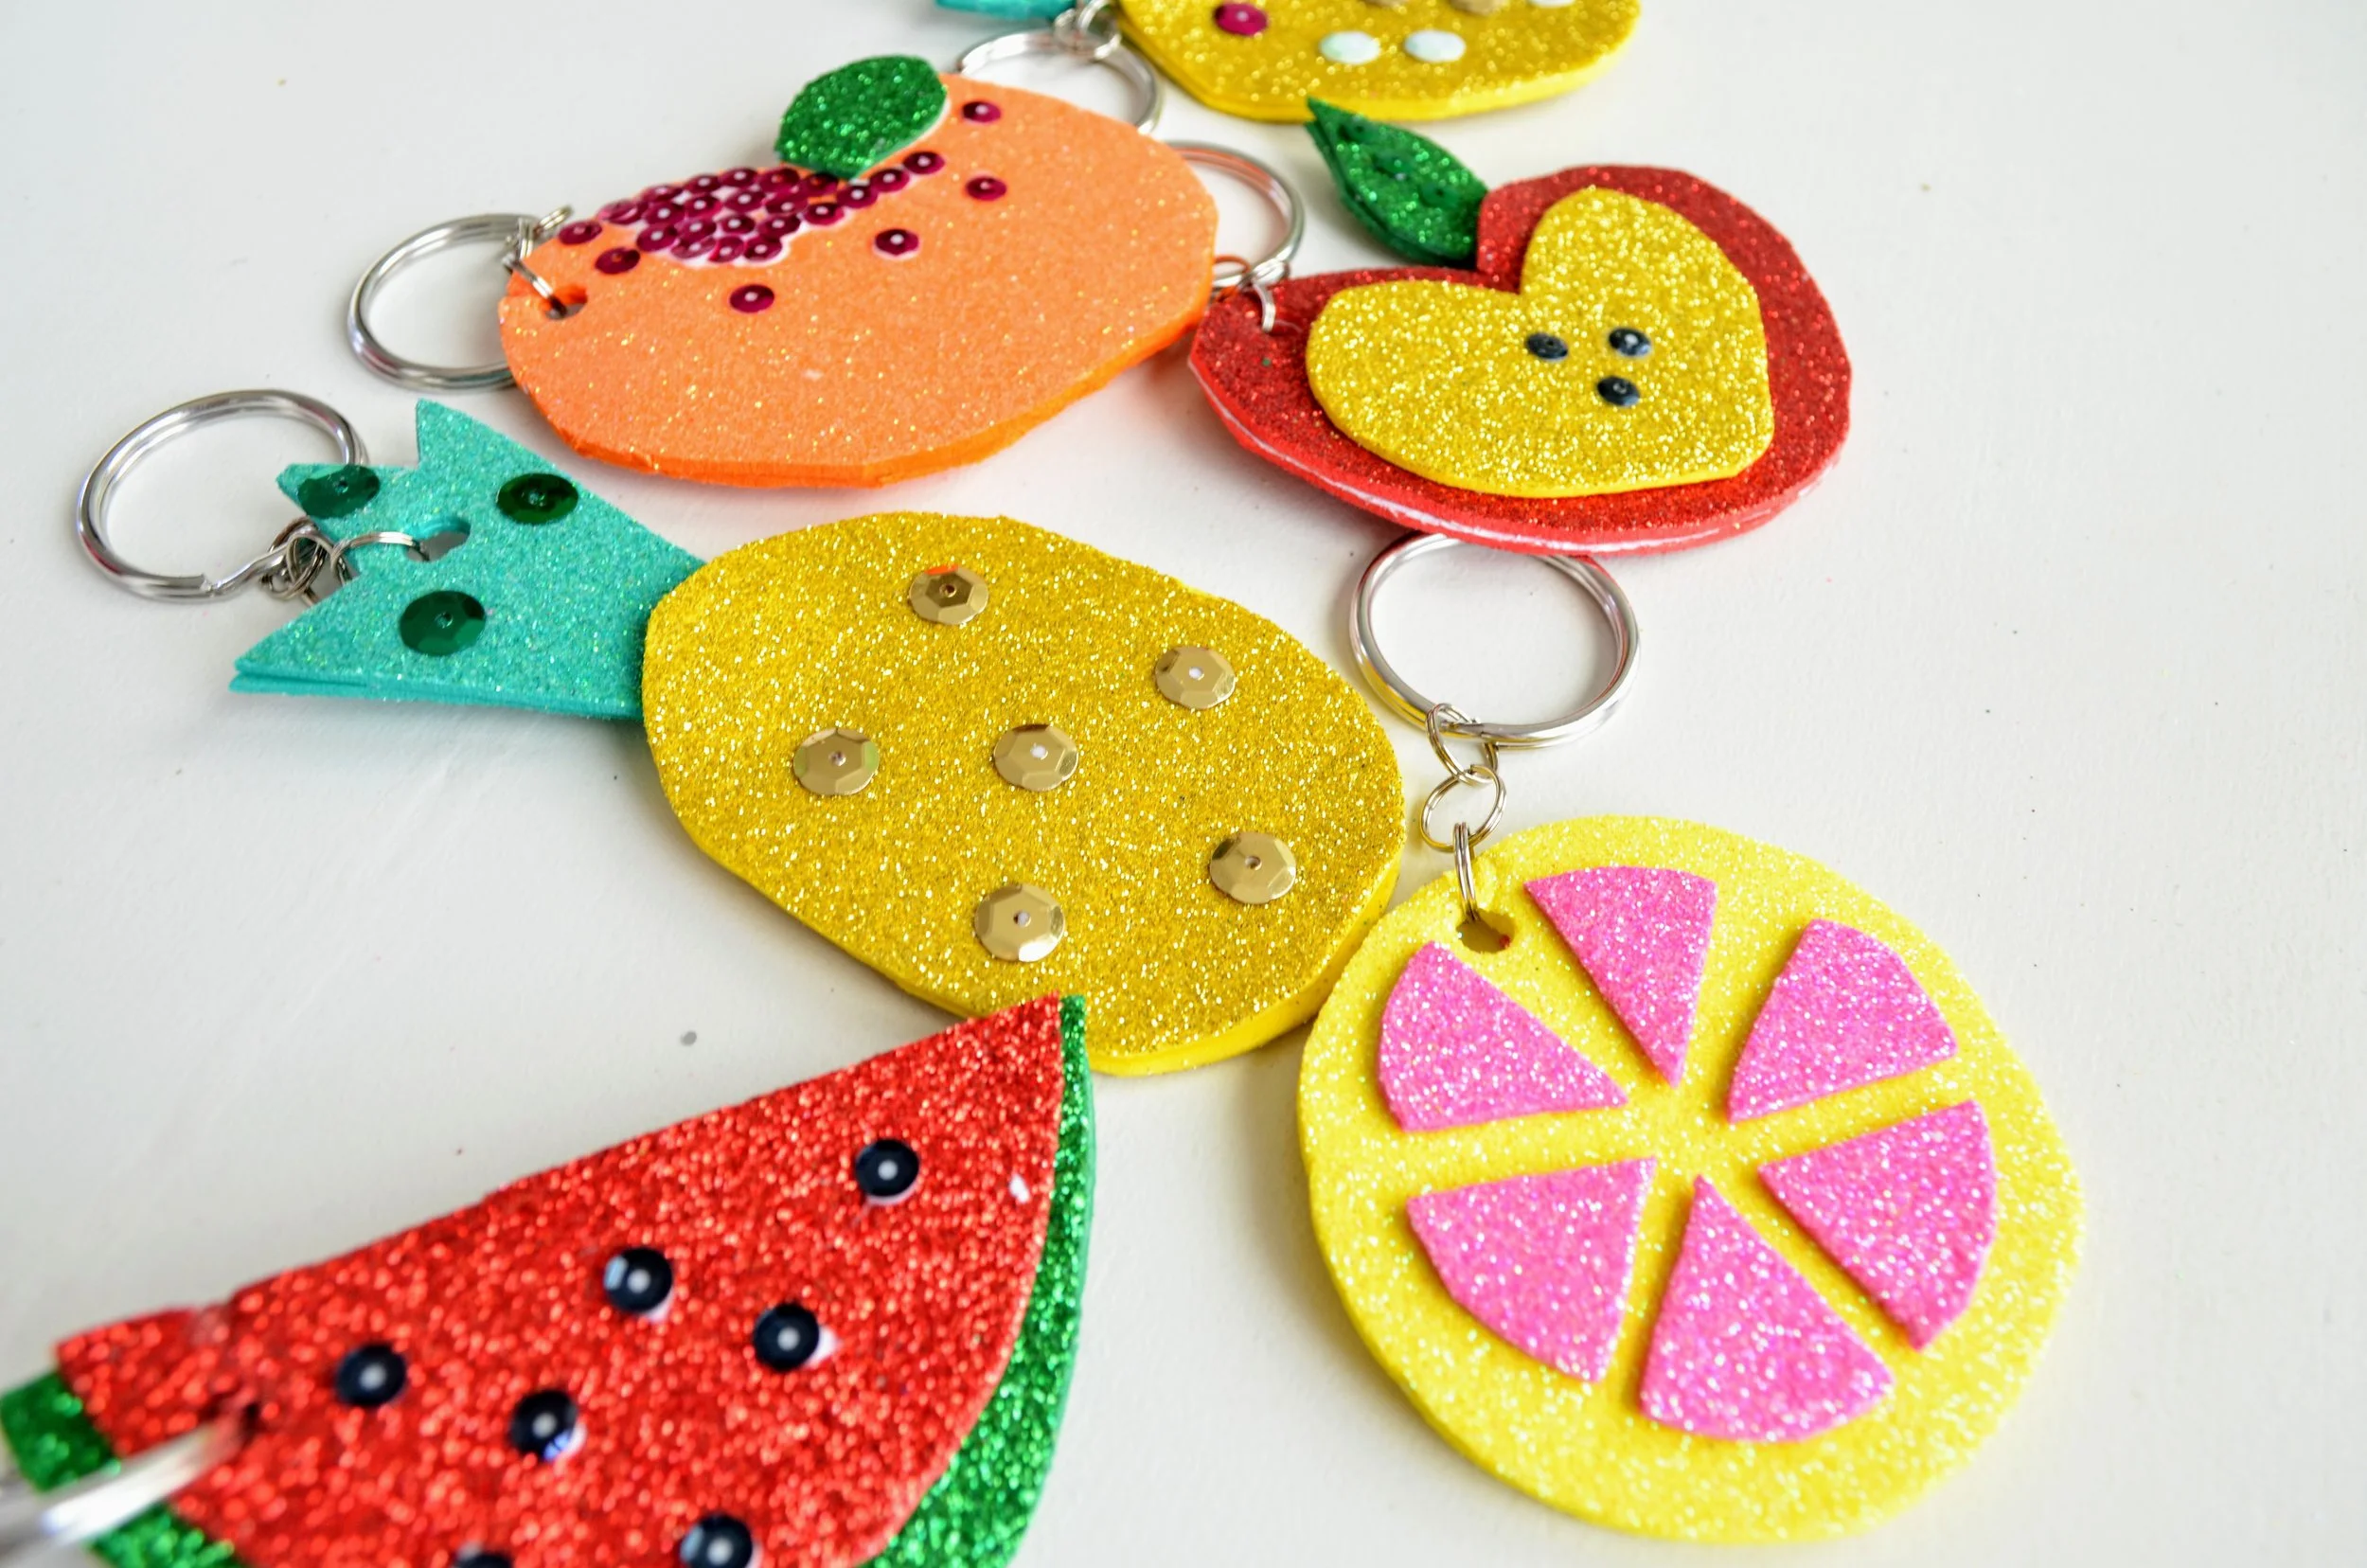
My kids go back to school next week, and let's face it, I'm about ready for school to start! We decided to fit in one more EASY craft camp this week (since it's burnout time!), and it was a hit! We made glitter foam fruit keychains. That's a mouthful! You need very few supplies, but the results are colorful and perky. And these keychains are perfect for attaching to their backpacks when they go back to school!
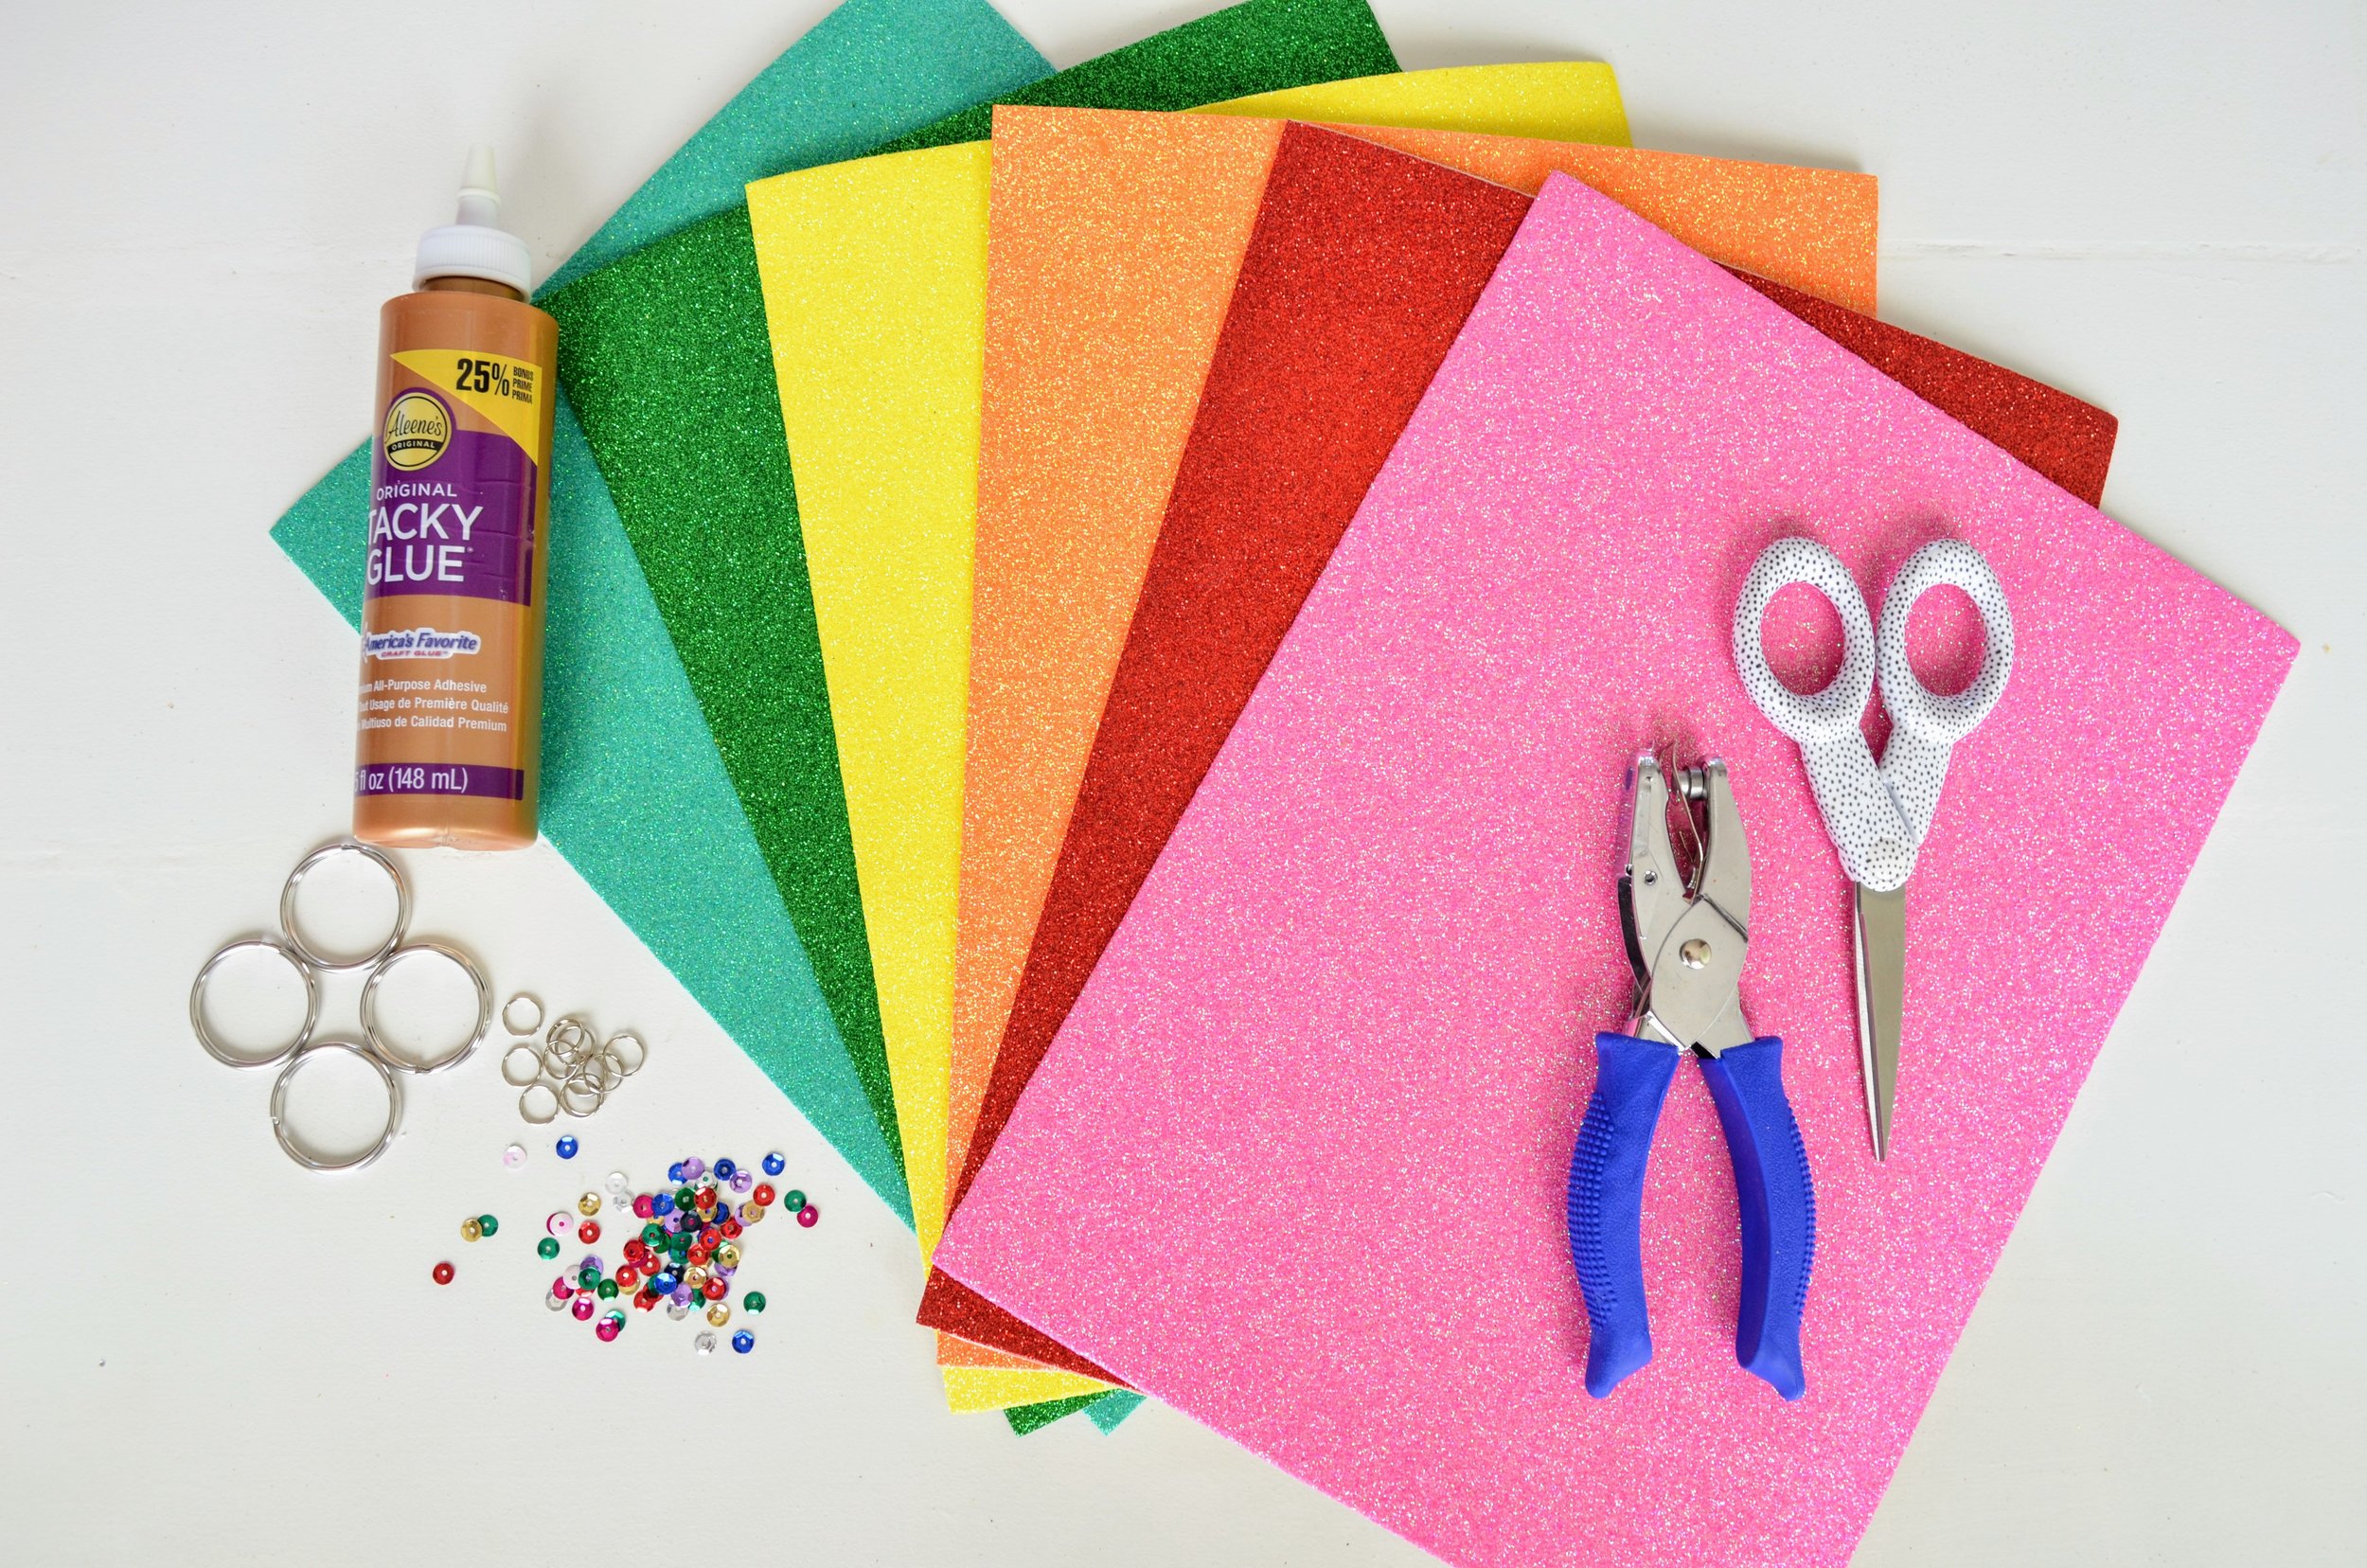
Materials
Self-adhesive glitter foam sheets. I wanted a variety of colors so that the kids could do lots of different fruits.
Large keyring-sized jump rings. This pack from Amazon comes with 100 keyrings. You can use the extras for other crafts!
Small jump rings. This pack also contains extras, but they are great for other crafts.
Scissors
Pencil.
Sequins, pom poms, rhinestones, or other decorative items. I've linked to a few on Amazon.
Getting Started
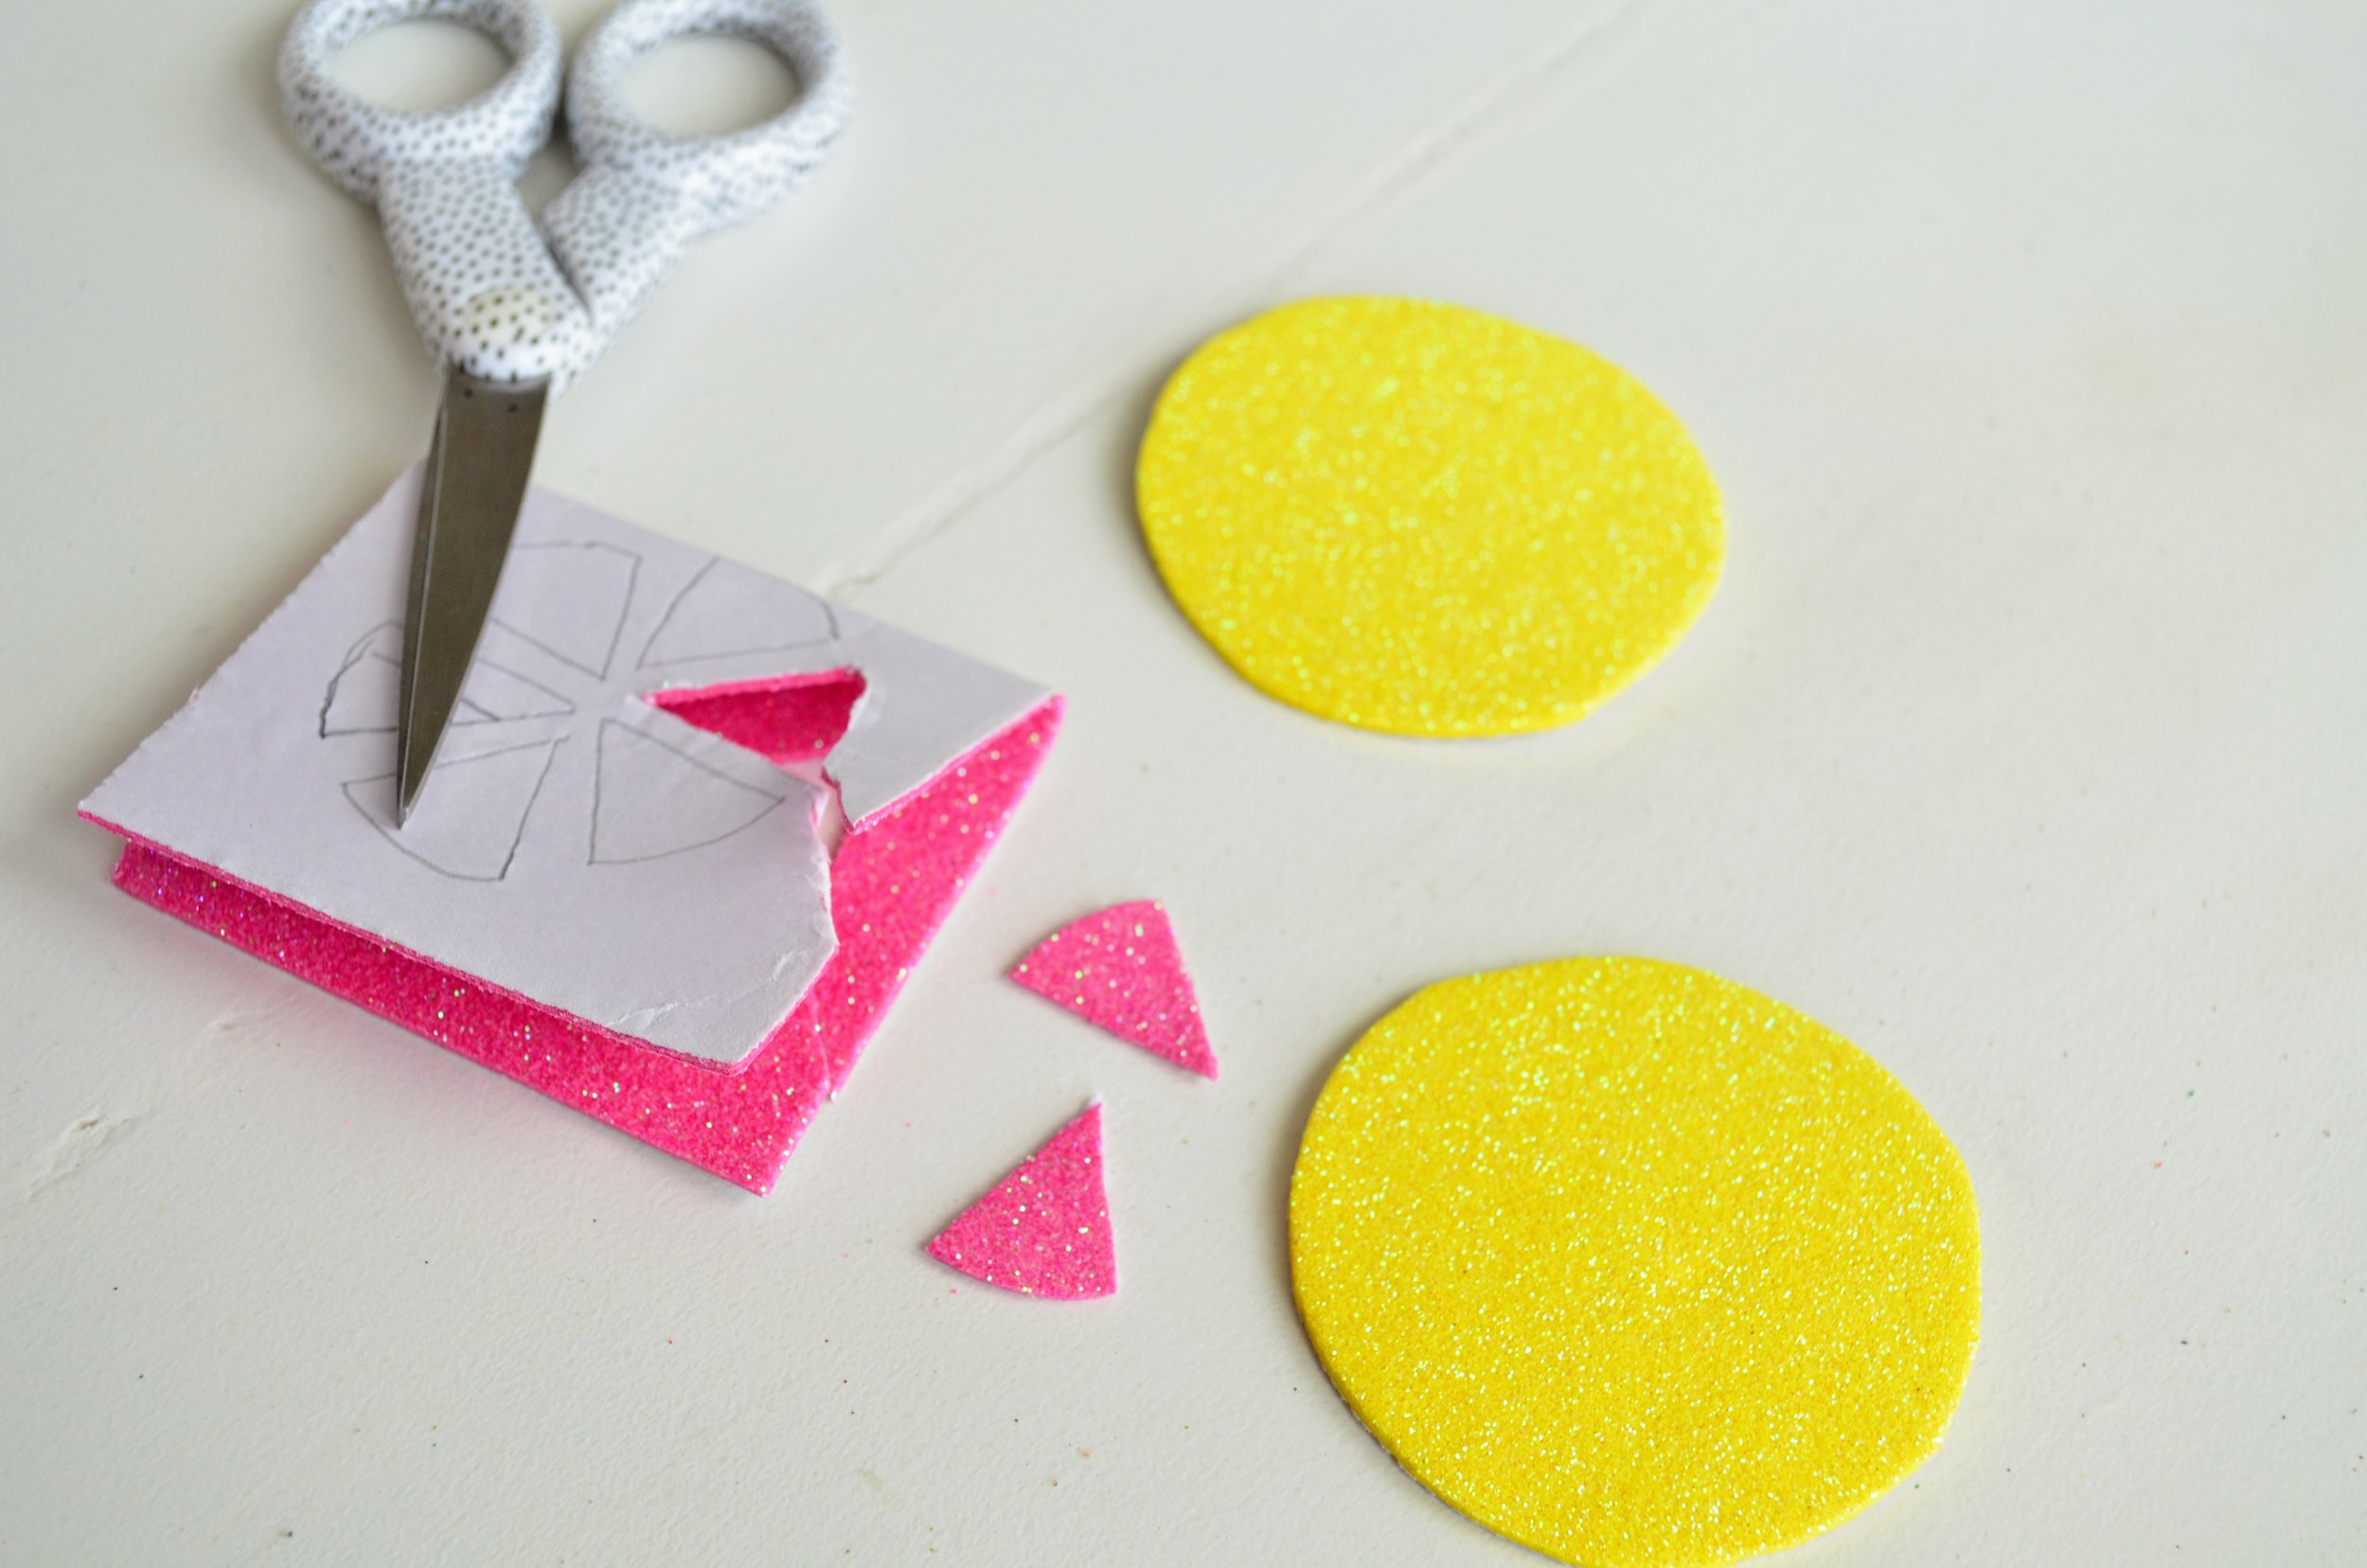
We want our keychains to be cute on both the front and the back, so for this project, we have to make doubles of everything we cut out. Because the foam is adhesive, there is one side that can be drawn on to help give you a guide for cutting. We found the foam easier to work with when we cut it down into smaller pieces from the large sheet. I traced my circles for my lemon with a cup, then folded the foam sheet in half, then cut. To make the lemon segments, I drew them on the paper side of the foam, then folded in half and cut. Sometimes the paper back doesn't cut very cleanly, but rest assured that the foam is actually cutting cleanly.
Before you start sticking pieces together, it is best to punch your hole where you want your keychain to go. Something to keep in mind: these keychains are made out of foam. It is not super strong and can tear easily if pulled, so treat these keychains as a decorative item, not as something to handle a lot. You need to put your hole close to the edge so that a small jump ring can fit through it, but not too close so that it rips. I found that my hole punch could punch through two sheets of foam at a time. If you are going to be adding more layers to your design, make sure your holes match up and punch through two sheets at a time.
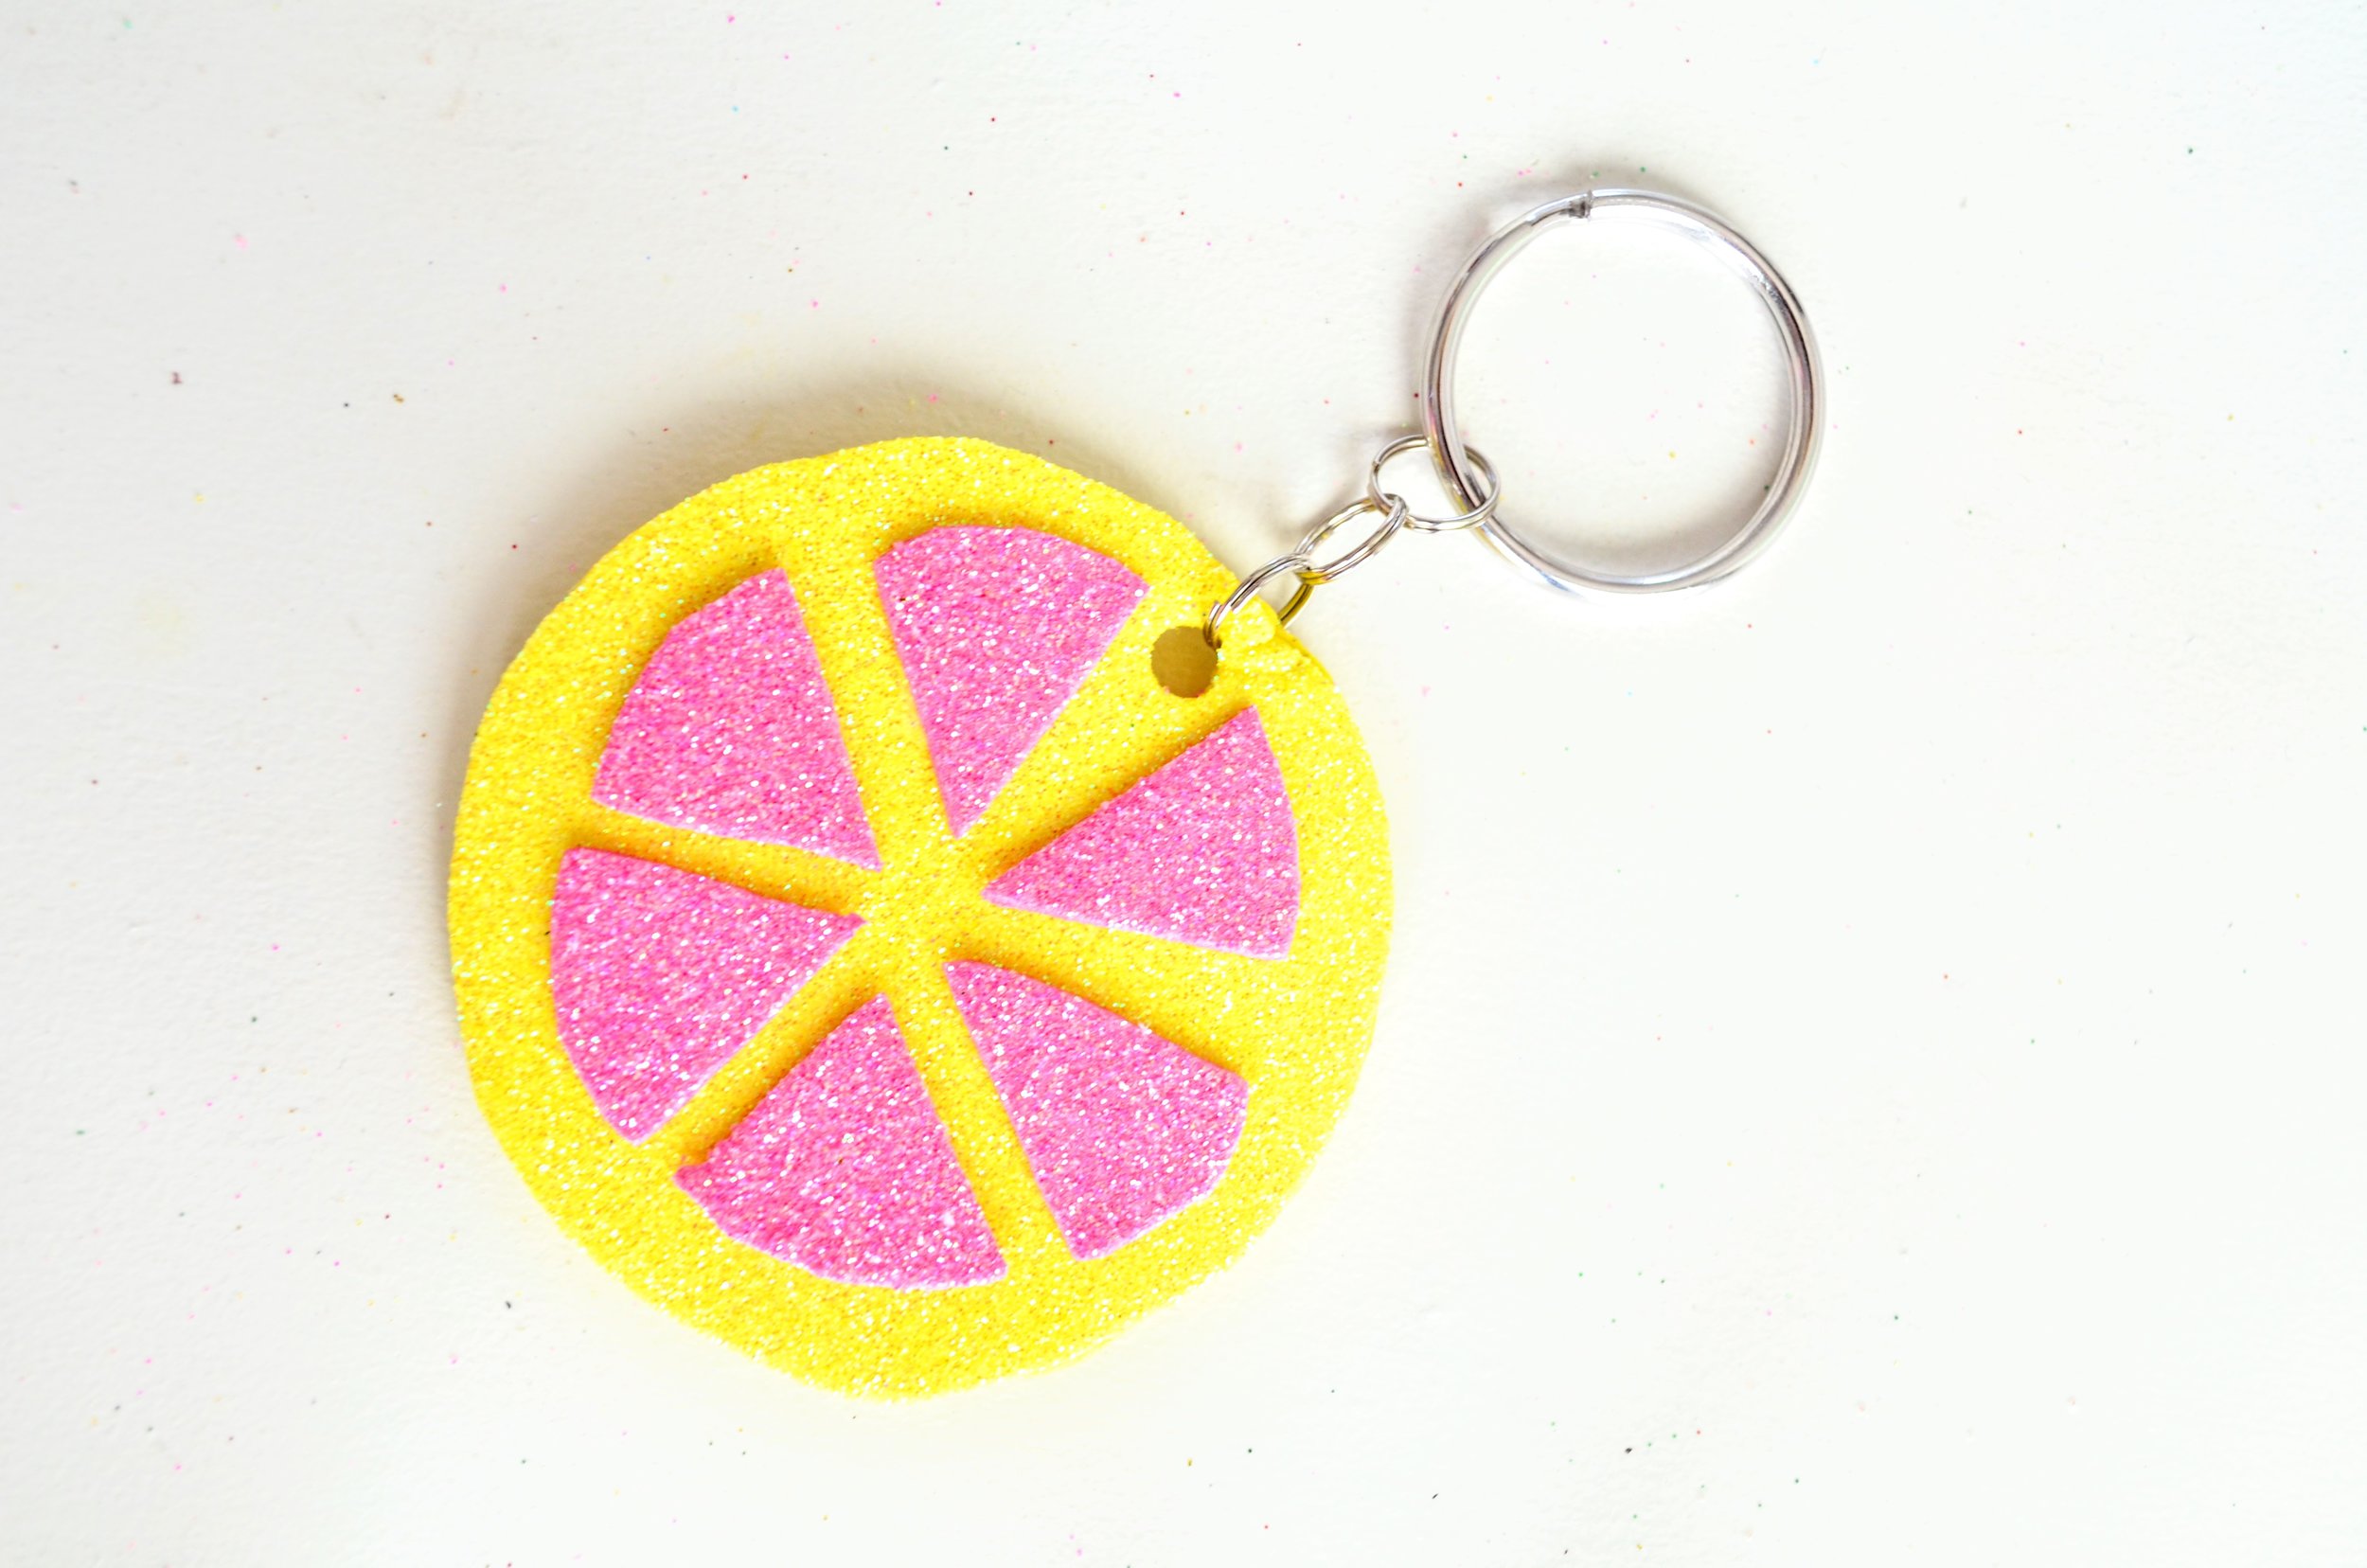
Now you can start sticking your pieces together. Peel the paper backing off the adhesive, and stick your pieces together, glitter side out. The adhesive sticks really well to itself, so no extra glue is needed. If you want to stick the adhesive to the glitter like my lemon segments, however, you will need to add a little tacky glue. You could also add a little glue around the spot where you punched your hole, just to reinforce the hole a little more. You can also add sequins, rhinestones, or small pom poms as well at this point.
To finish off your keychain, you can add your small jump rings, and attach a keychain. You can make your keychain as dangly as you'd like by adding more small jump rings. I used my fingernails to open the rings, but you can use a jump ring tool as well (which might be a good idea if you just got a manicure!). Sometimes it is a little tricky to feed the jump ring through the two layers of foam, but stick with it. As long as you didn't place your hole too far from the edge, you'll get it.
Now you have a fun pop of color to add to your backpack! Again, keep in mind that these are not really intended to be pulled because of the foam, but they do make a fun decoration! My oldest daughter had a few friends over to make these, and I was impressed with their creativity and imagination! They were able to make these in about 15 minutes, so it was the perfect, end of summer craft!

