Kids Summer Craft Camp Session 6: Shrinky Dink Pins
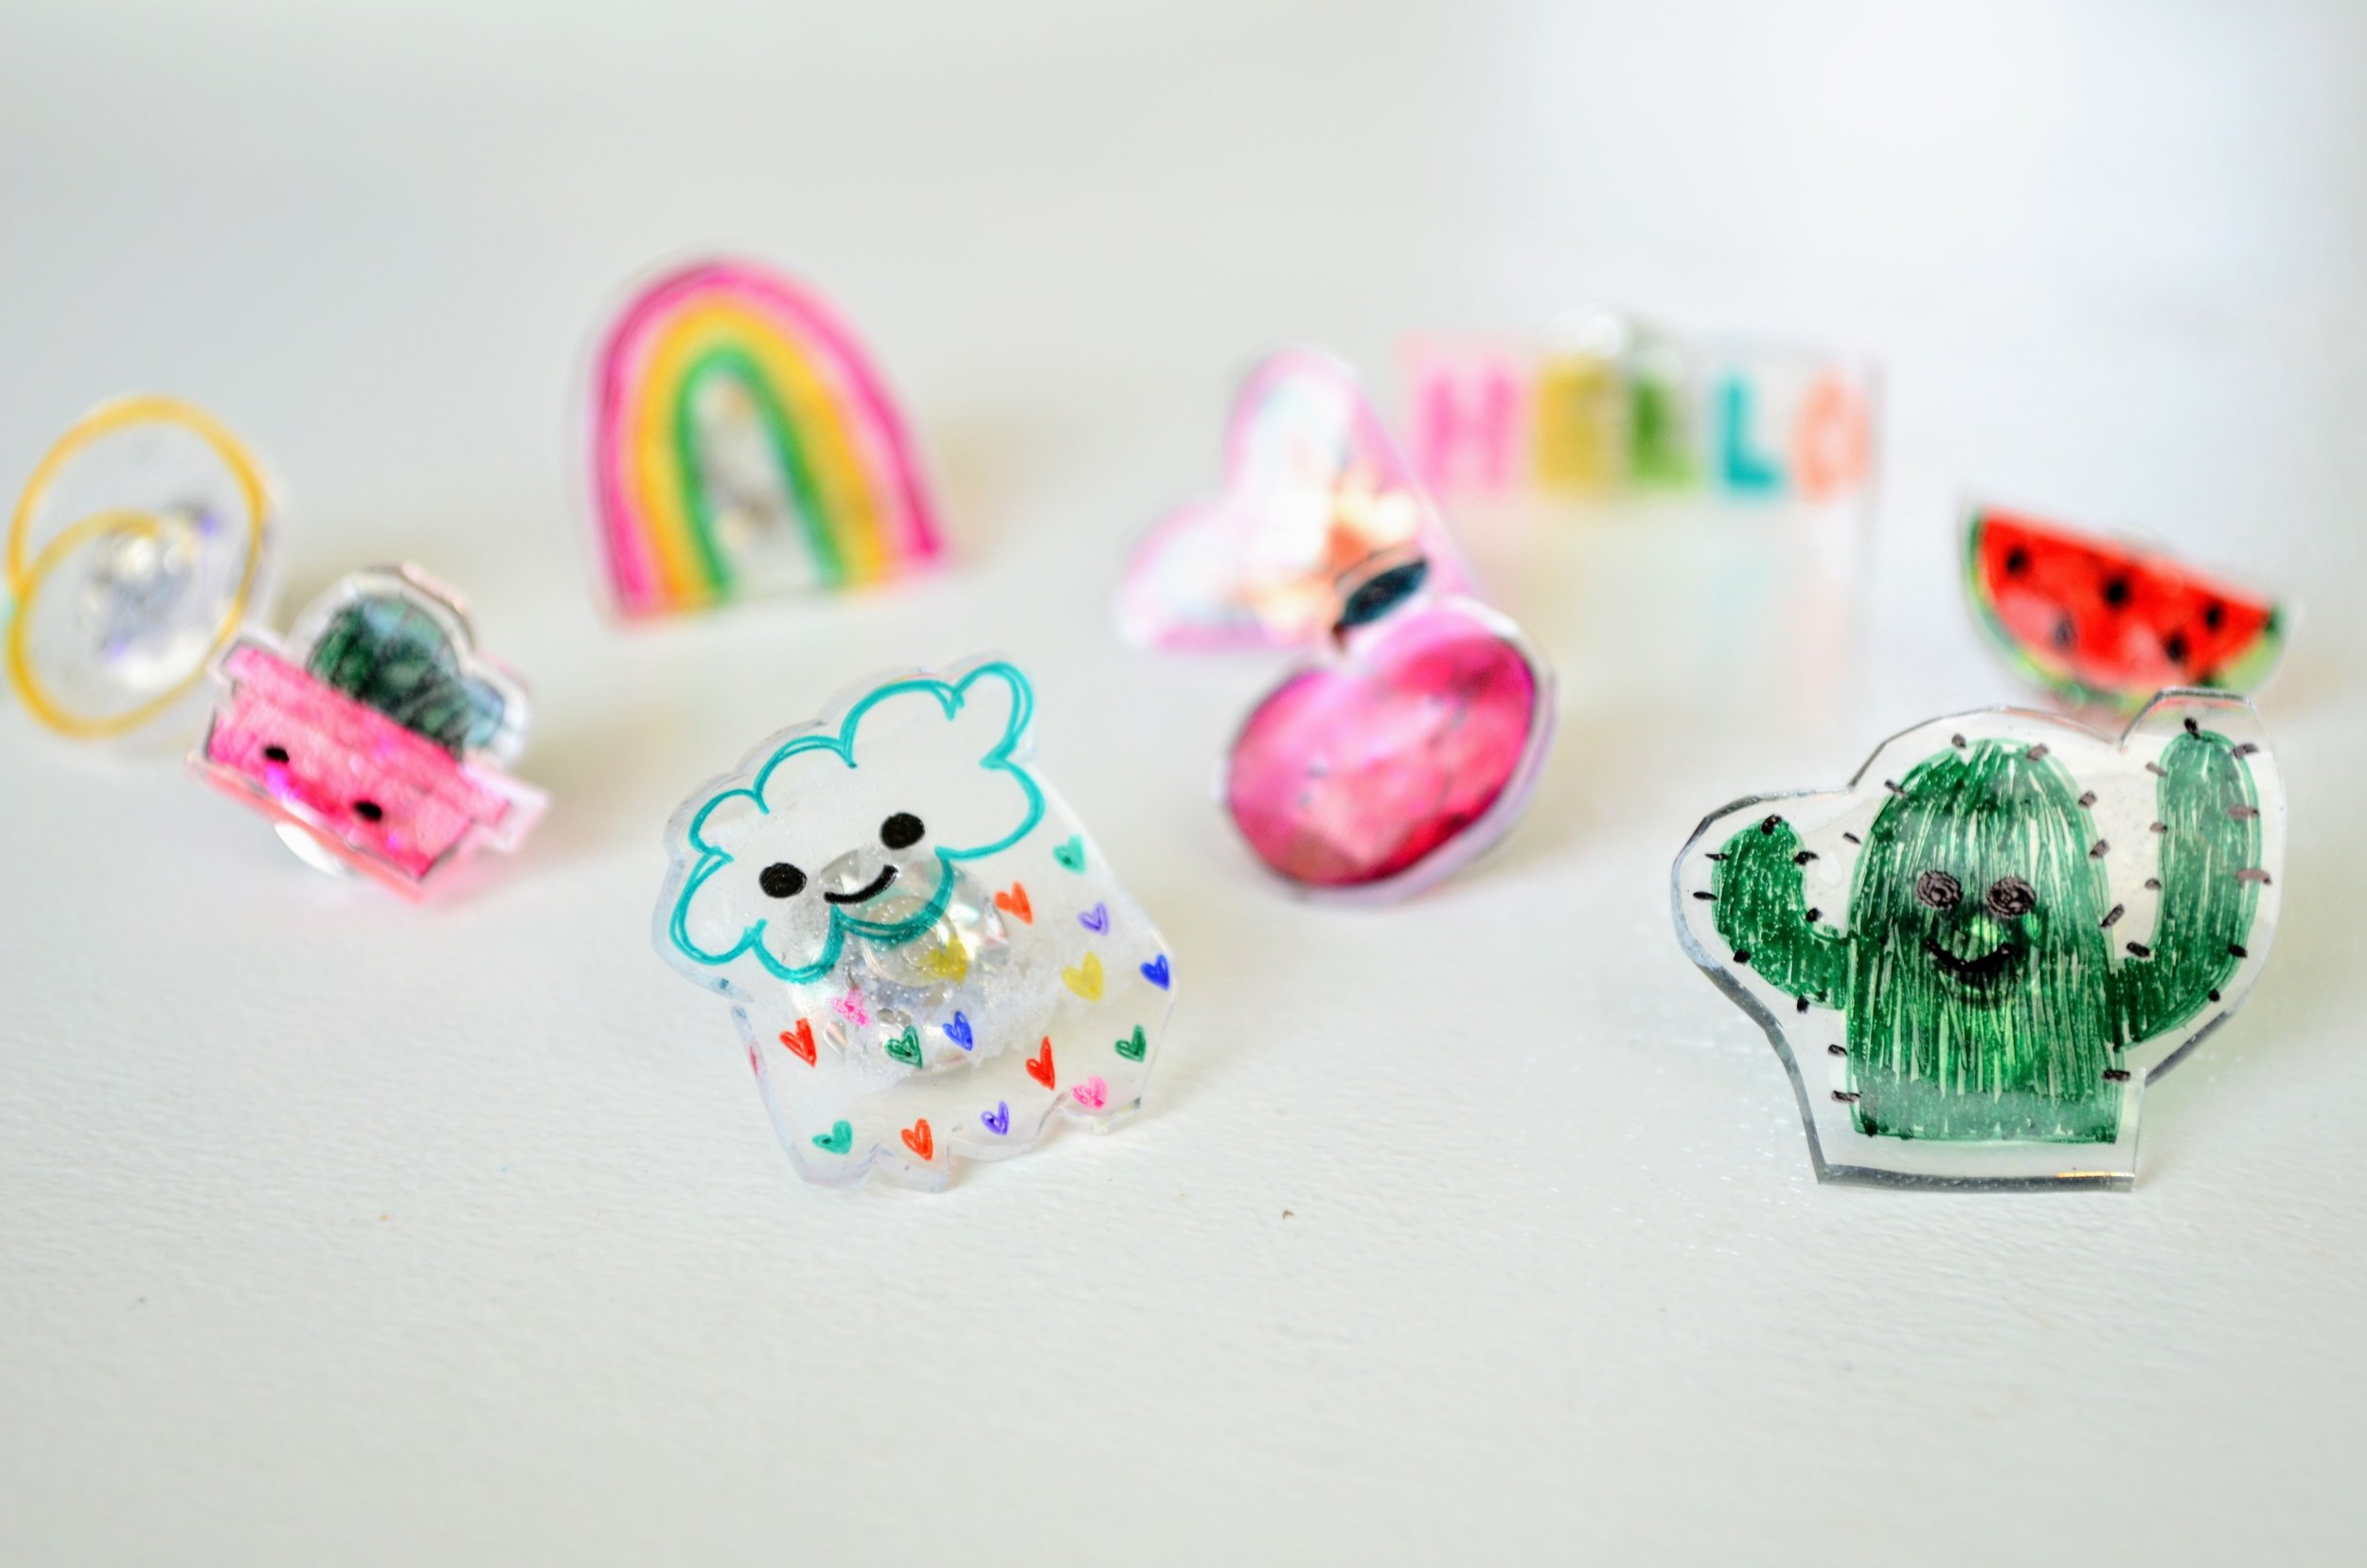
Did you ever use Shrinky Dinks when you were young? I remember thinking that they were the coolest! If you don't know what Shrinky Dinks are, they are basically a thin sheet of plastic that you can draw on, then bake in the oven to become a tiny little hardened piece of plastic. For this activity, we used this shrinkable plastic to make little pins to stick on backpacks, shirts, jackets, you name it! Pins are all the rage right now, and it is really fun to design your own!
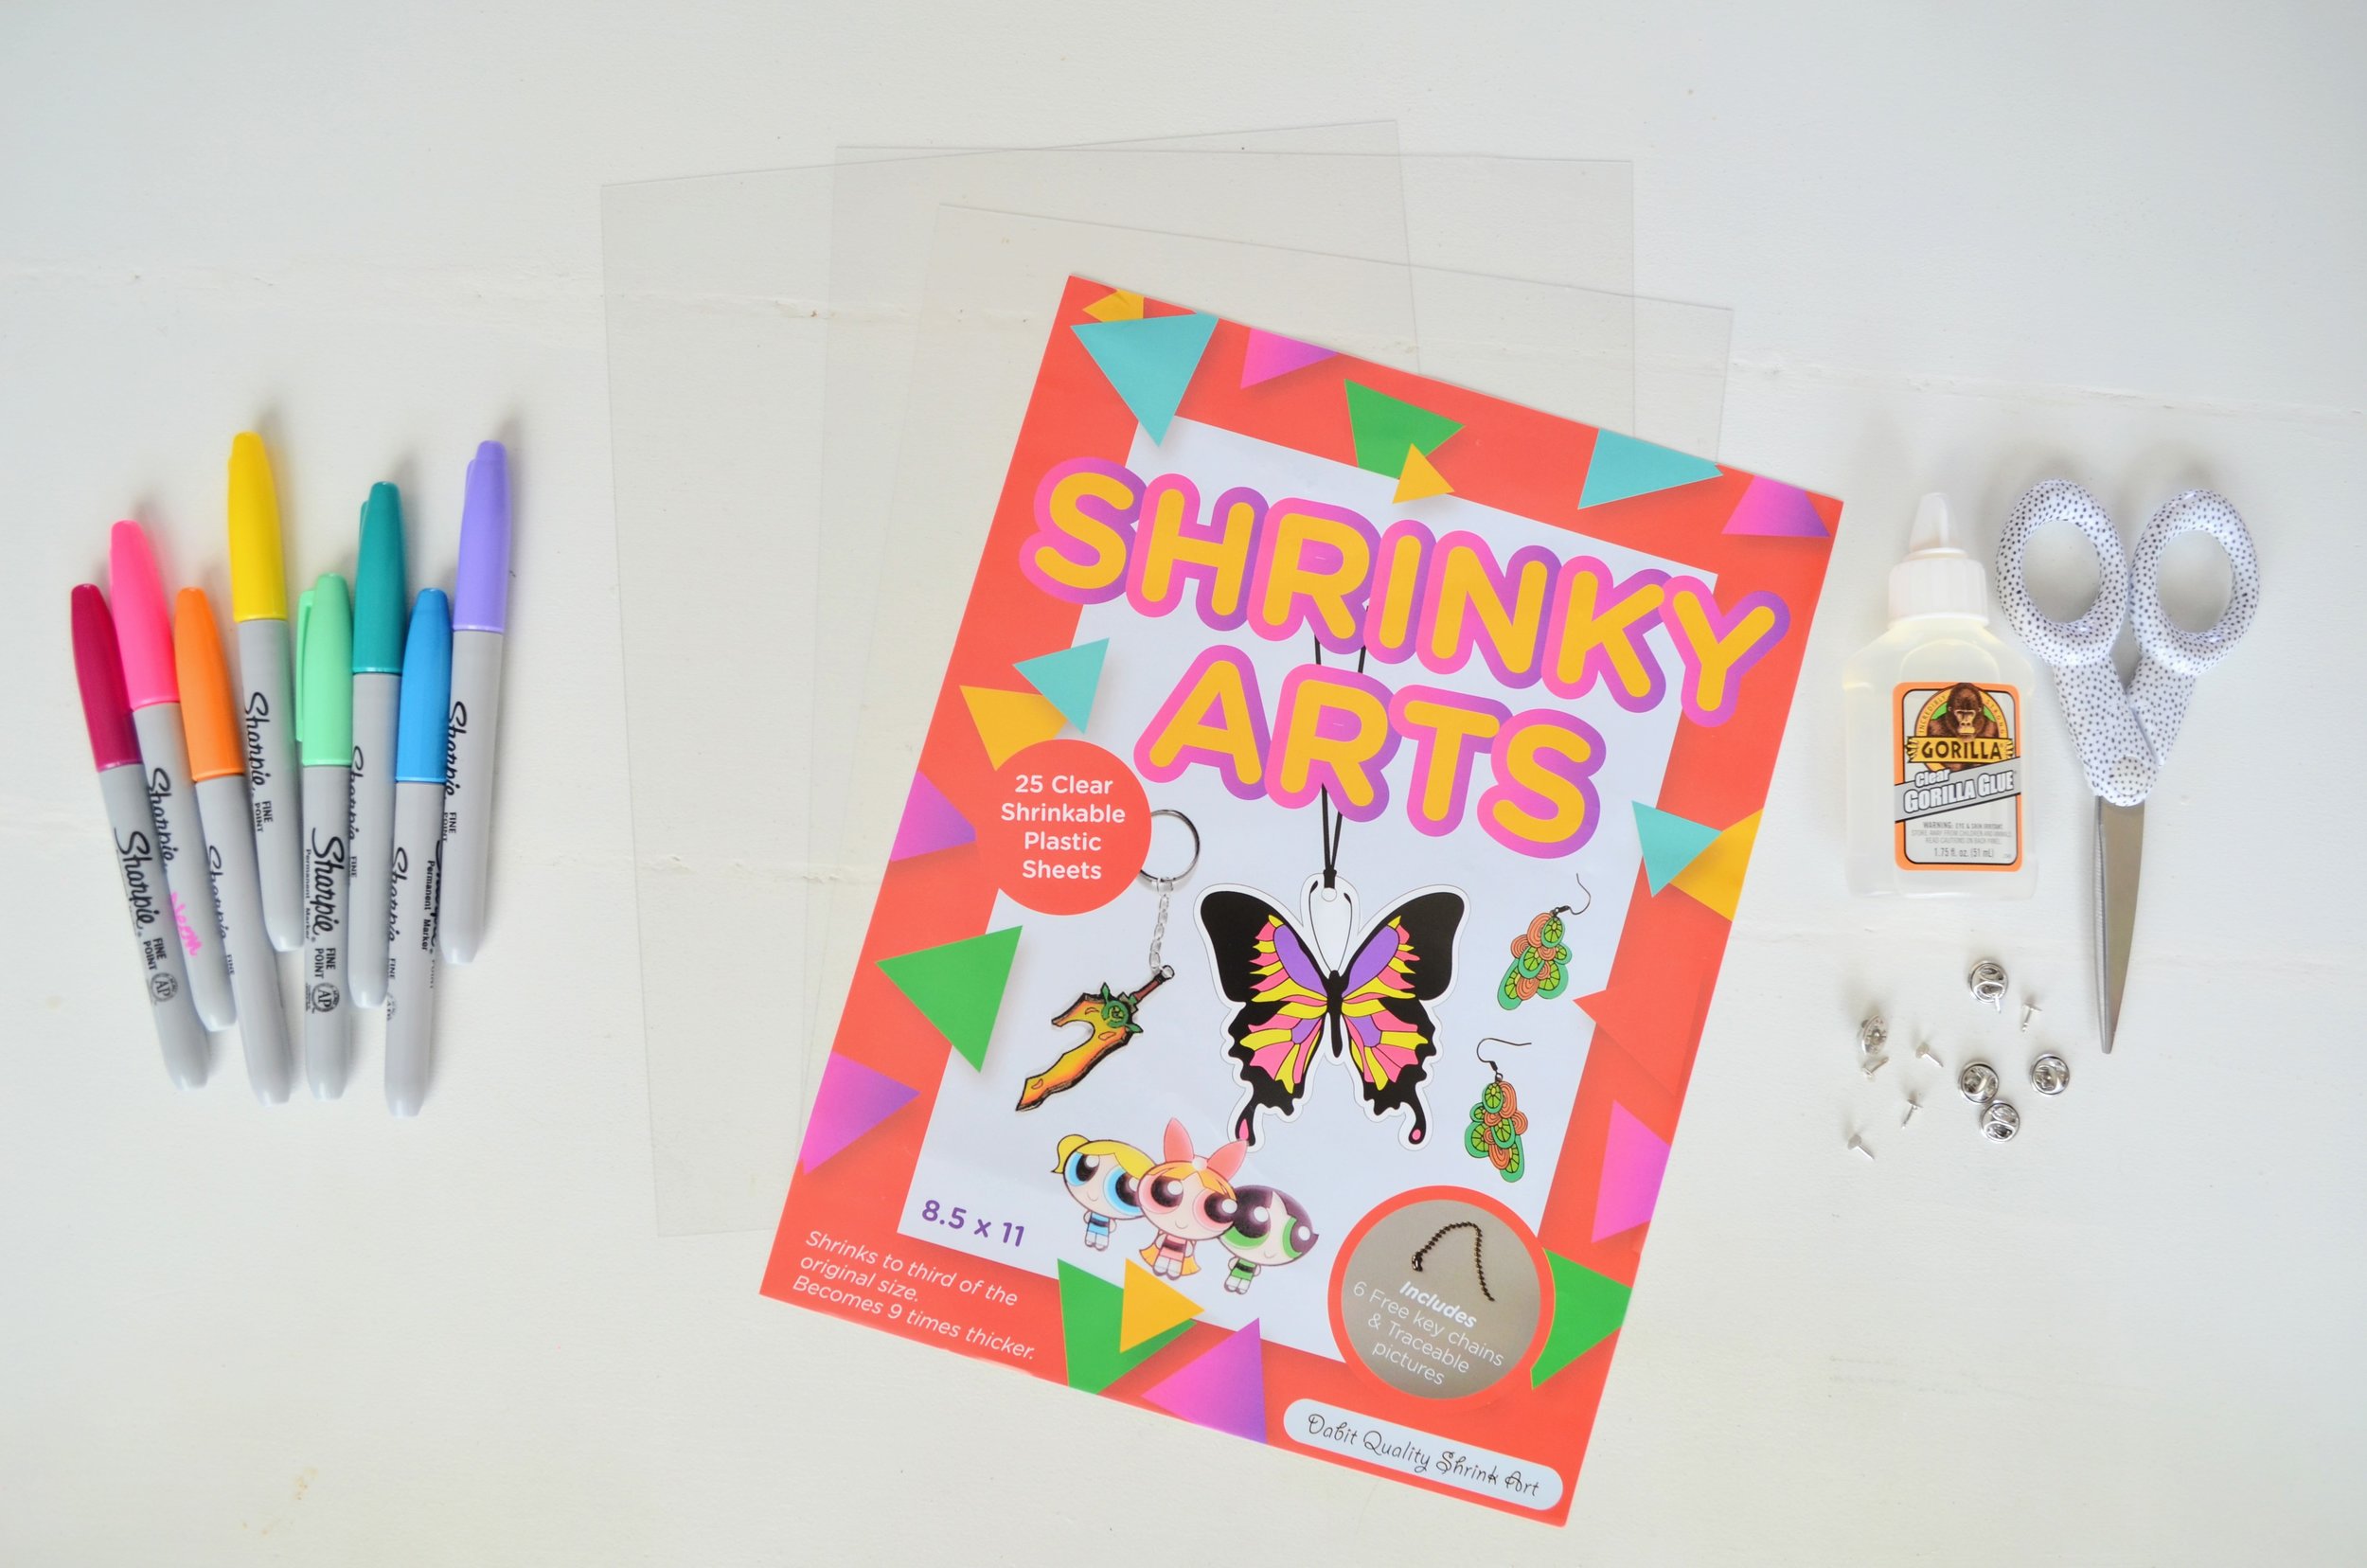
Materials
Shrinky Dink Plastic Sheets. We bought this pack of 25 sheets from Amazon, and it will last us a long time!
Pins and Pin Backs. I bought this pack of 100 pairs from Amazon as well, and they are the perfect little size.
Clear Gorilla Glue. I have used this glue for many projects this summer! It sticks to just about anything!
Sharpies or other permanent markers.
Scissors. Finer tipped scissors work well with this craft.
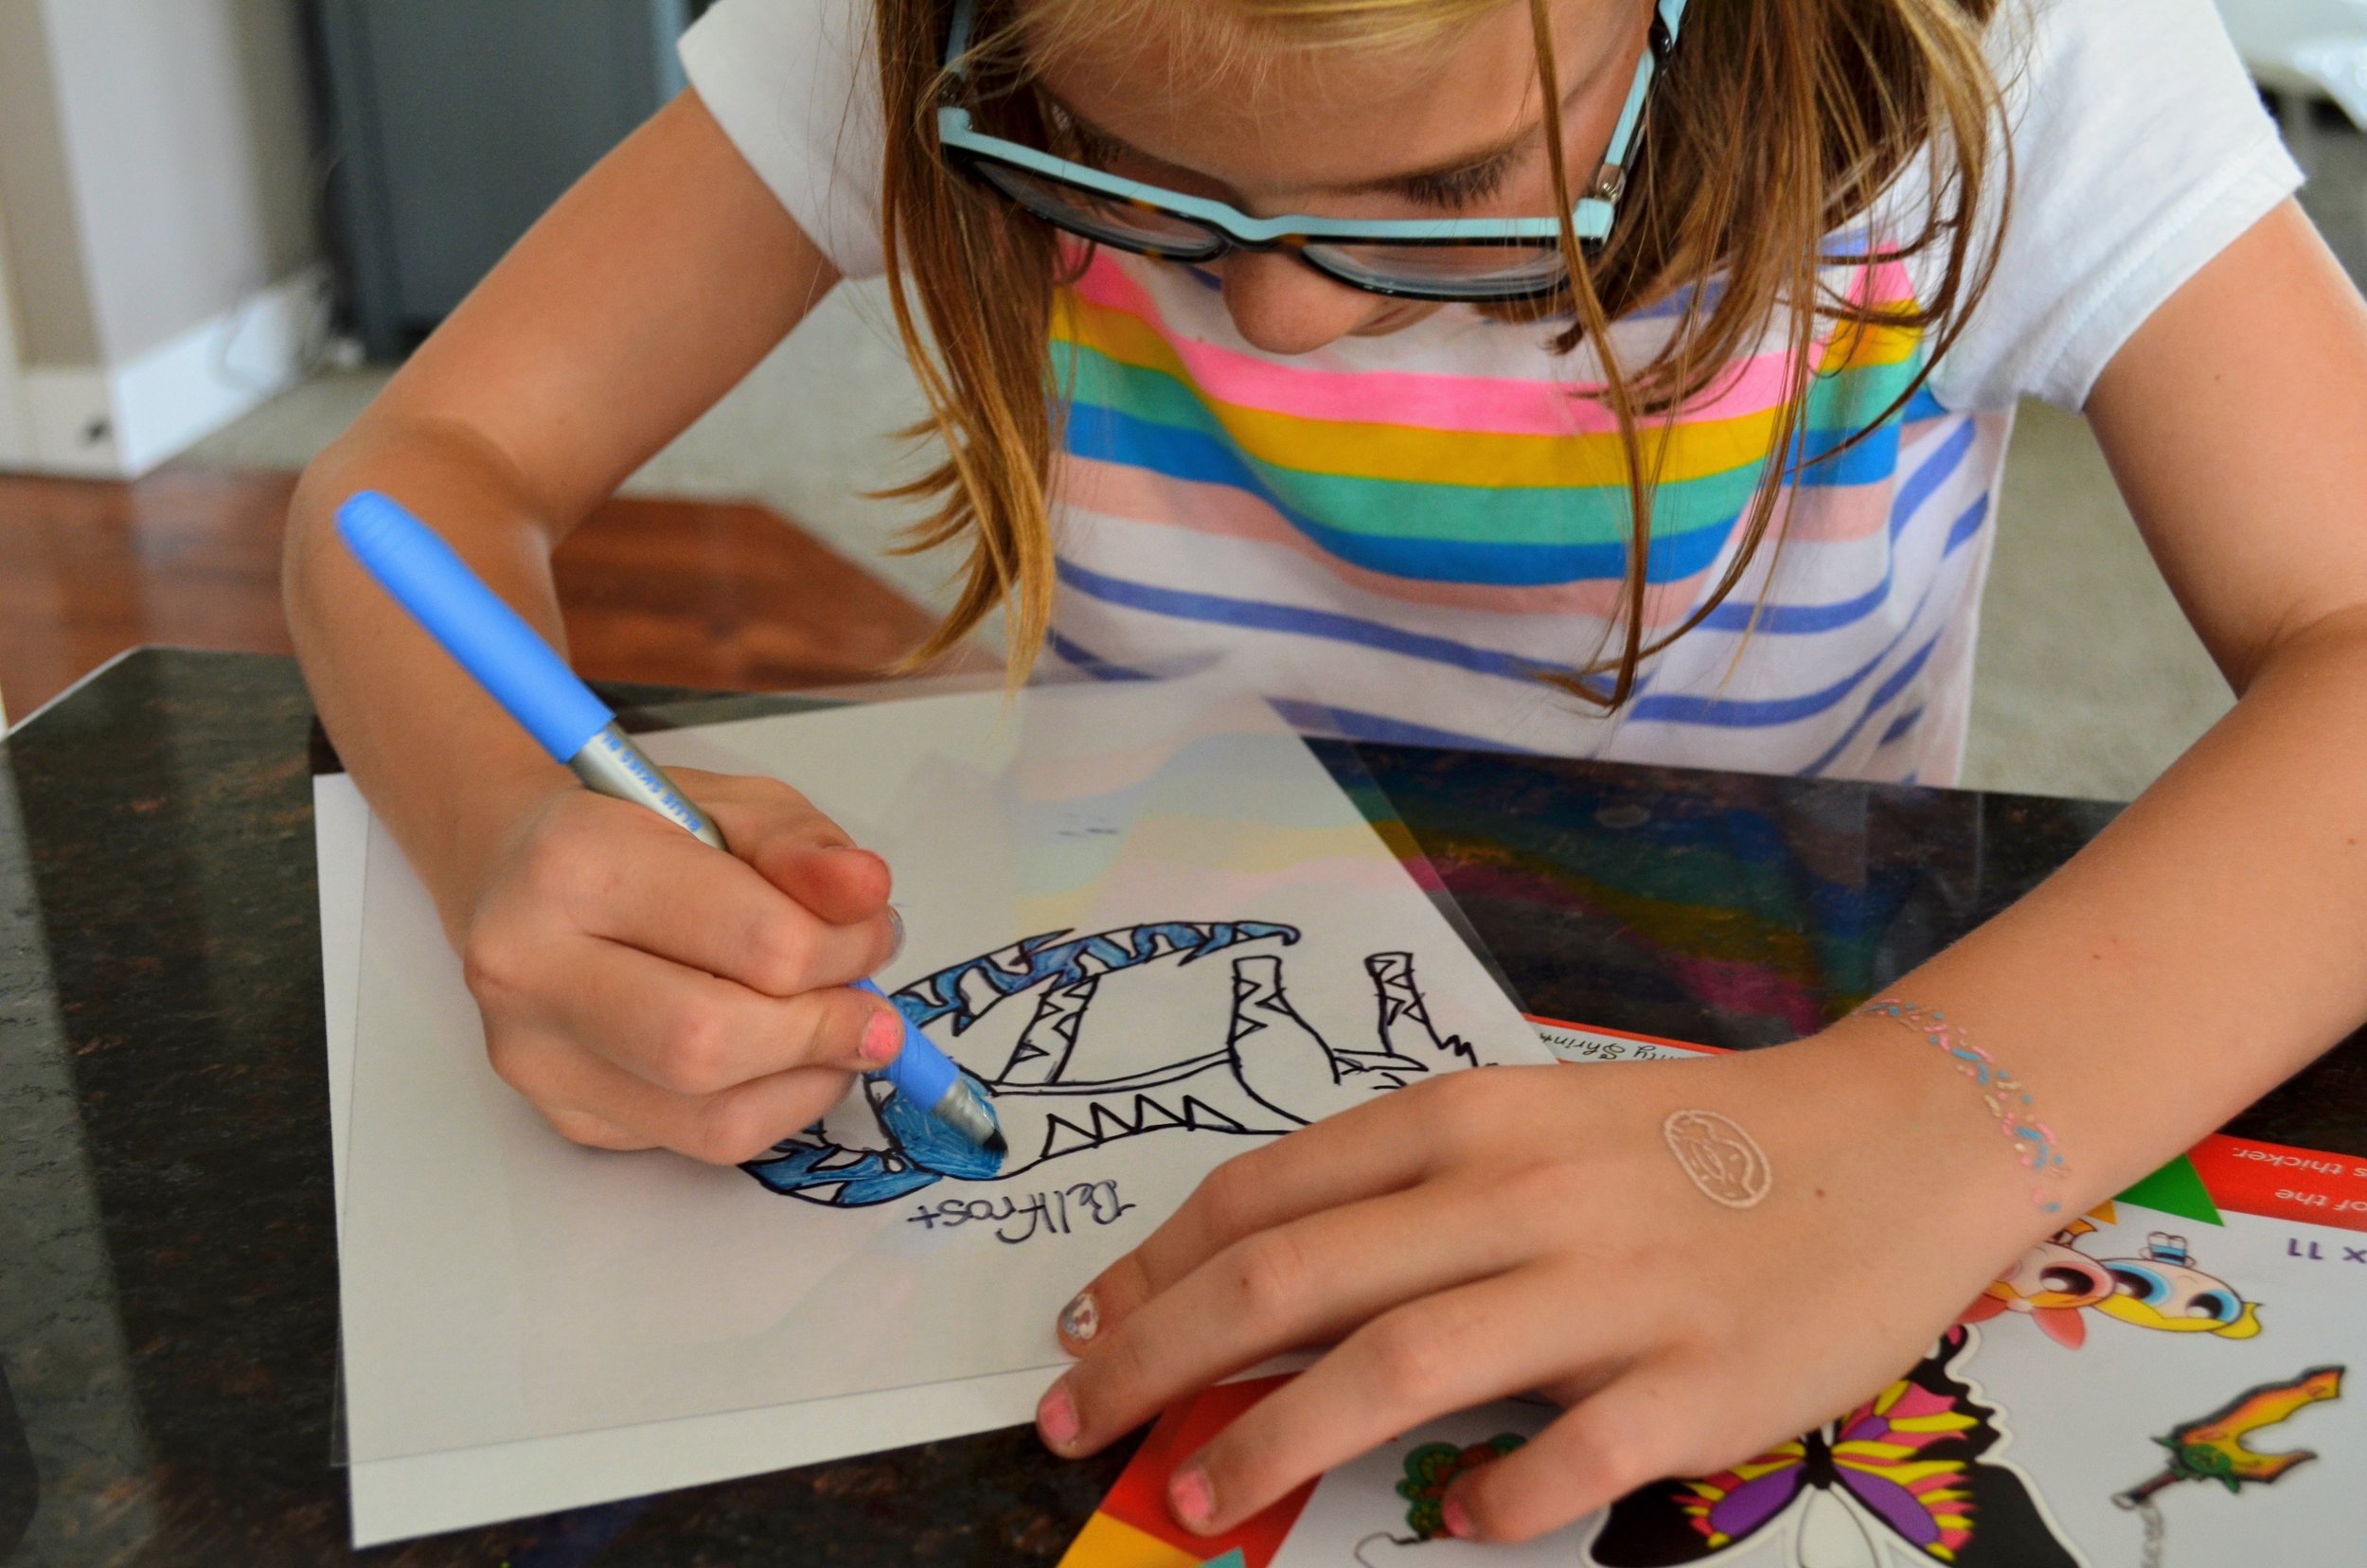
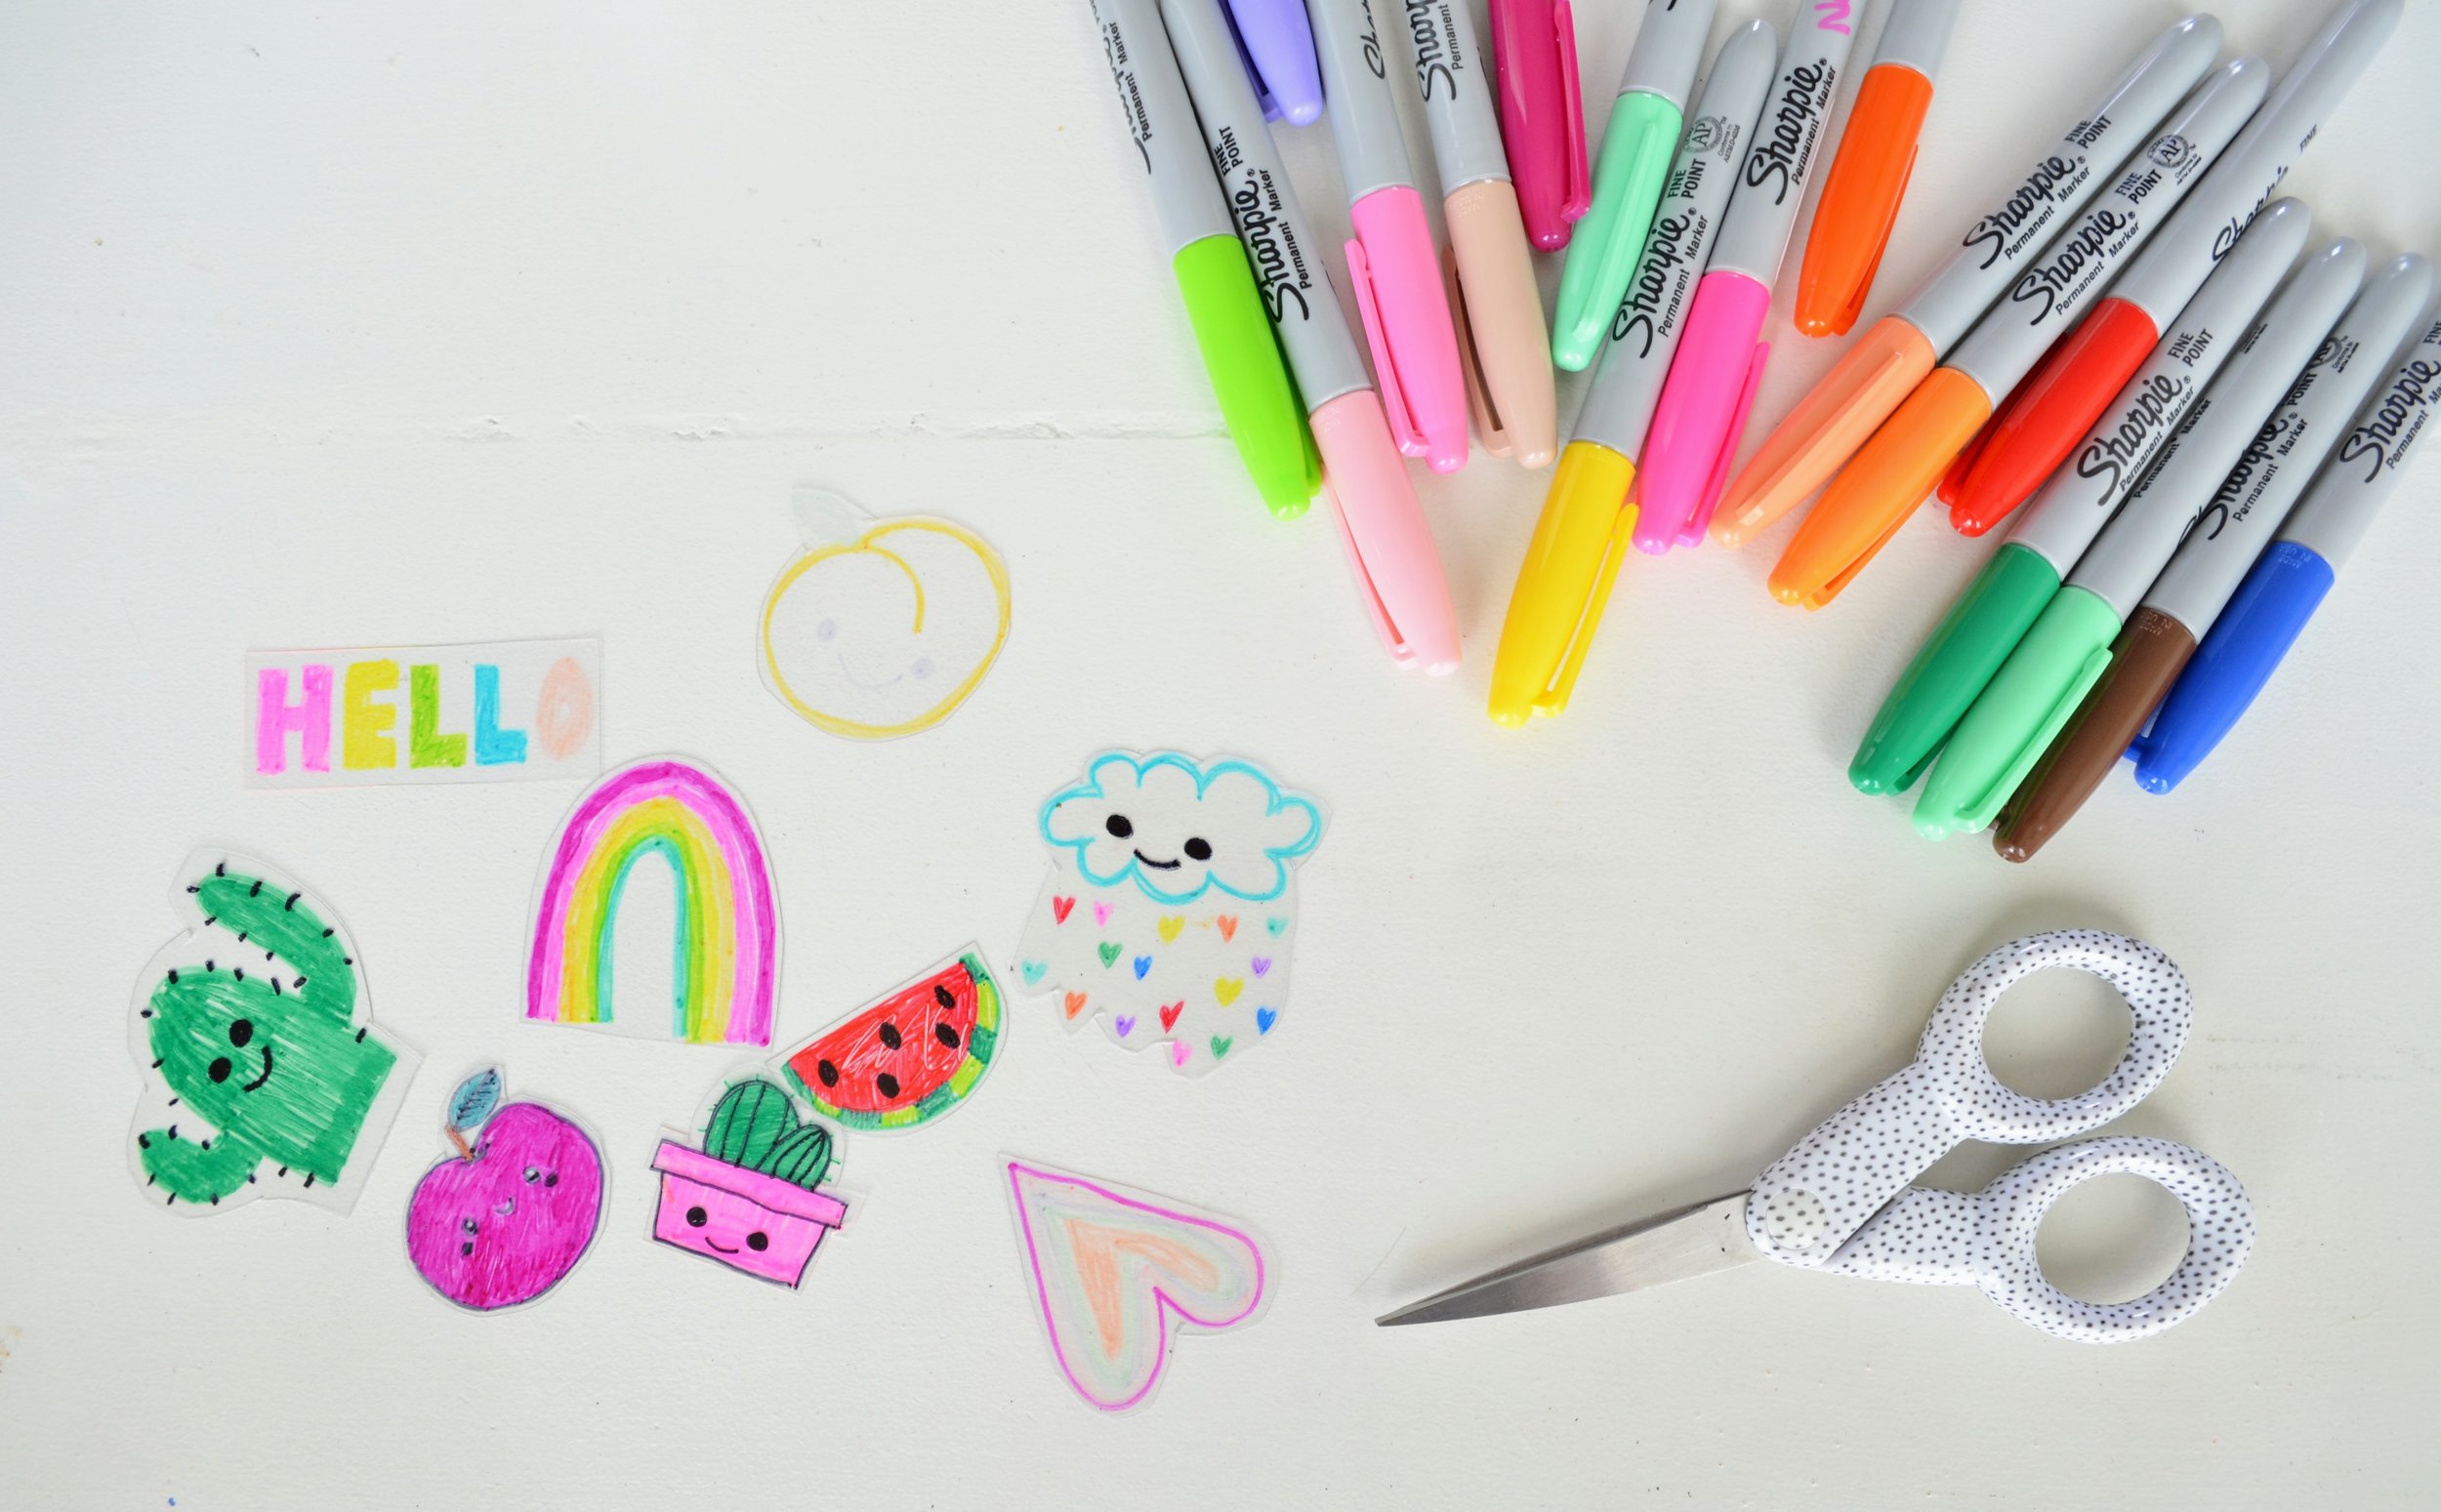
To begin, you need to draw designs of your choosing onto the clear plastic. Our set of plastic actually came with a template of black and white designs that you can trace. You could also print off clipart designs to trace. We ended up doing mostly free-hand designs.
A few things to keep in mind:
Your design will shrink to a very small size, so make sure you make it big enough, but not too big for your pin. I made most of my drawings around 1.5"-3".
Darker marker colors will show up better.
After you have drawn your designs, you need to cut out your pieces. The plastic does have a tendency to tear if you are trying to do a detailed shape, so it is often better to just do a smooth, rounded cut around your design. The plastic will stay in this shape when it is shrunk, so if you have any sharp edges, make sure to trim them to make them smooth before baking.
Bake your plastic according to the directions on the package. I put parchment onto a baking sheet then put our plastic pieces on the parchment for baking. The plastic does get a little tricky to peel off of the parchment, and it will leave a little residue on the back of your plastic, but it isn't very noticeable once you put your pin on. There was more residue when I tried putting the plastic directly onto the baking sheet, and it was harder to get off of the baking sheet than the parchment.
I turned on my vent fan and opened a window to try to keep any fumes to a minimum.
It's fun to turn on the oven light and watch these cute little designs shrink up. It only takes about 4 minutes for them to shrink! When they come out of the oven, they will be hard and tiny. Once you pull them out and let them cool for a minute, you can remove them from the parchment. Now it's time to put the pins on!
Slightly dampen the back of your plastic designs with a wet paper towel (Gorilla Glue needs one side of the glued pieces to be slightly wet), and apply a small dot of Gorilla Glue. Put one of the pins into the glue and allow to dry for a half an hour or so.
After the glue is dry, you can put the backs onto the pins. Now you have the cutest collection of unique pins!
These are perfect for sticking on your backpack or on your rainbow bag that we made a few weeks ago! Your design options are limitless, so get your creative minds flowing!

