Kids Craft Camp 2021: Air Dry Clay Sunbursts
We’re kicking off Kids Craft Camp 2021 with an easy but cheerful little craft today! I always love crafts that don’t just end up in the trash after a few weeks. Let’s face it. Sometimes the things our kids make just aren’t that practical, and we just can’t keep everything. When planning out crafts for our craft camps, I try to think of projects that can be useful. Maybe it is something my kids can wear or accessorize with. Maybe it’s something they can hang on their wall or a something they can carry with them. Whatever it is, I like it to be useful.
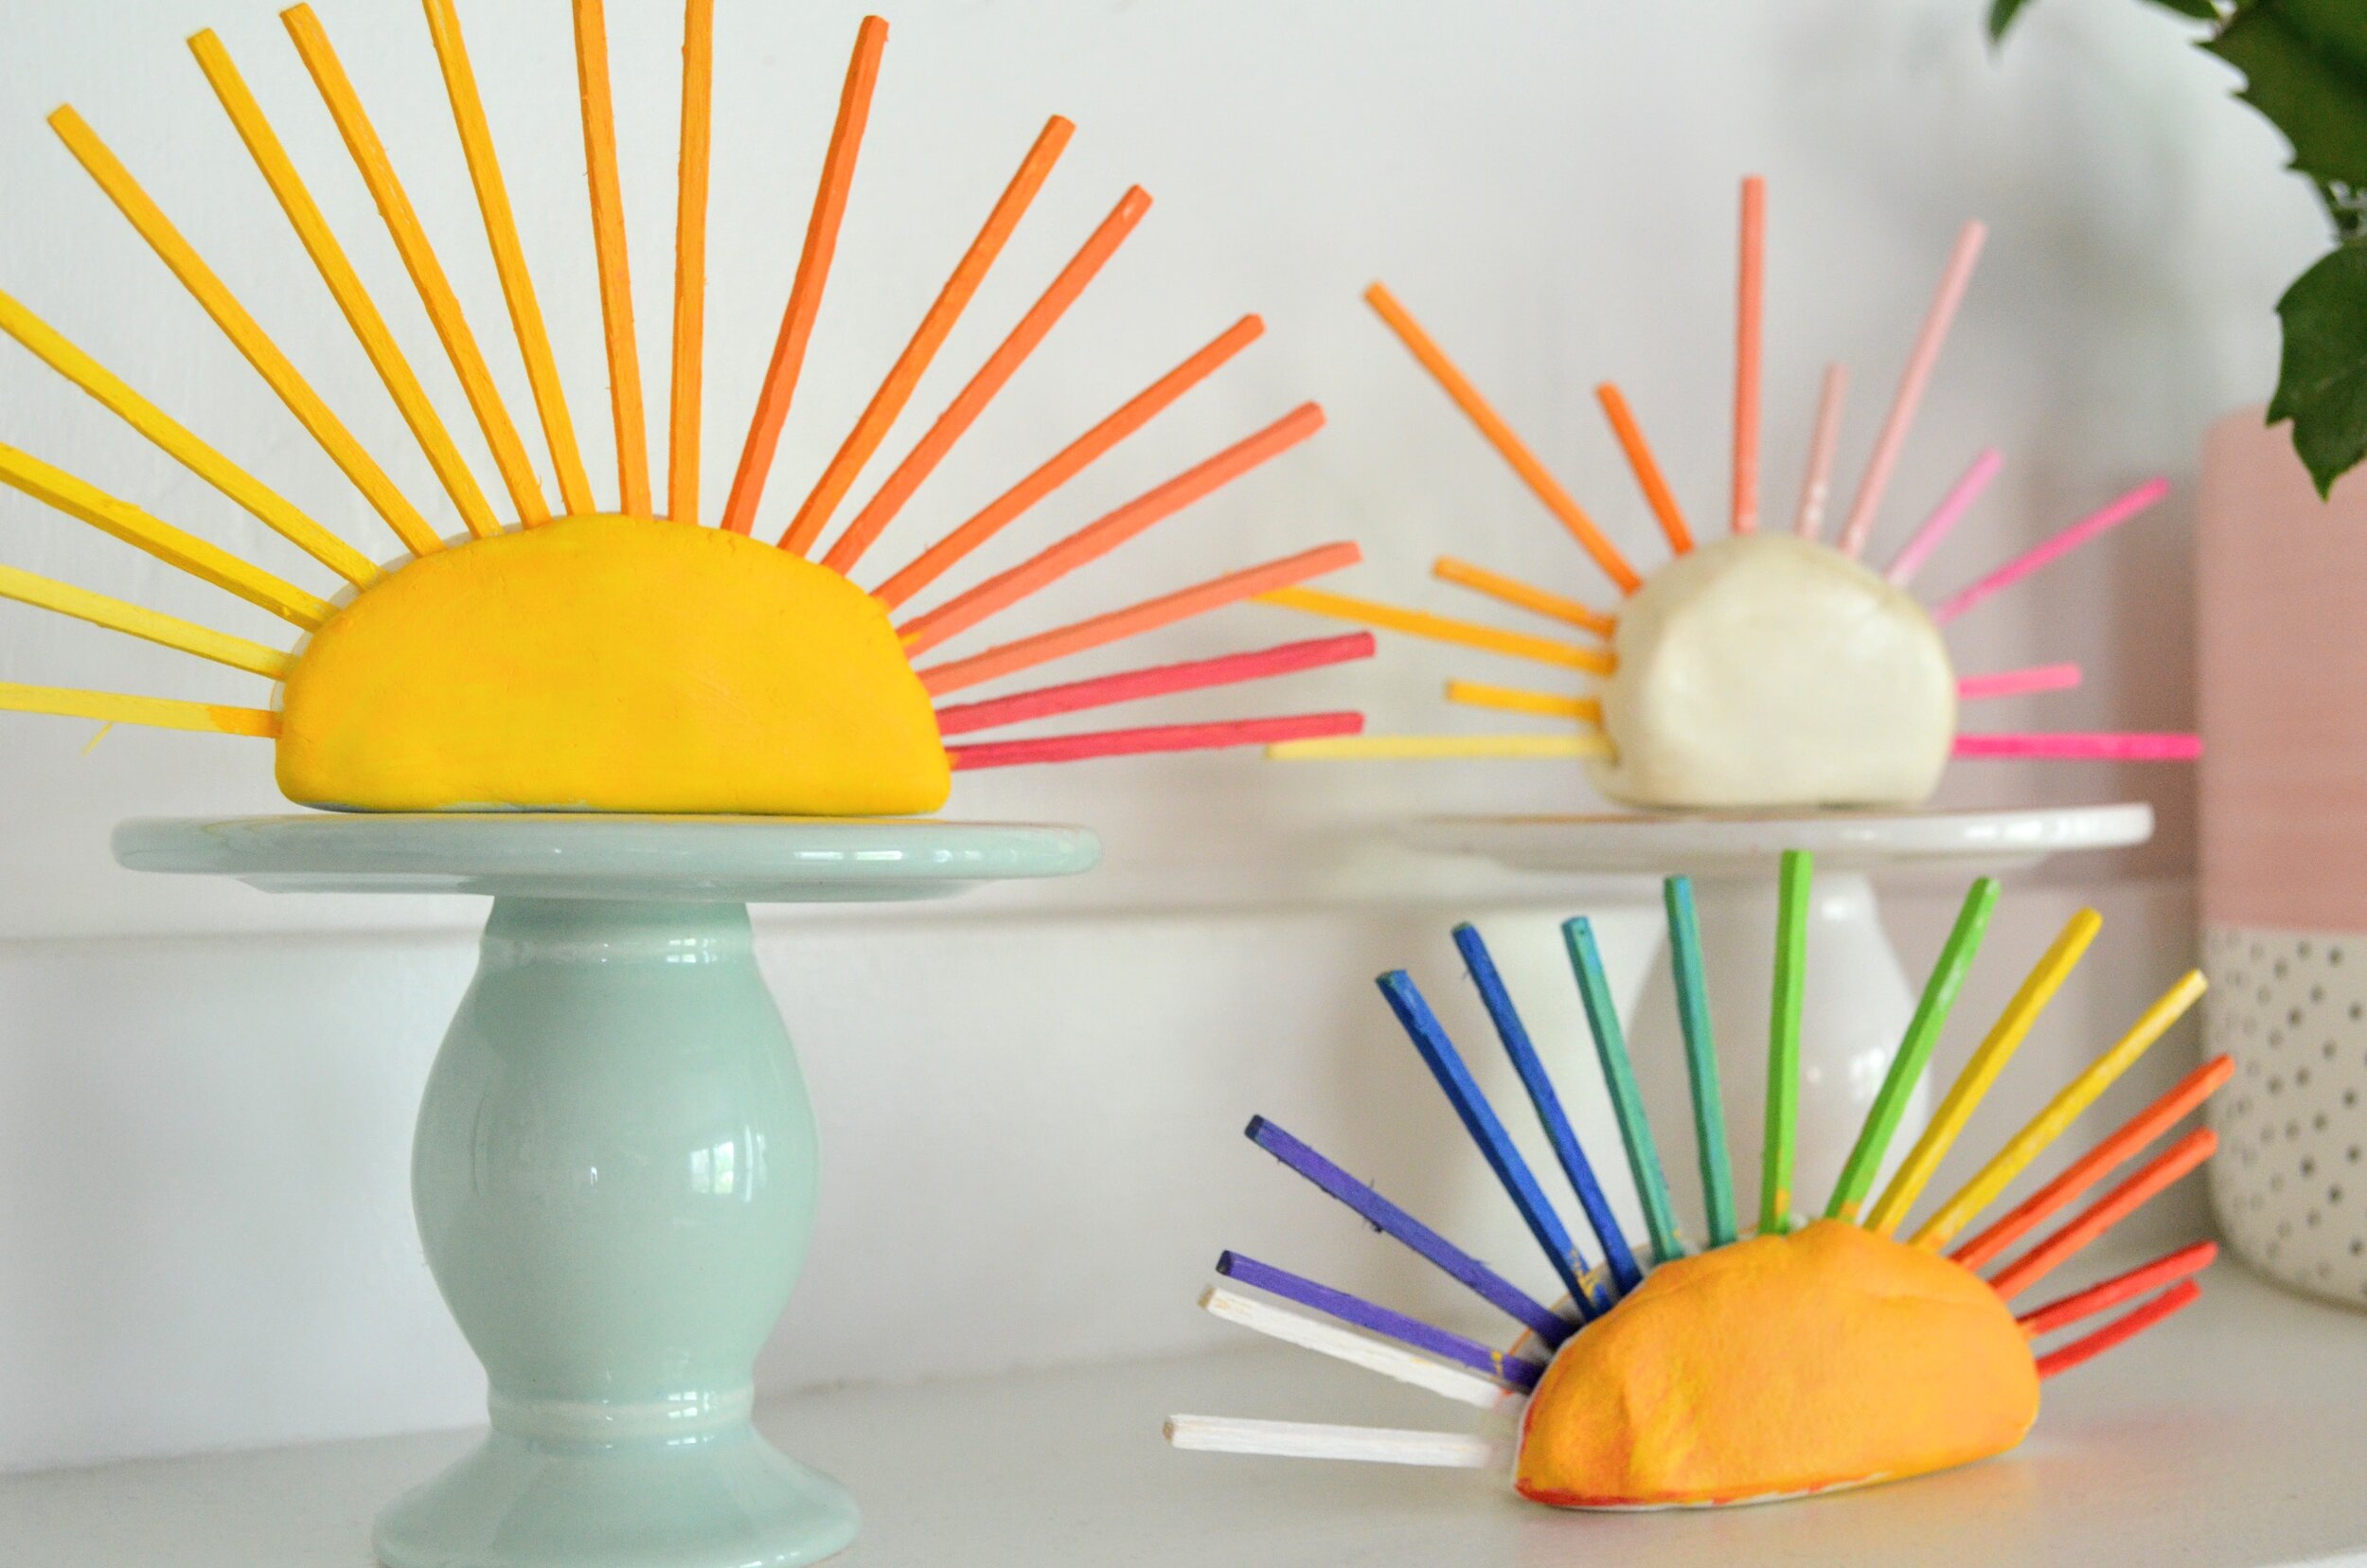
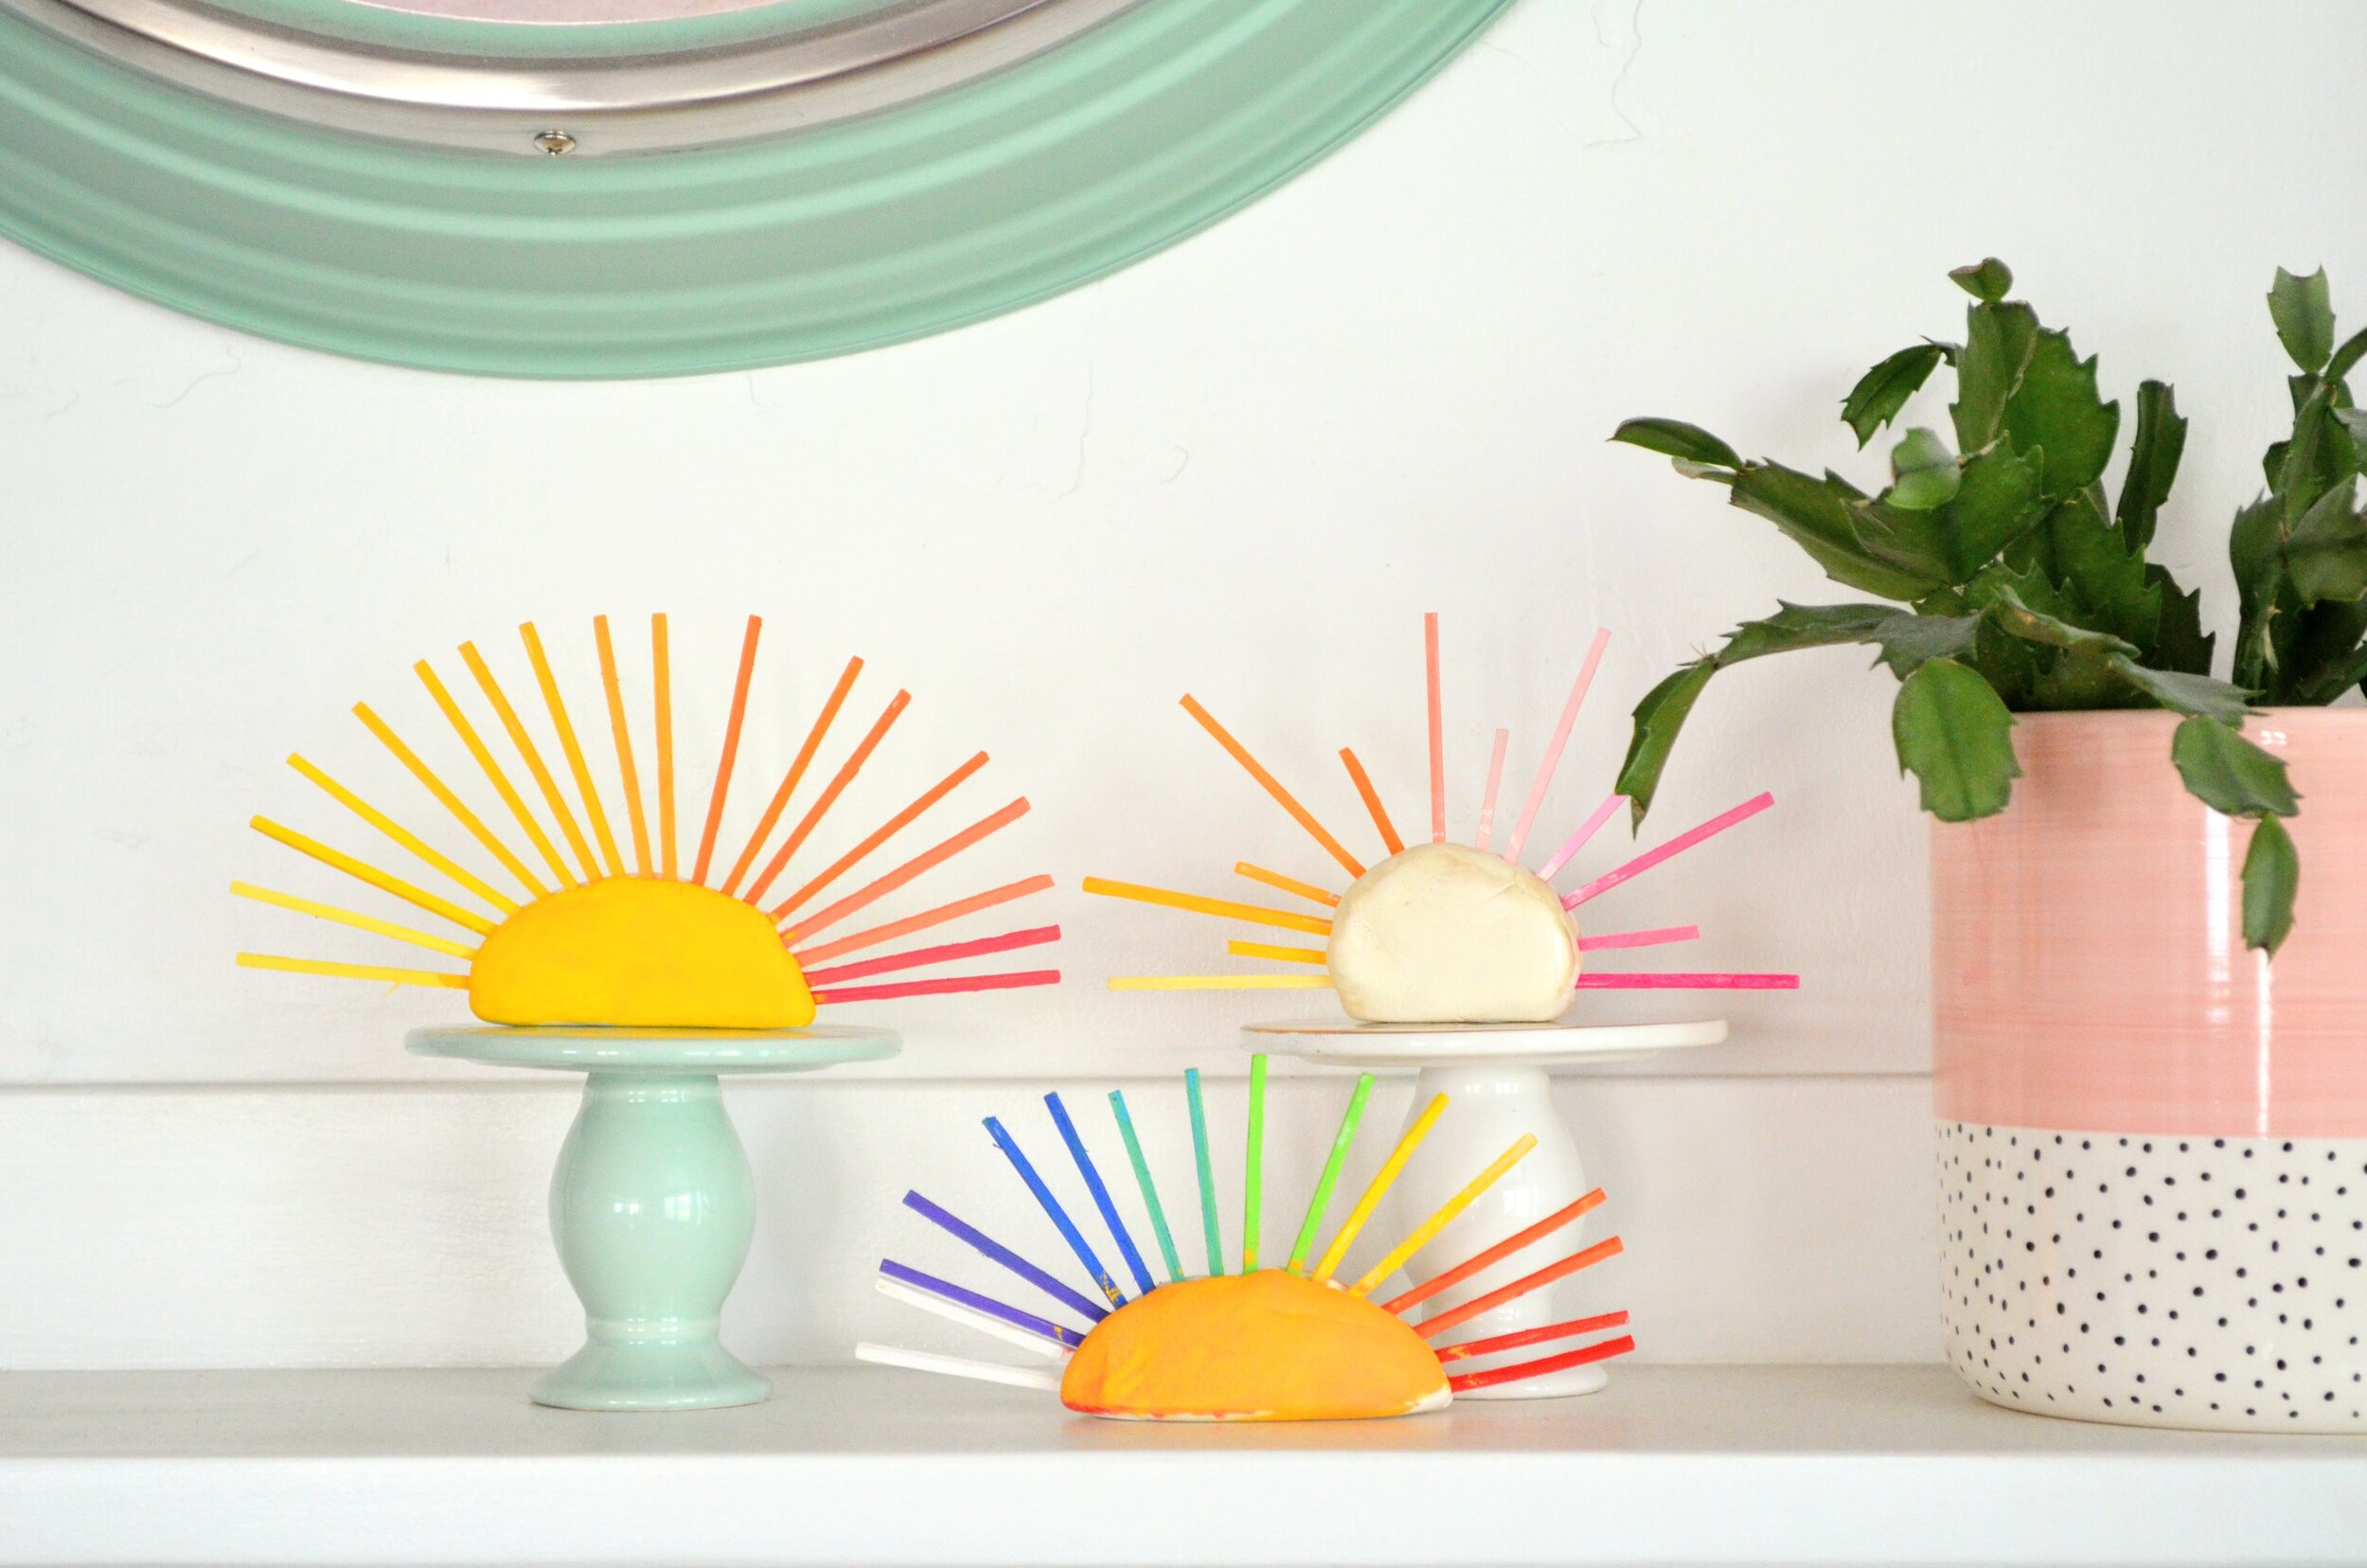
The idea for this craft came when I saw an amazing wood headboard that reminded me of a rising sun. As much as I wished I could make that headboard with my kids, it just wasn’t something we could do! So I took that general idea and made little sunbursts that can decorate their bedrooms. These sunbursts can be made with so many different colors, which allows each child to express their own personalities.
Materials
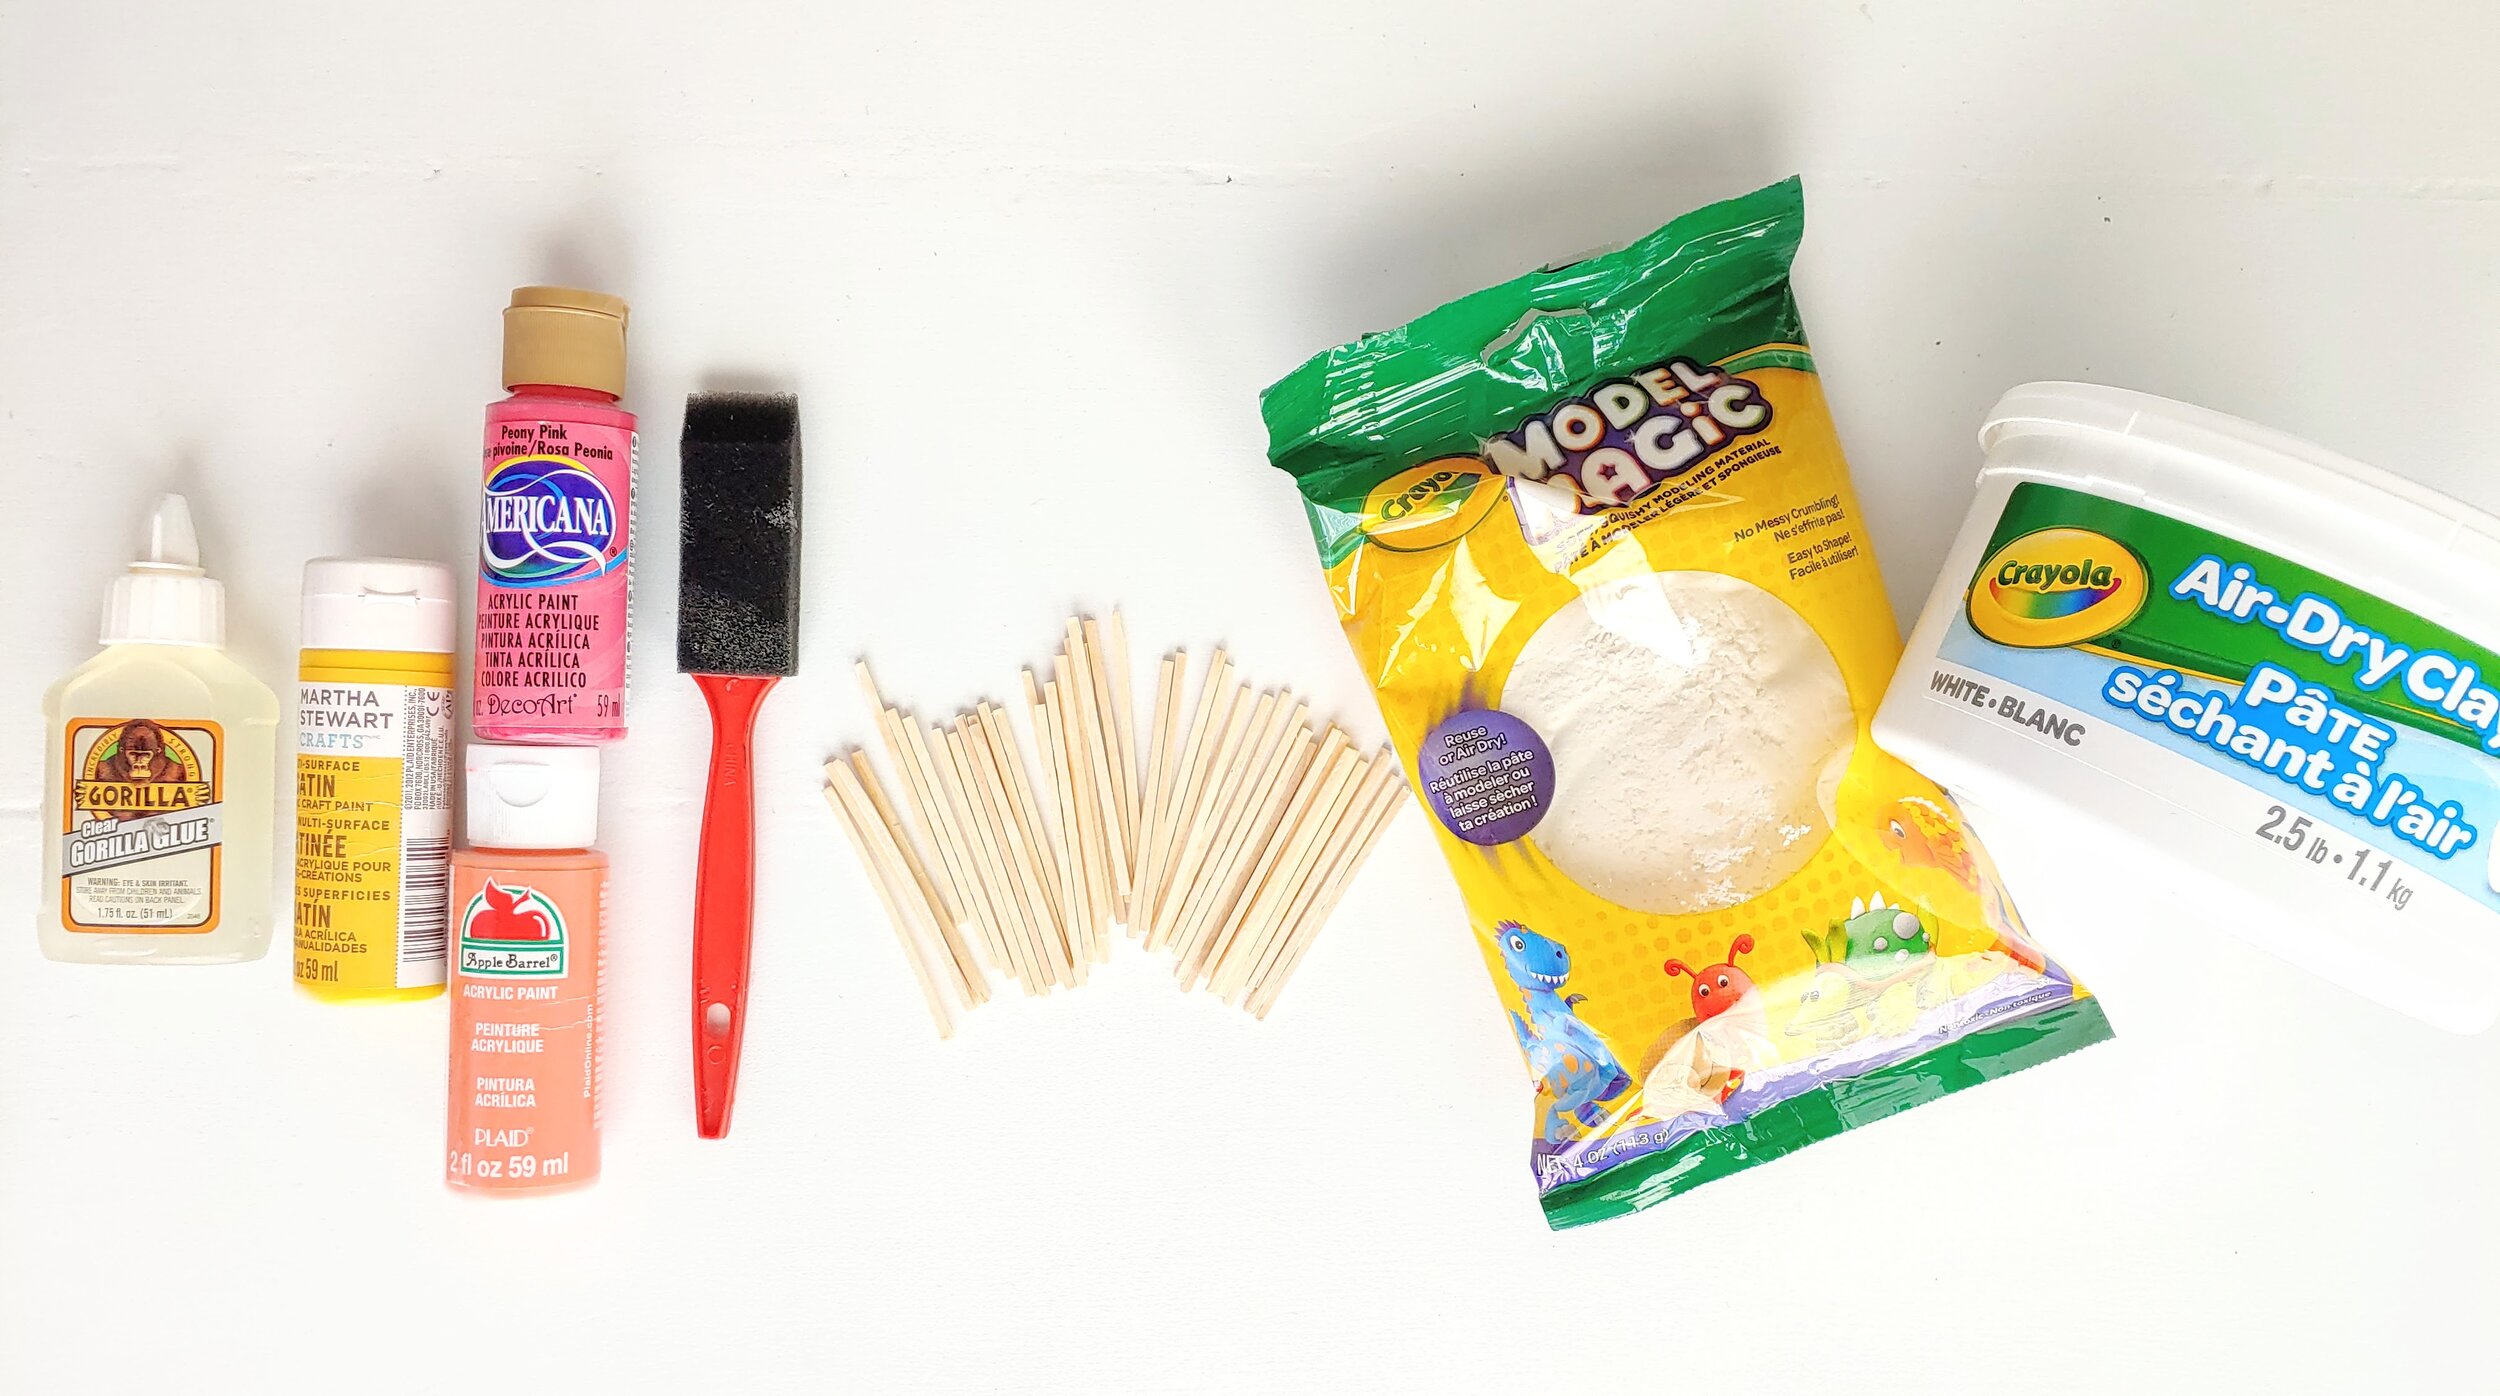
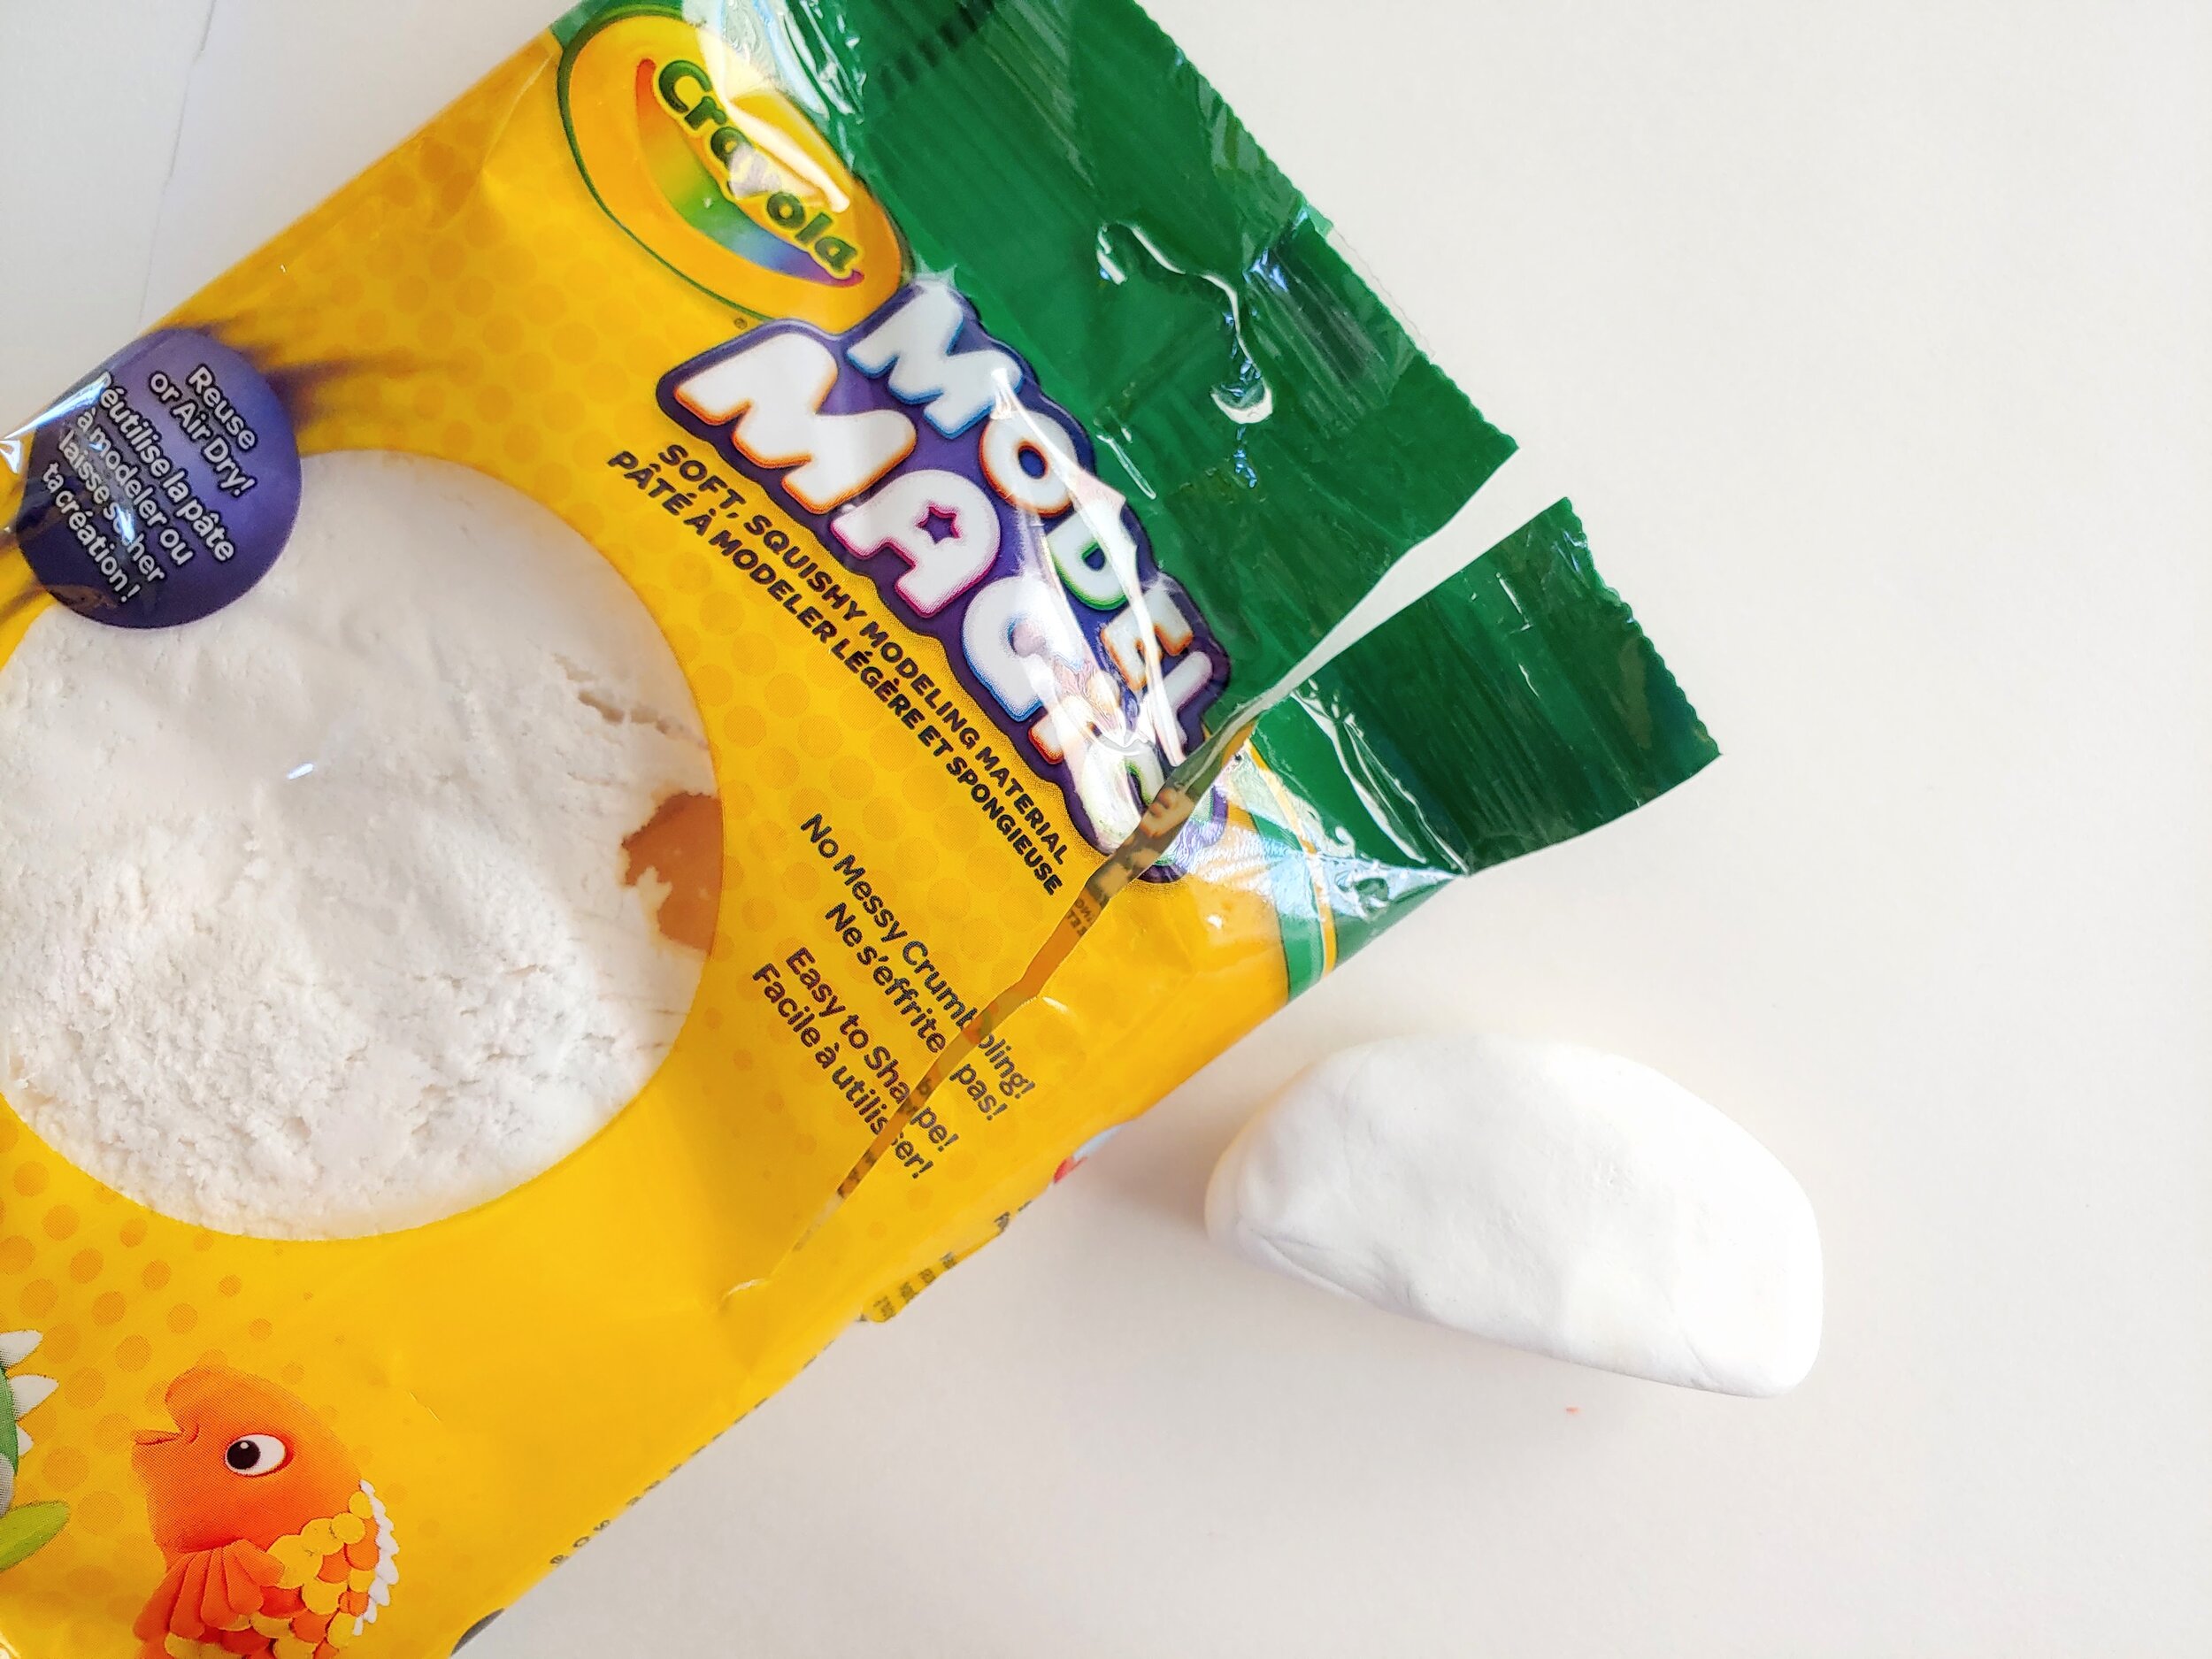
Air Dry Clay. I actually had both Crayola Model Magic clay and Crayola Air Dry Clay, and I ended up liking the Model Magic more. It is so lightweight and it is less messy than the regular Air Dry Clay, but either would work great for this craft! You can find the Model Magic from Amazon HERE, or at any craft store. The Amazon price is actually a little cheaper than my local craft store at about $3.50 for a 4 oz package. You can find the Air Dry Clay HERE on Amazon. It is a bit more expensive at about $12, but you get a lot more (like it’s 5 lbs.!).
Wood Sticks measuring around 3-4 inches long. I actually already had a large package of wooden sticks that I bought from Michaels a while back. For this, you can be creative! Go gather some sticks from your yard and cut them down to size. Use coffee stirrers. Toothpicks can even work! You can always look in the unfinished wood section of your local craft store. They usually have pretty good options. Just look for fairly short and really skinny.
Paint. Again, I used paint I already had on hand. Any acrylic craft paint works great for this.
Paint Brush.
Palette. This is optional, but it makes it much easier to pour all your colors at once.
Clear Gorilla Glue. Optional. I didn’t end up using any glue, but if your sticks are a little loose, you can always add a dab of Gorilla Glue. I love this glue for crafting because it has such a strong hold.
How To
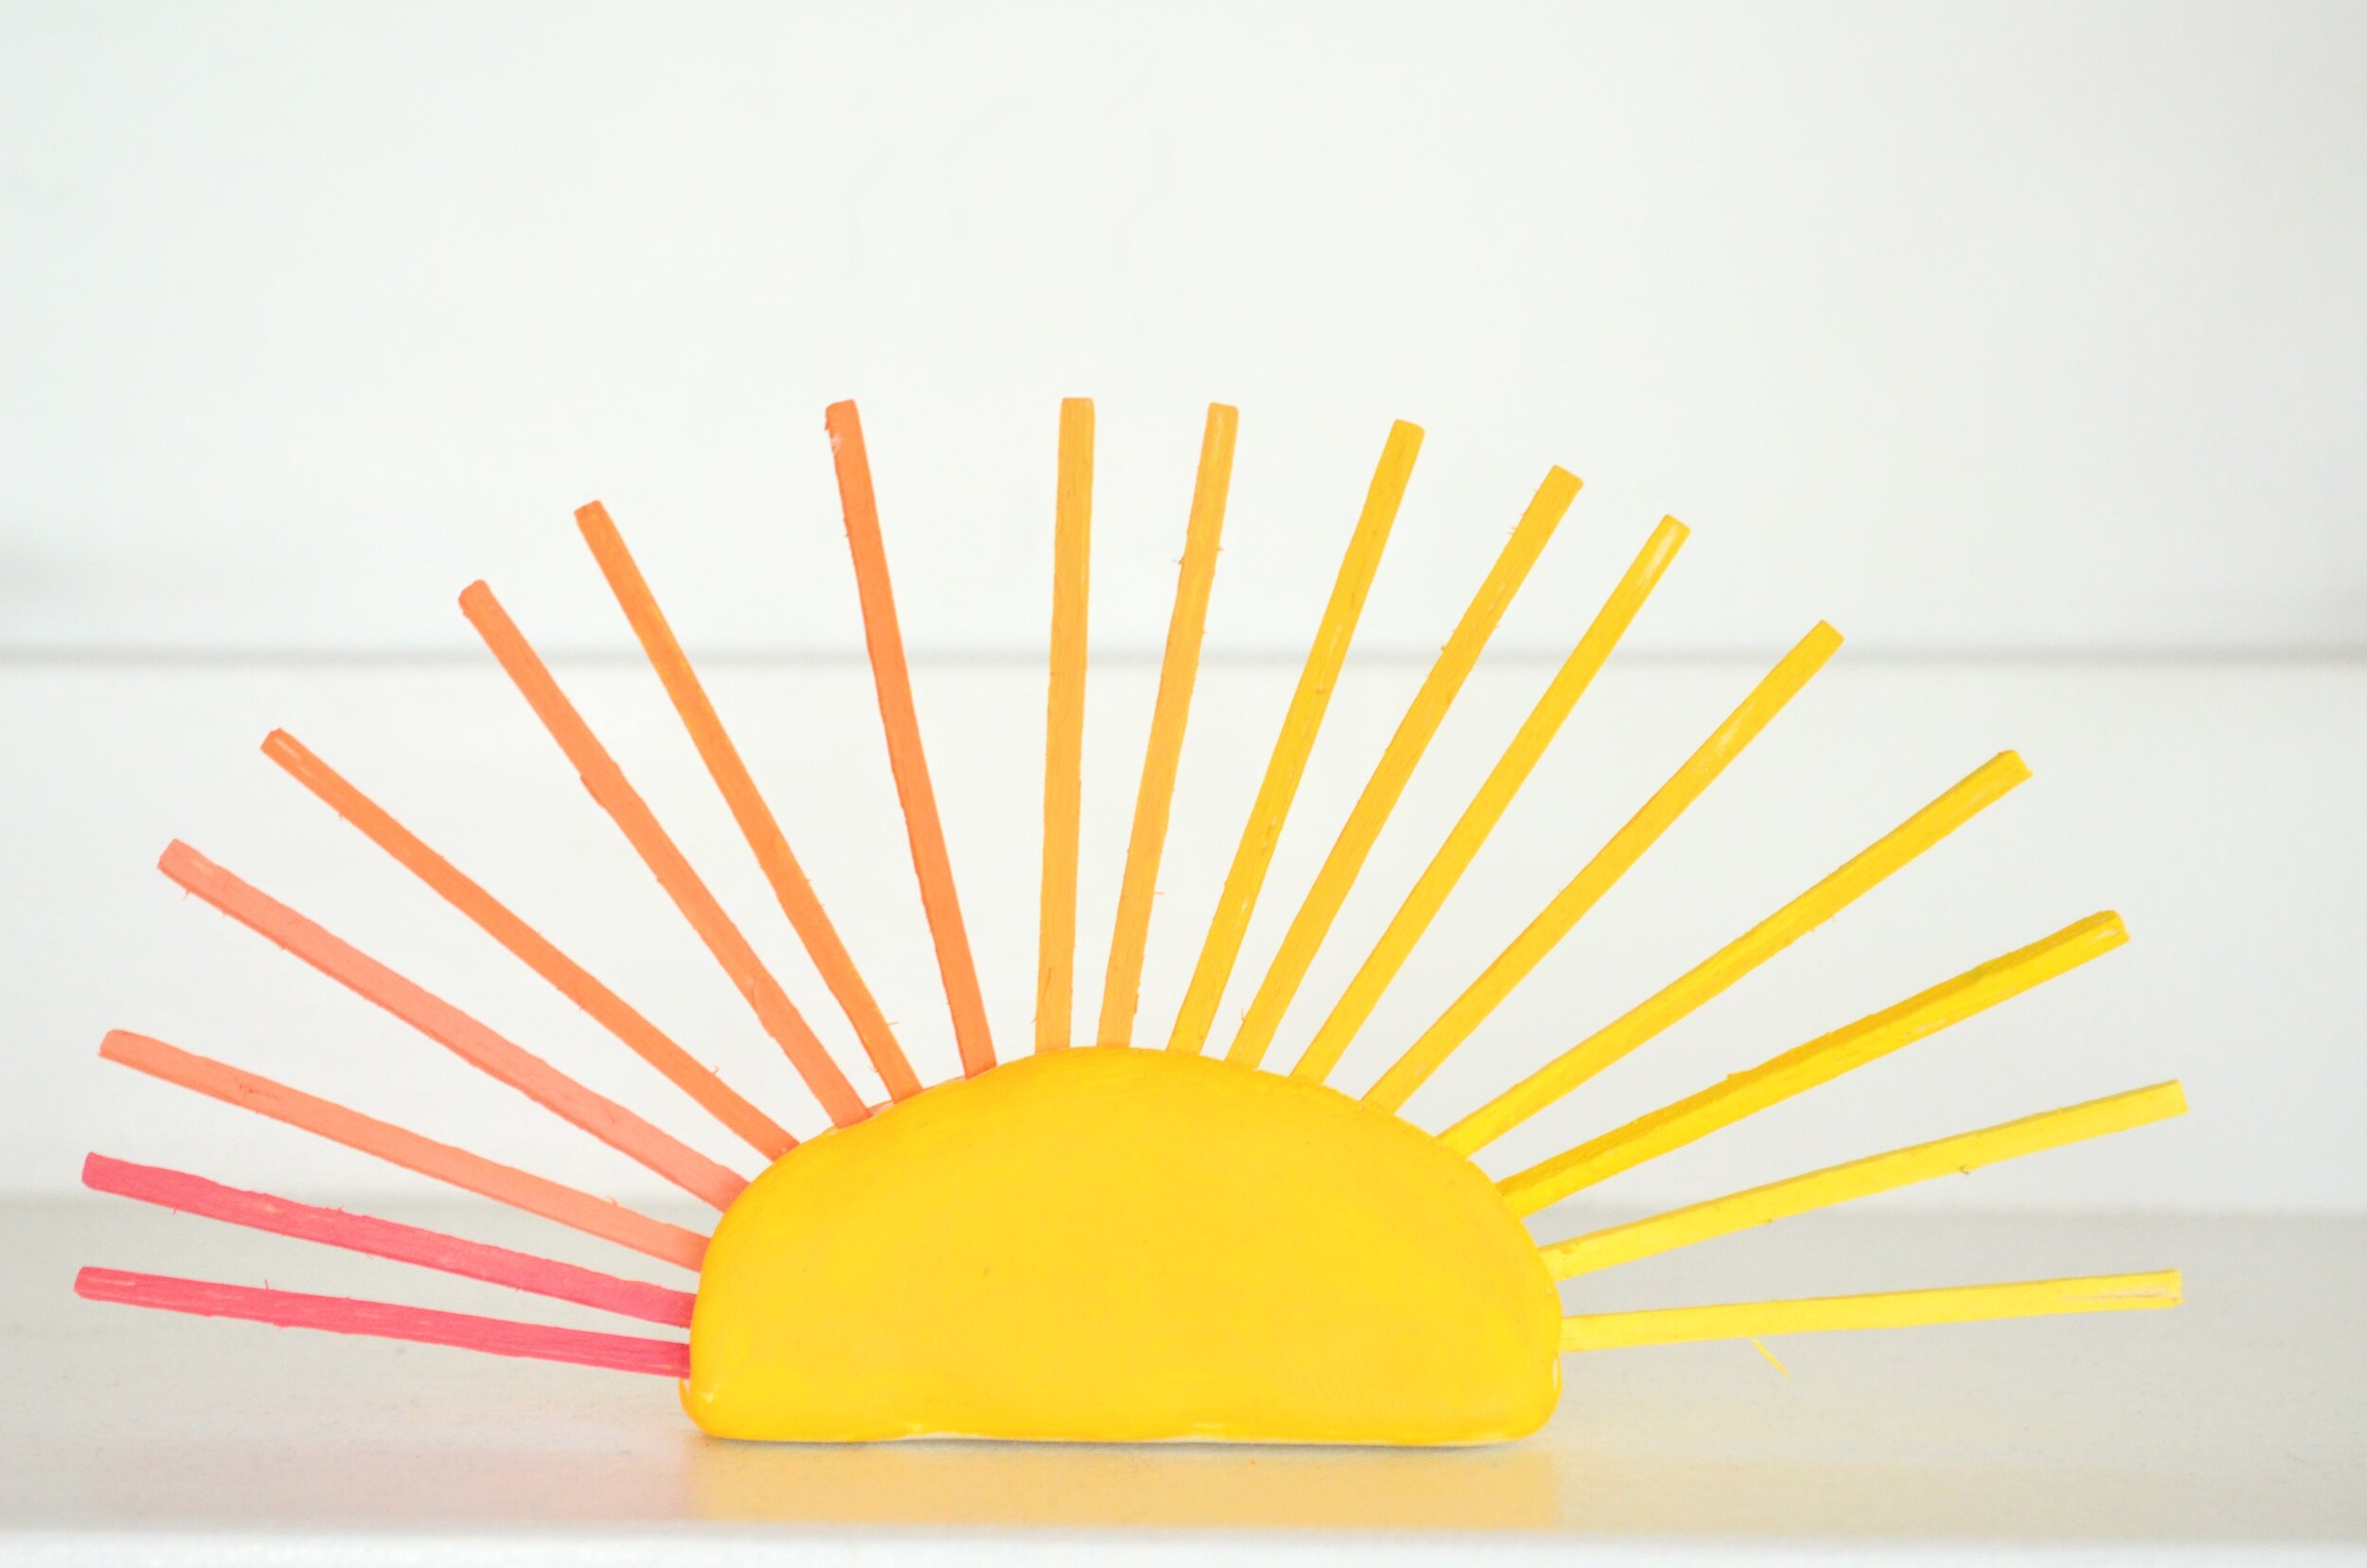
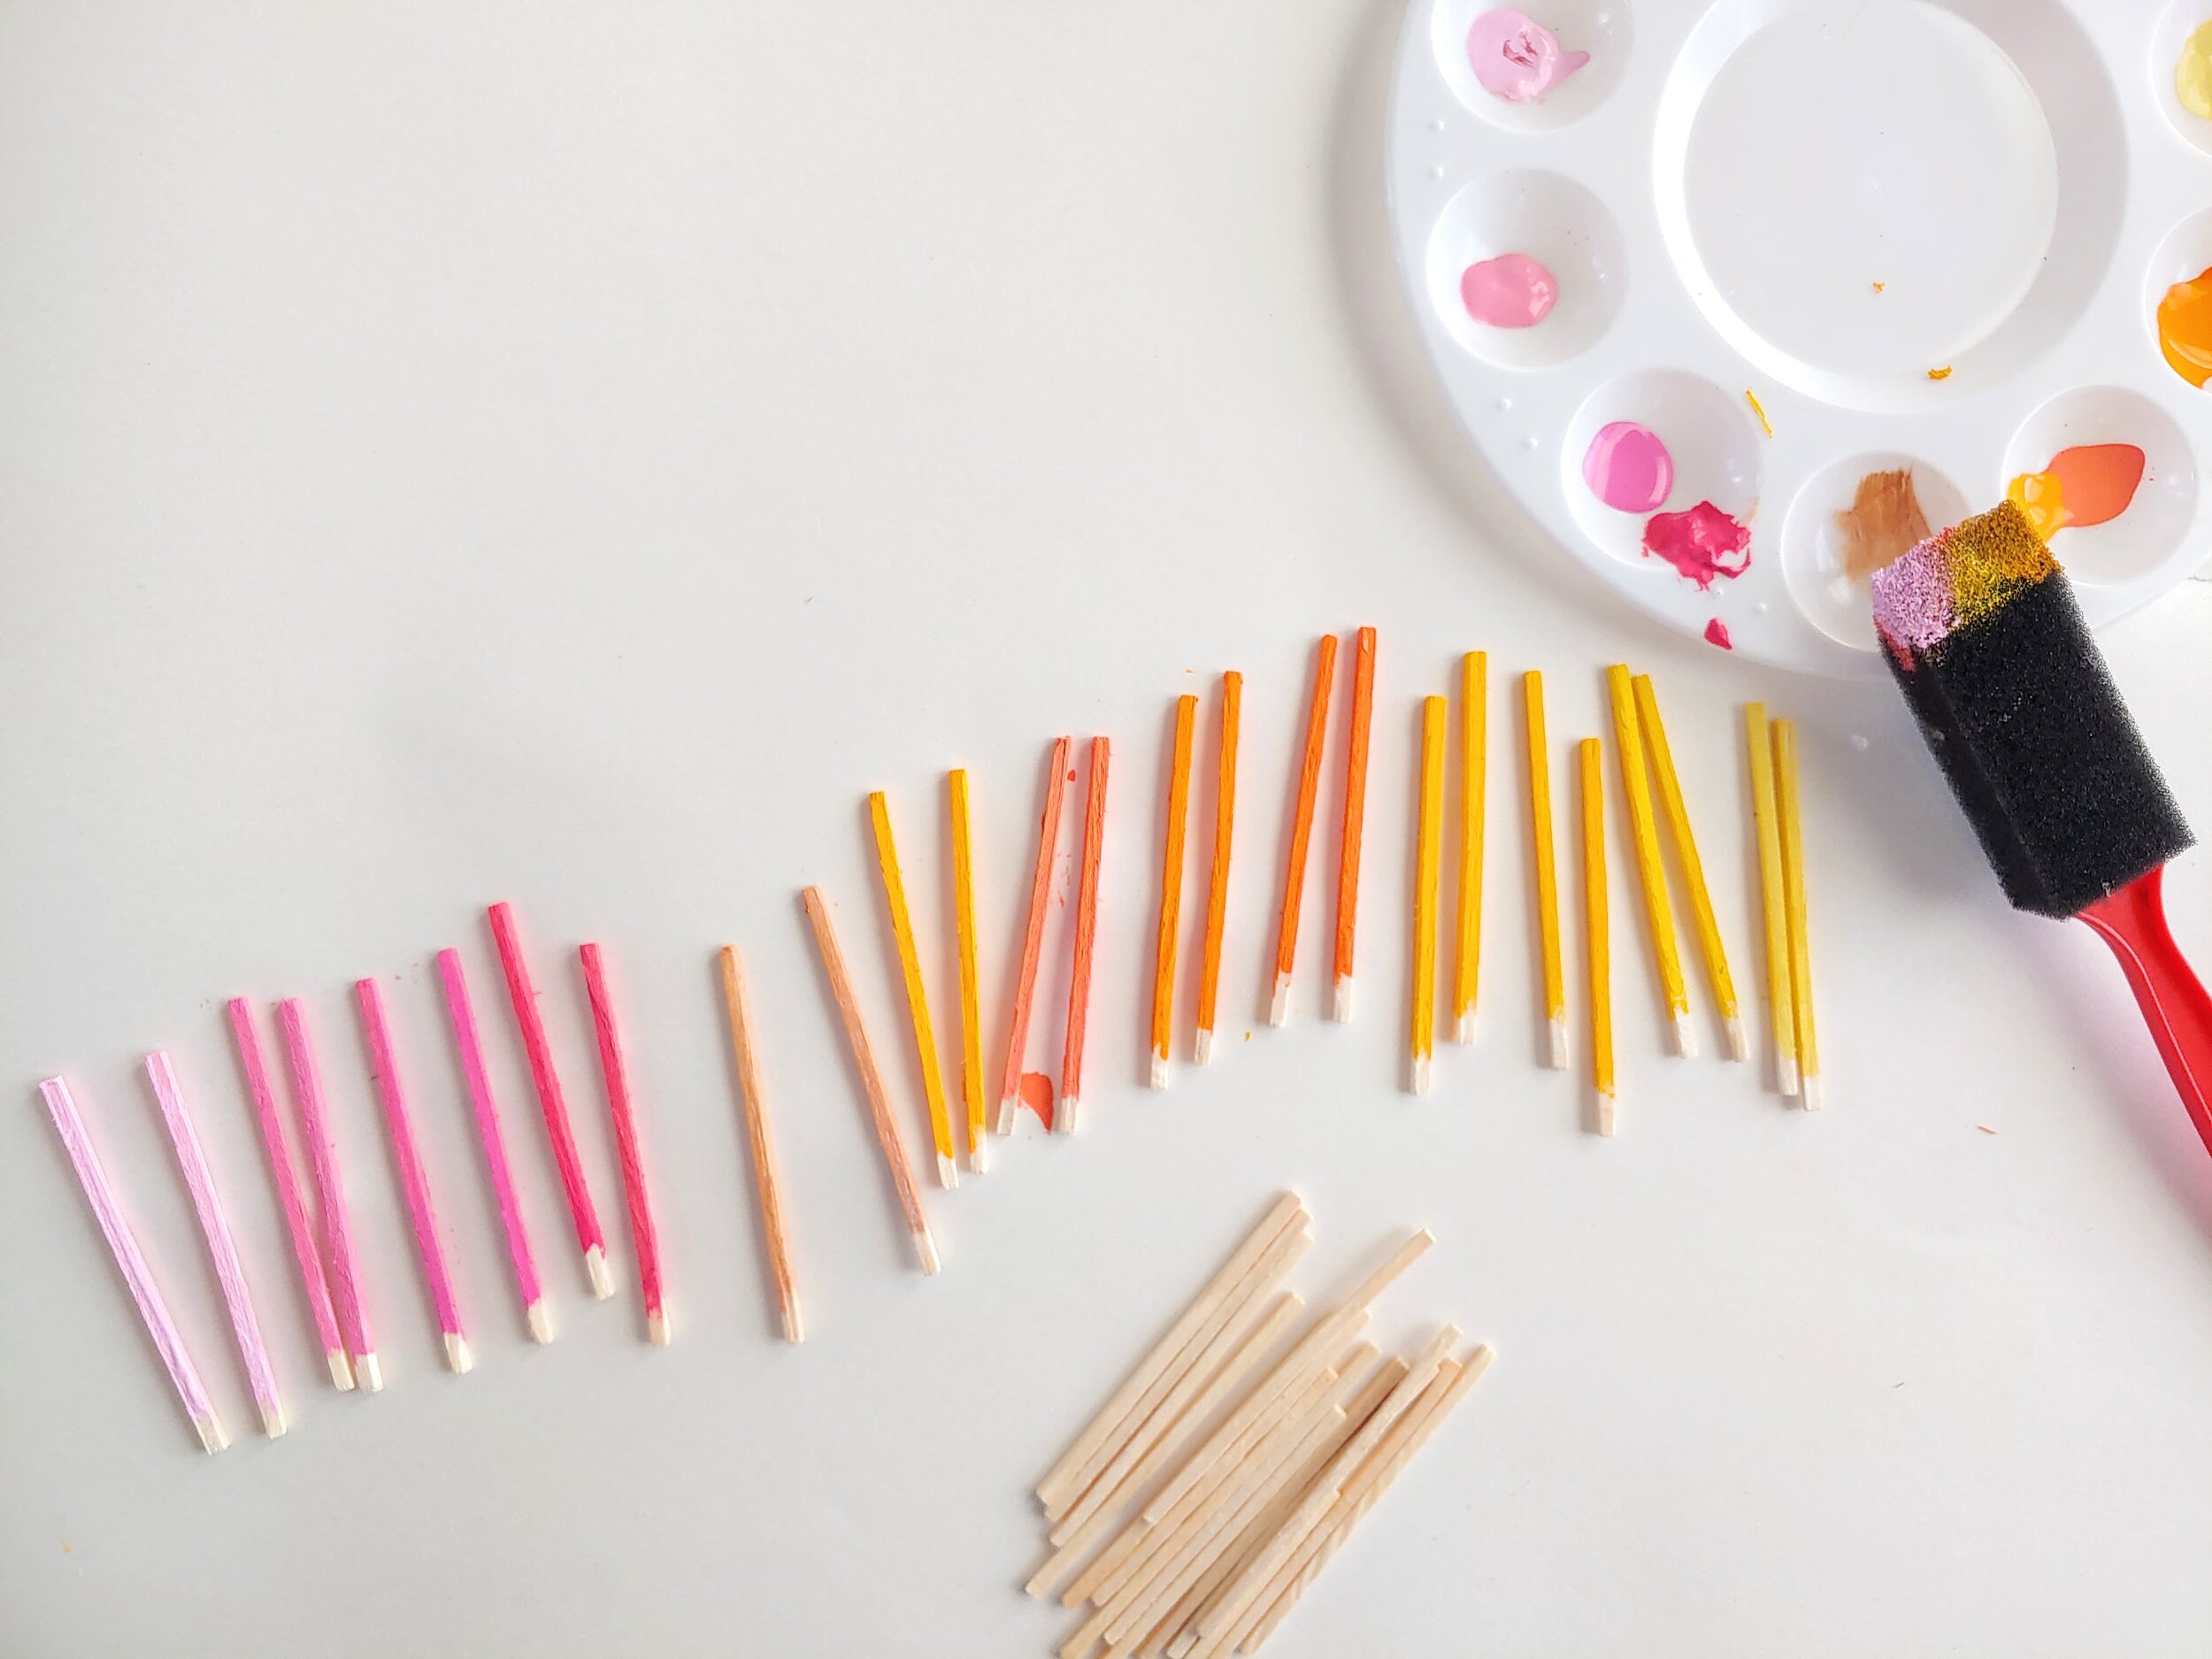
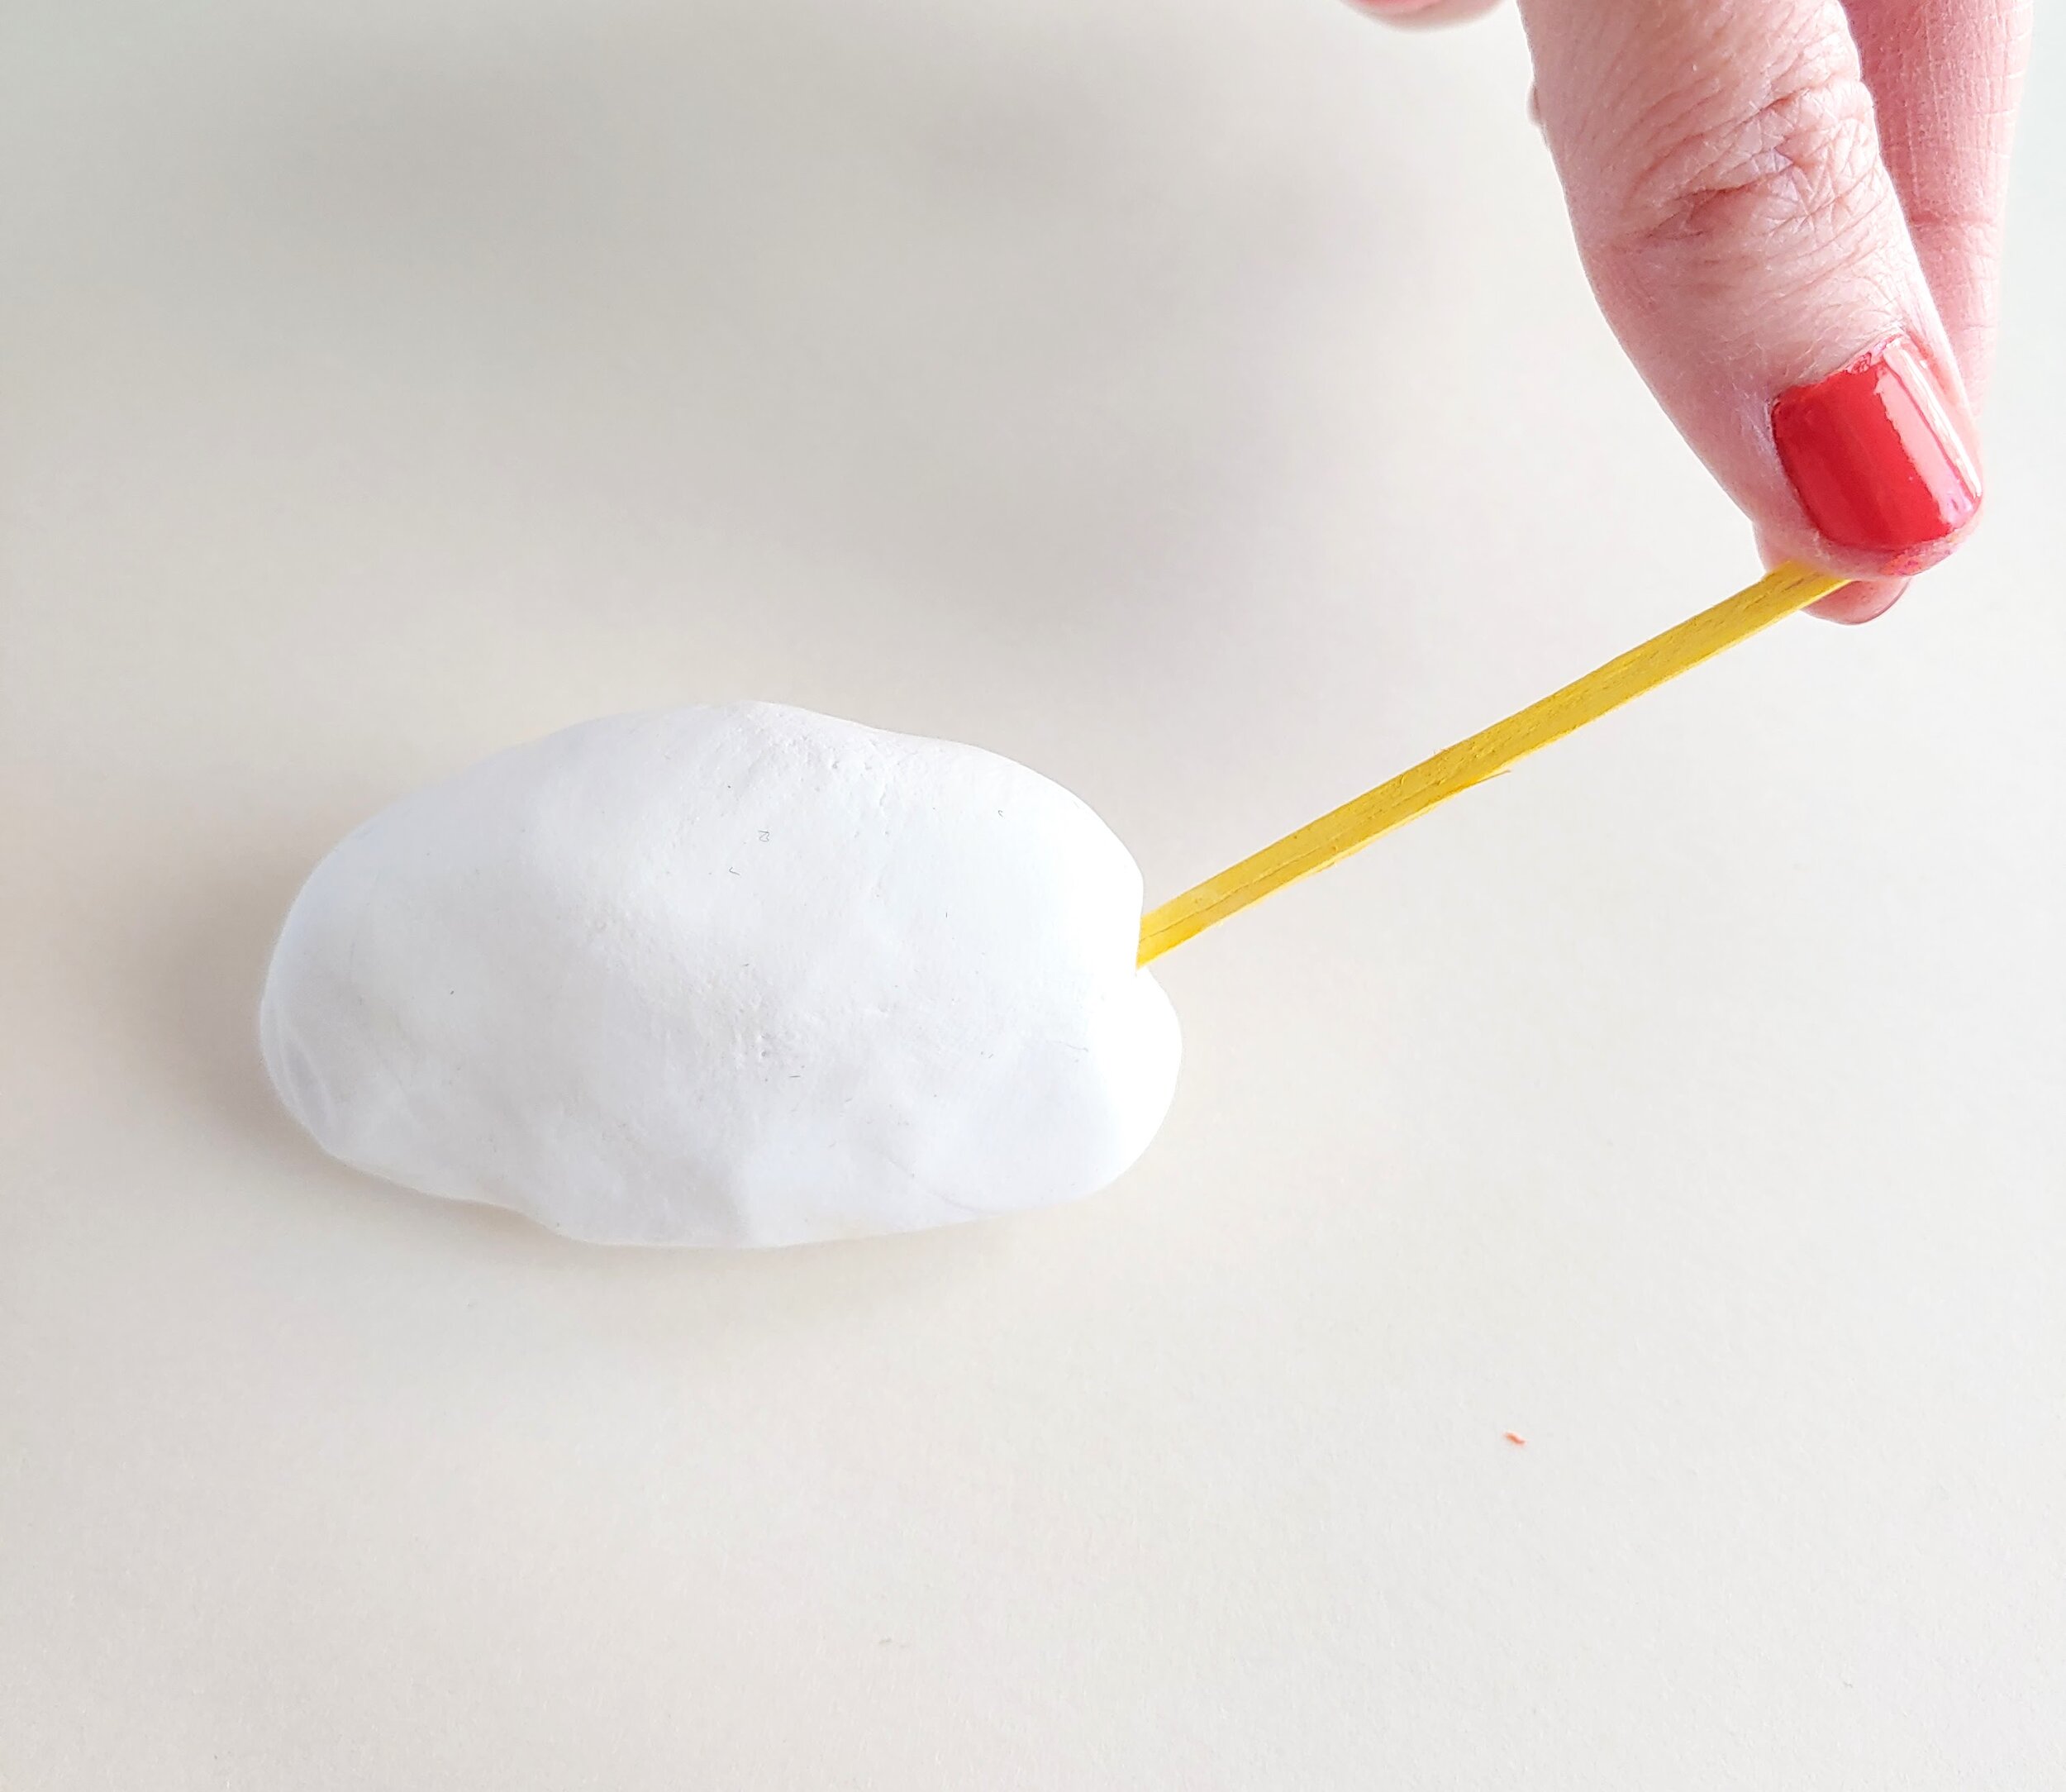
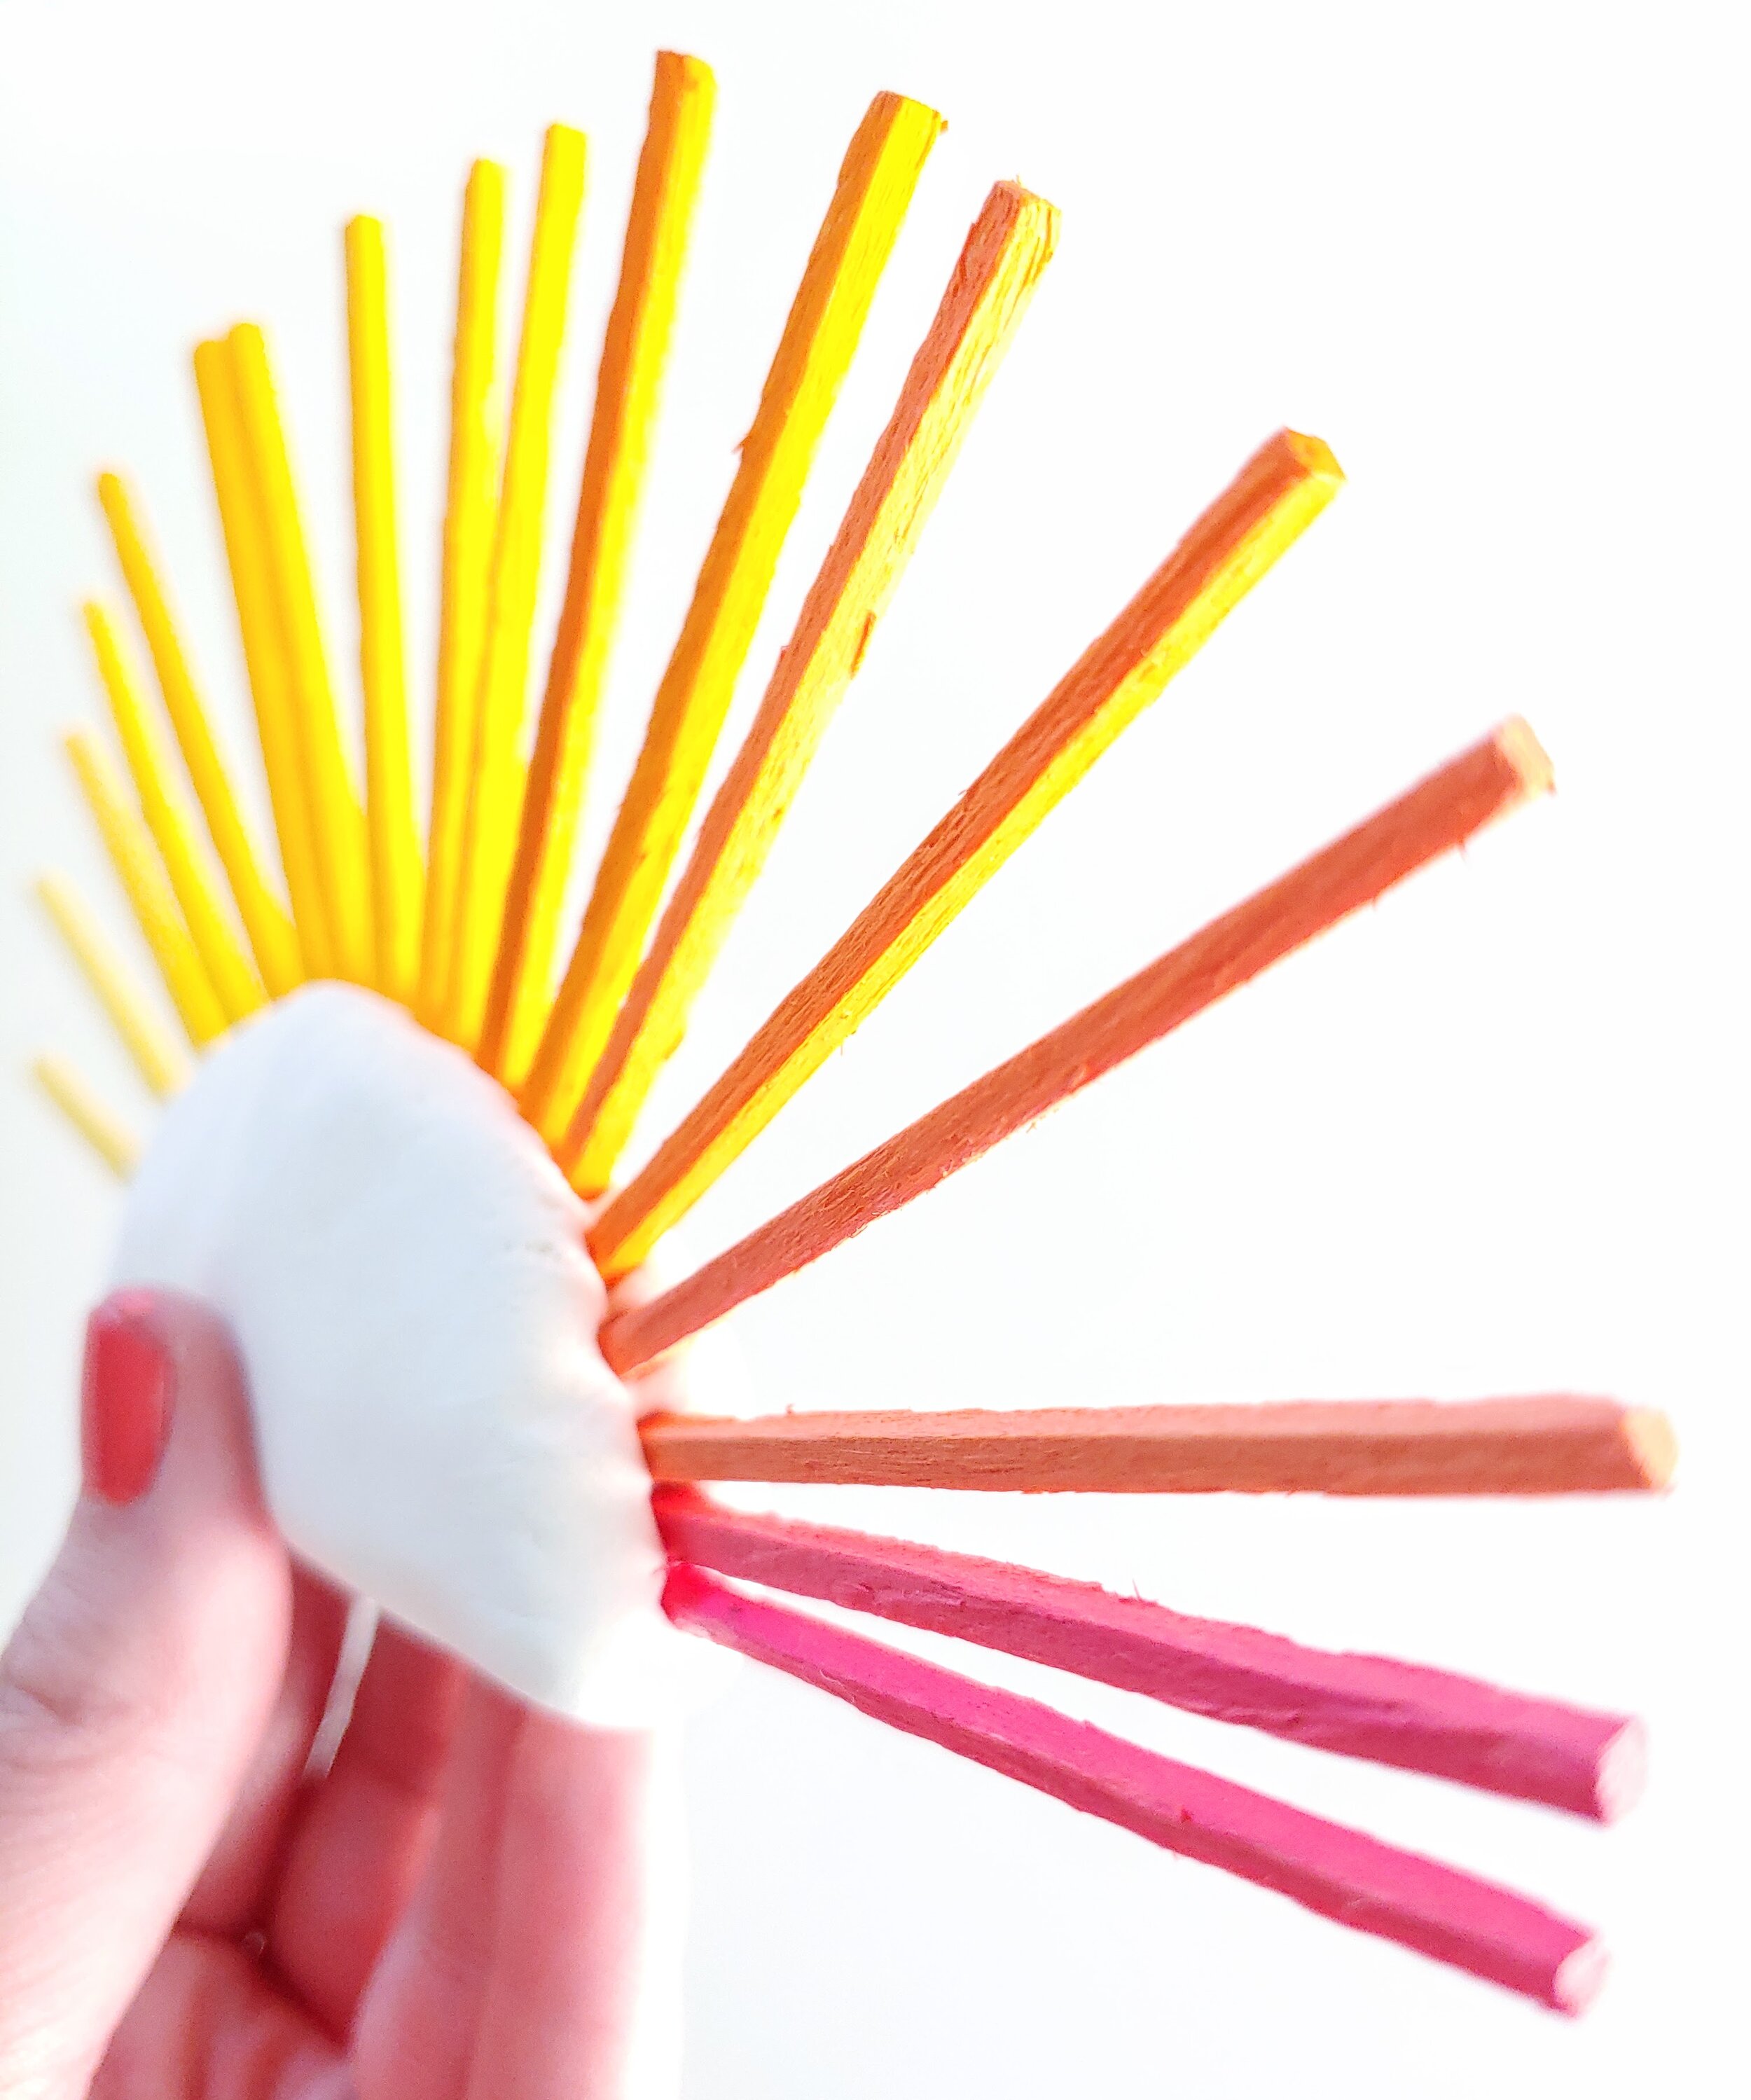
Begin by painting your wooden sticks. I decided to do a gradient from yellow to pink. Any colors are fun! You can leave a little bit unpainted at the end as that end will be stuck into the clay and won’t be seen. I used that little bit to hold onto my stick. If you just use a small amount of paint, the sticks will dry really quickly. You can use any number of sticks. I ended up using 18.
Using a small amount of clay, form your base shape. I wanted mine to look like a half-sun. Also make sure that you flatten the bottom part of your shape. You want it to be able to stand on its own. Use as much clay as you would like, but you really don’t need much. Feel free to add more or take some away if you grab too much.
Once your sticks are dry, insert them into the clay. Make sure that you stick them in far enough so that they will stay put. Place all the sticks around your clay.
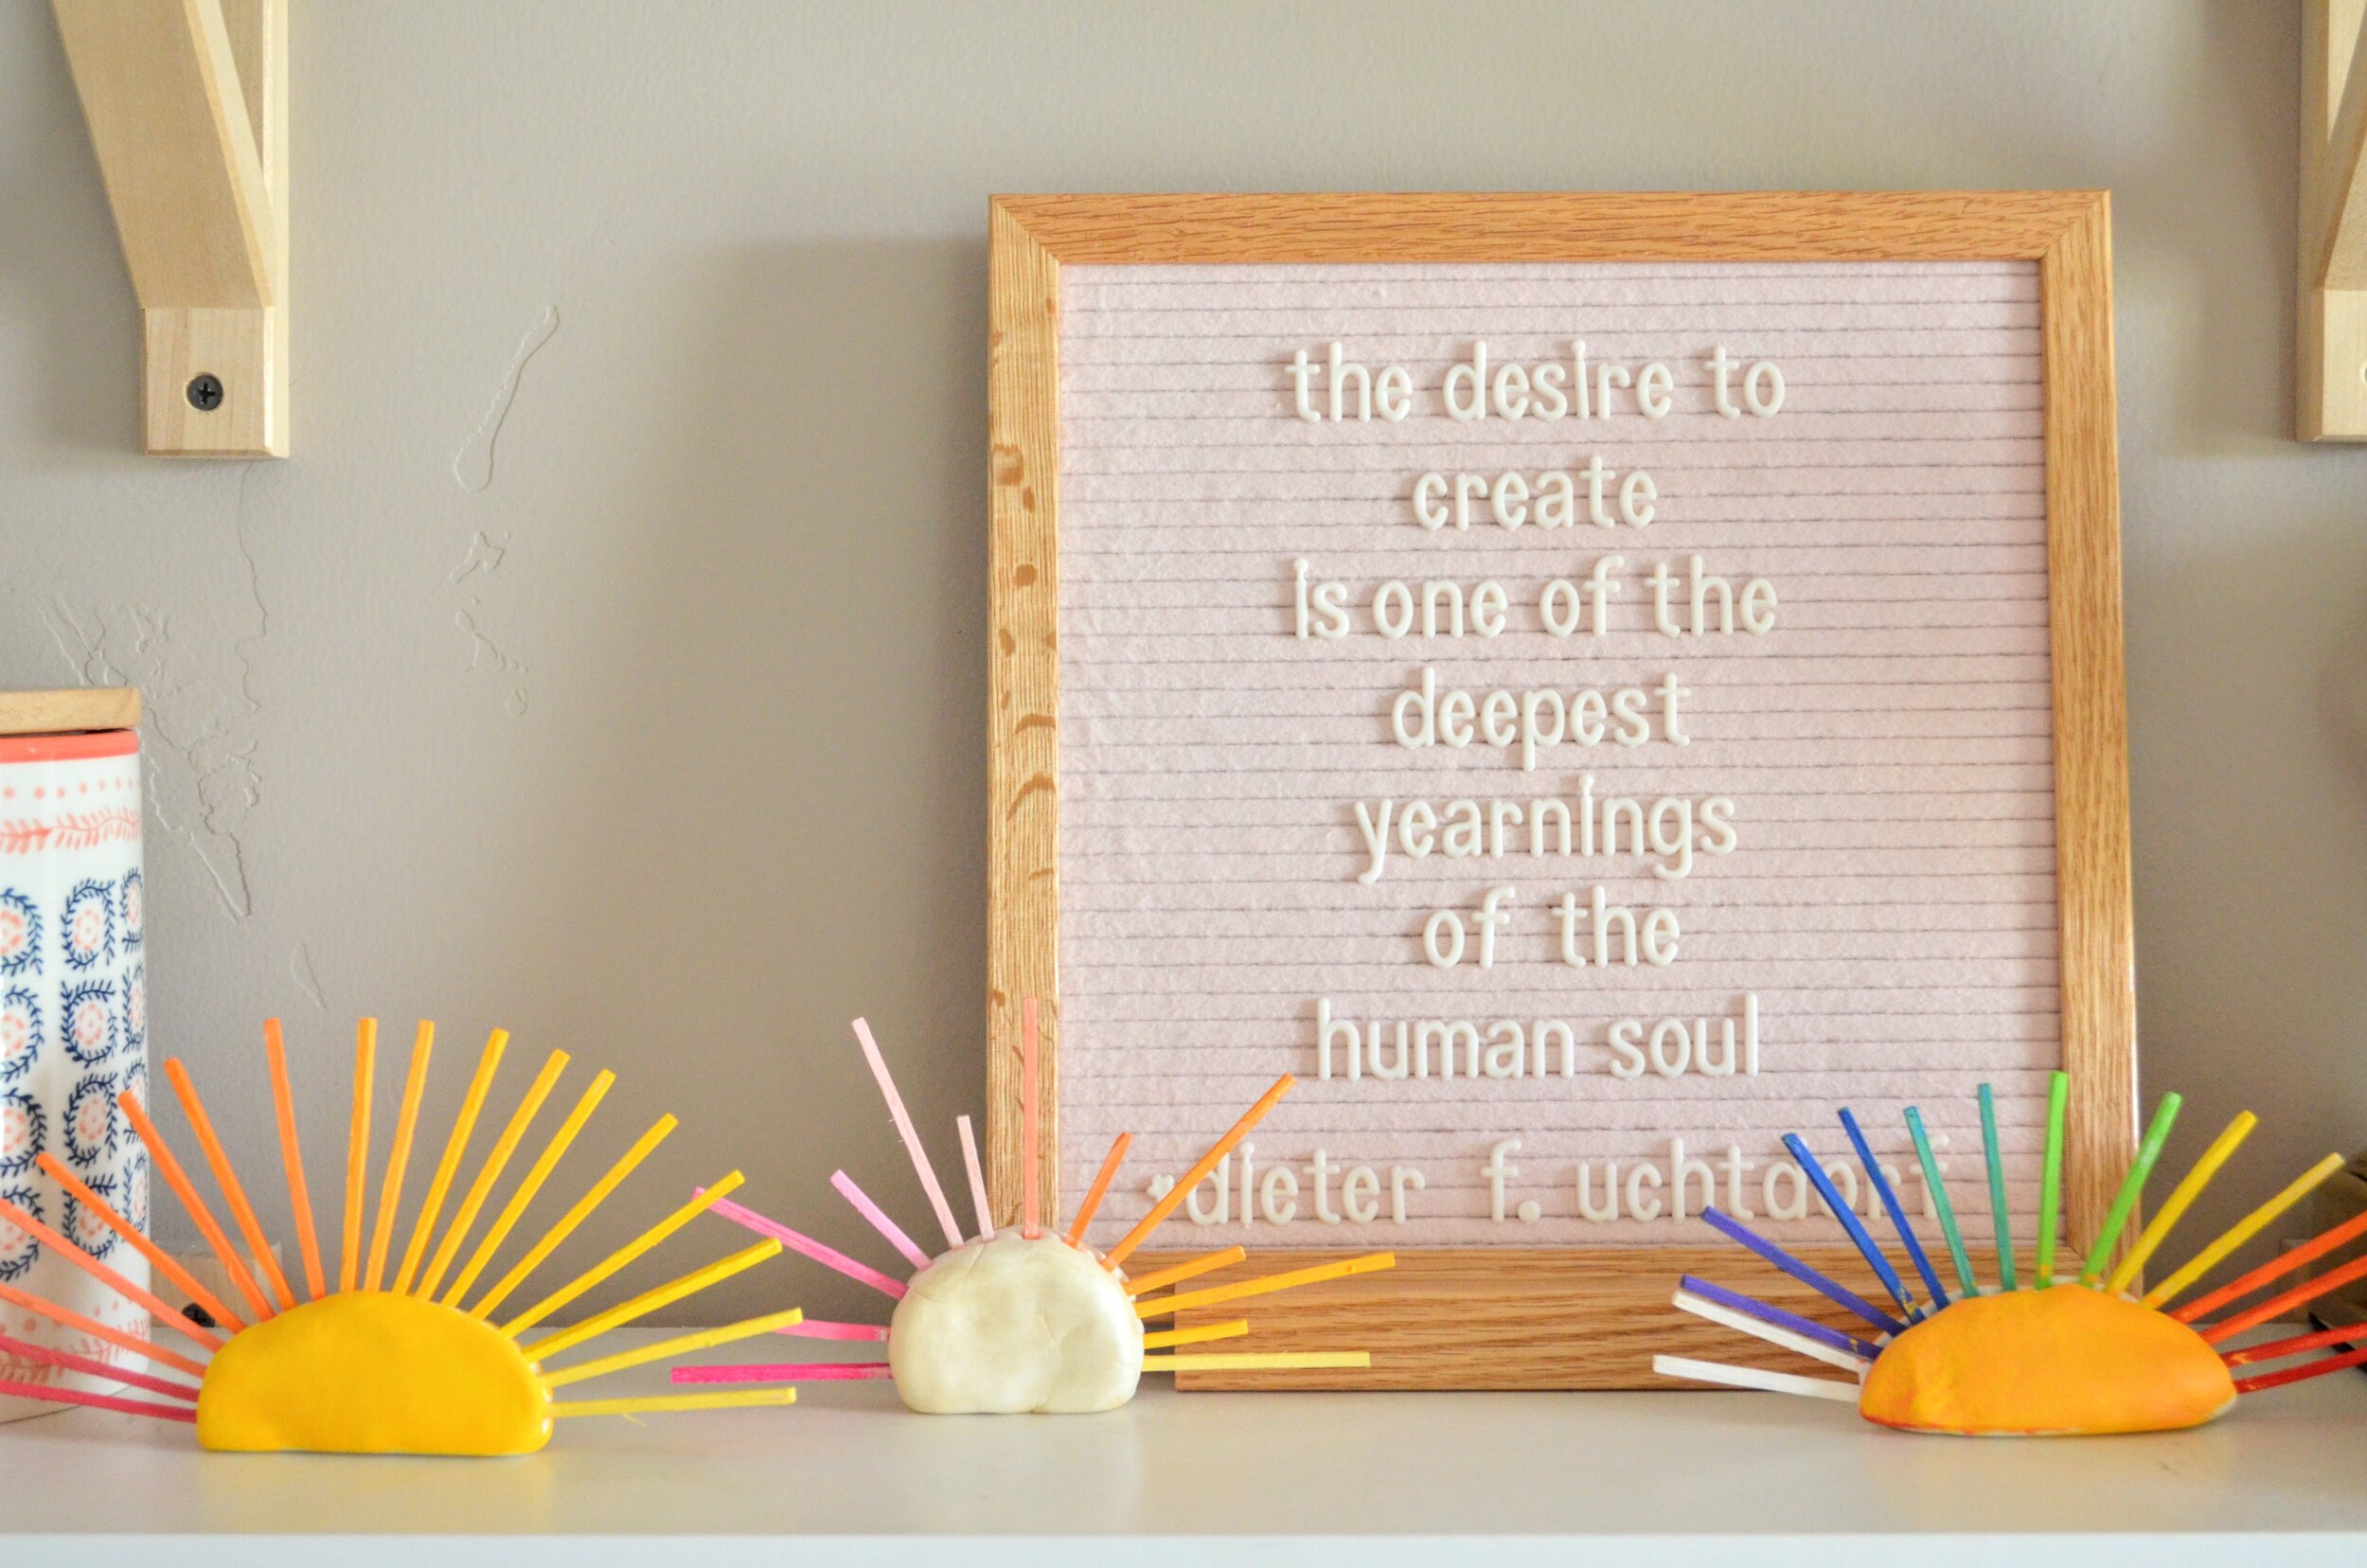
Allow your clay to dry completely. I let my clay dry overnight. If any of your sticks feel loose, you can add a dab of glue and restick at this point. Then you can paint your clay if you would like. I made mine a yellow sun.
Once your paint is dry, you can enjoy your little sunburst!
These little sunbursts are the cutest on a bookshelf, mantle, or in a bedroom. You could even attach a hook to the back or top and hang on a wall or from a ceiling! I’m always looking for cheerful home decor items, and these sunbursts are just that! You will have plenty of sunshine to go around!

