Kids Craft Camp 2019 - Week 2: Seed Bead and Pom Pom and Tassel Necklaces
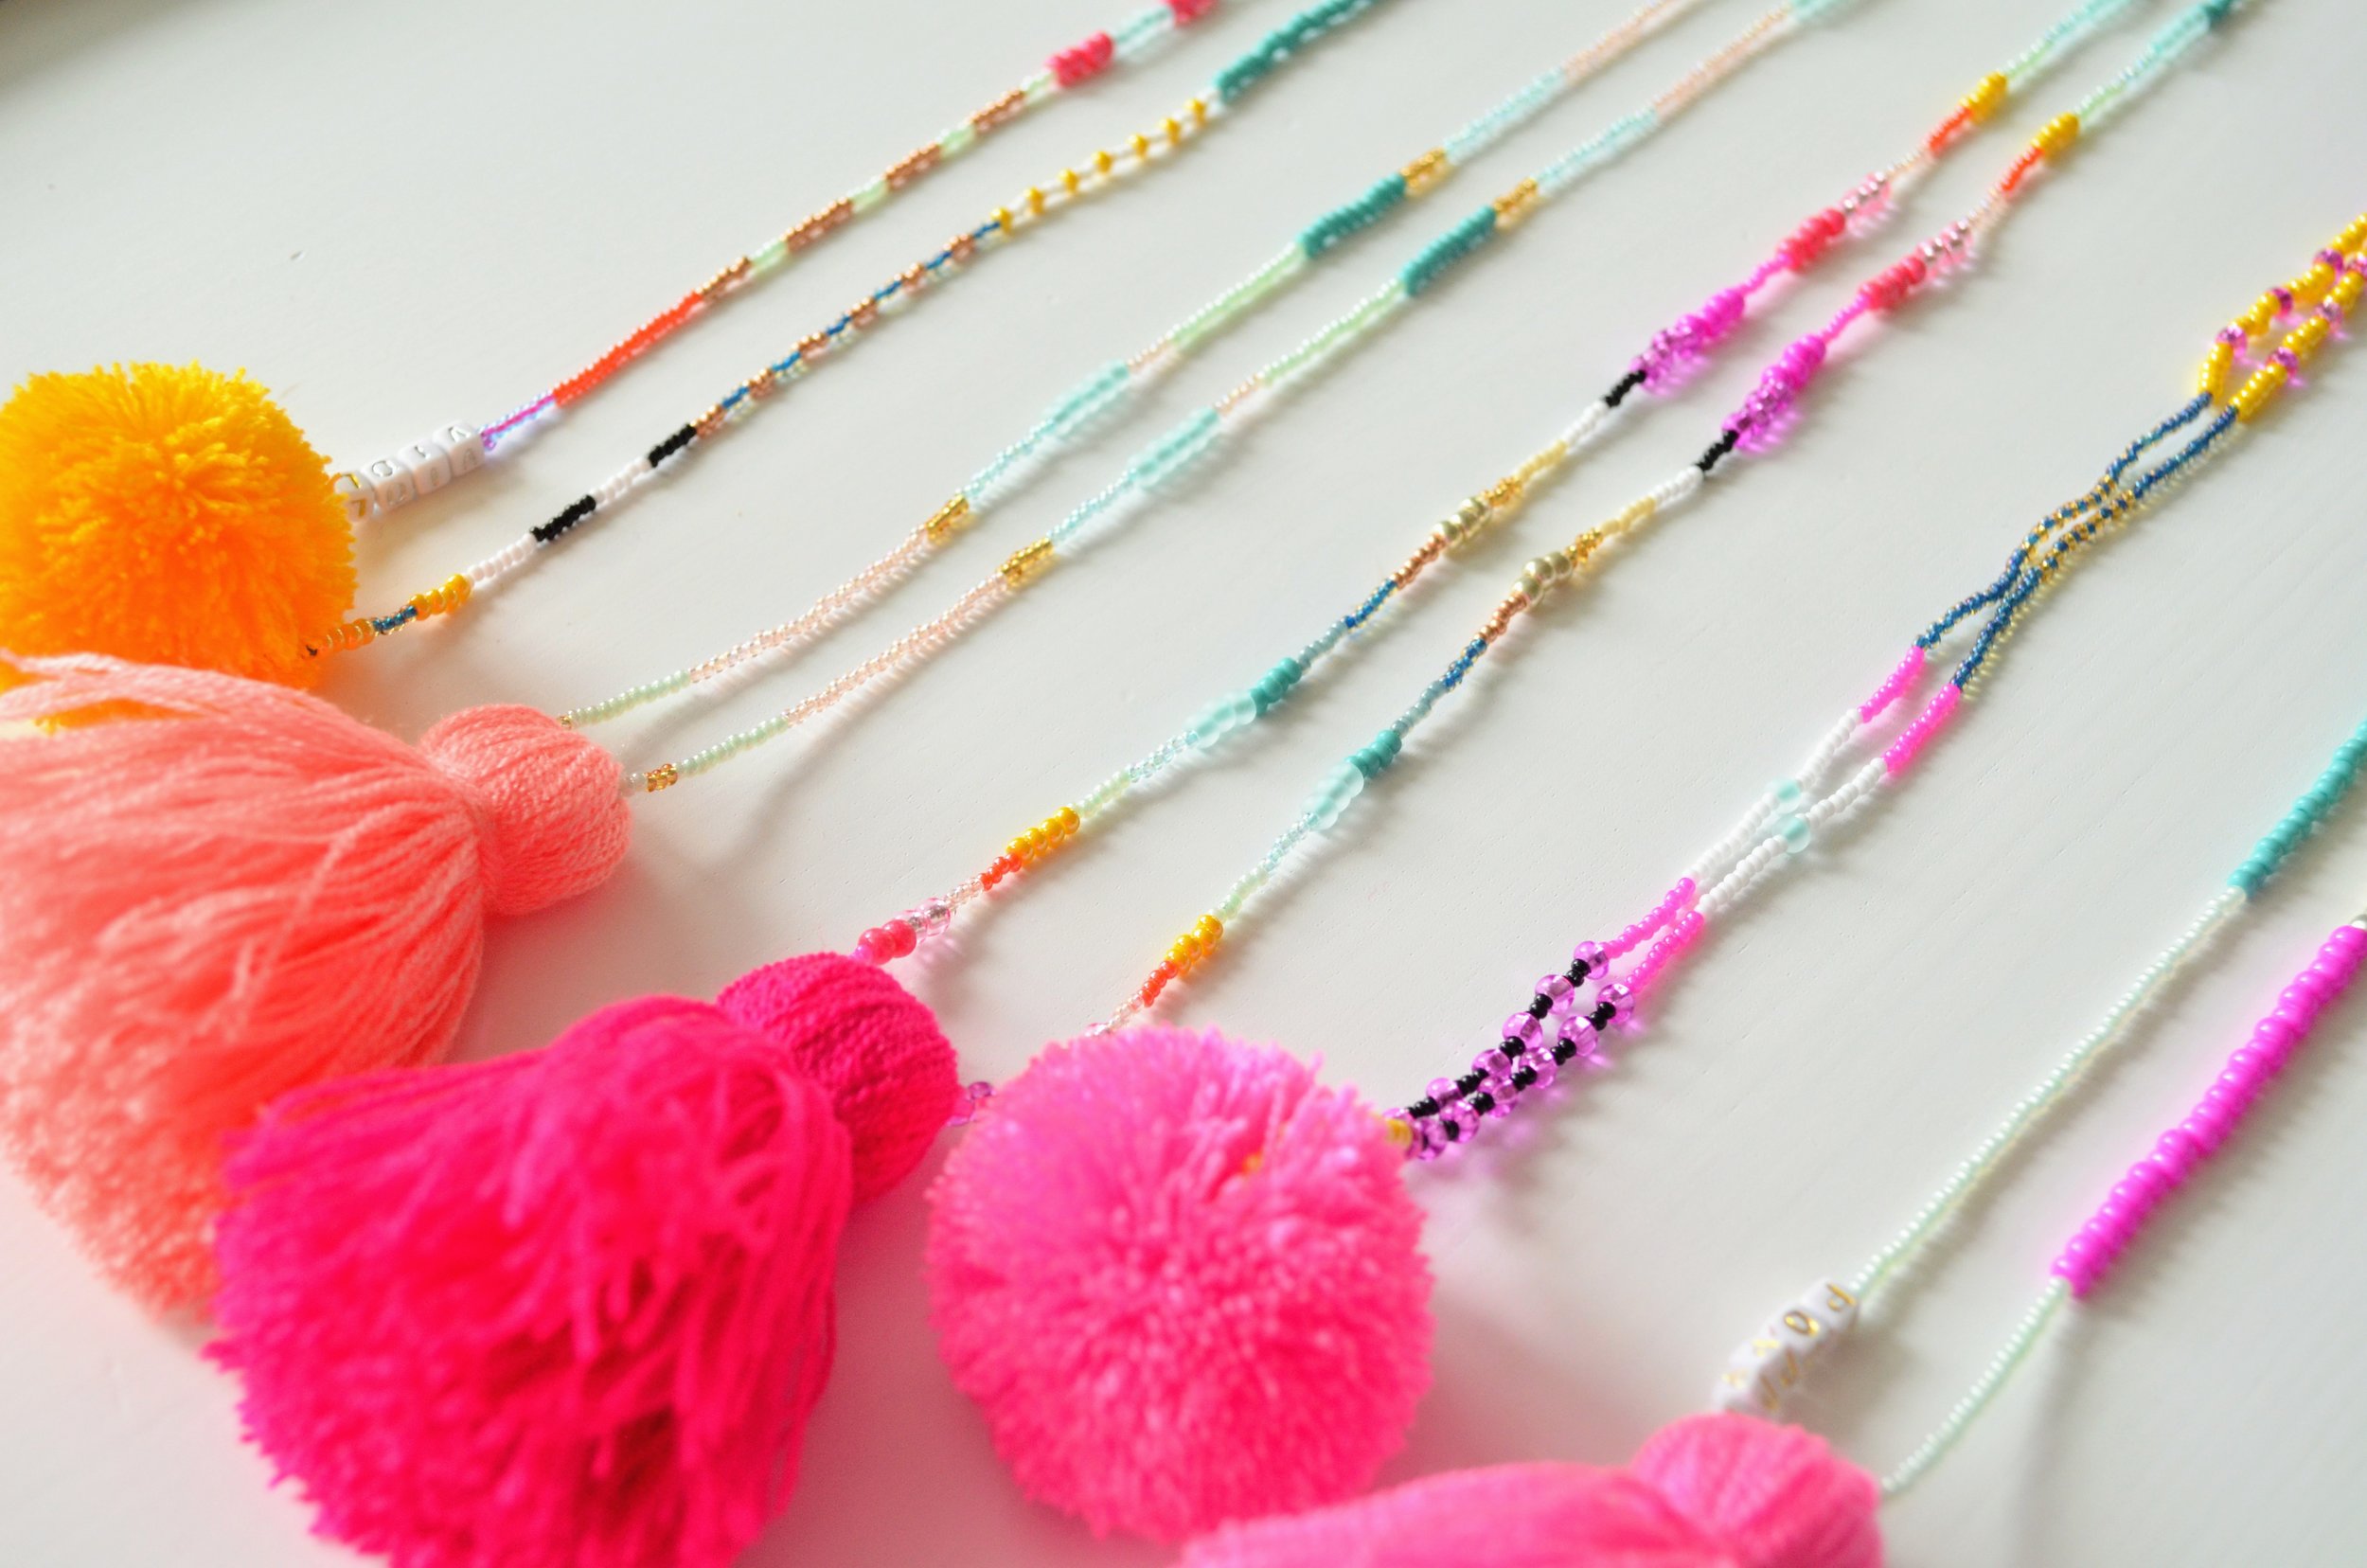
I have three daughters, and jewelry making is always a summer favorite. When they were younger, we had to stick with large beads and large elastic or thread so that their little hands could string the beads. Now that they are a bit older, we can use smaller beads and thinner string, giving us more jewelry making options. When I saw some beaded pom pom necklaces on @theloome on Instagram, I thought they would make a perfect craft camp activity! These turned out even better than I expected, and I they kept my girls busy for a solid two hours!
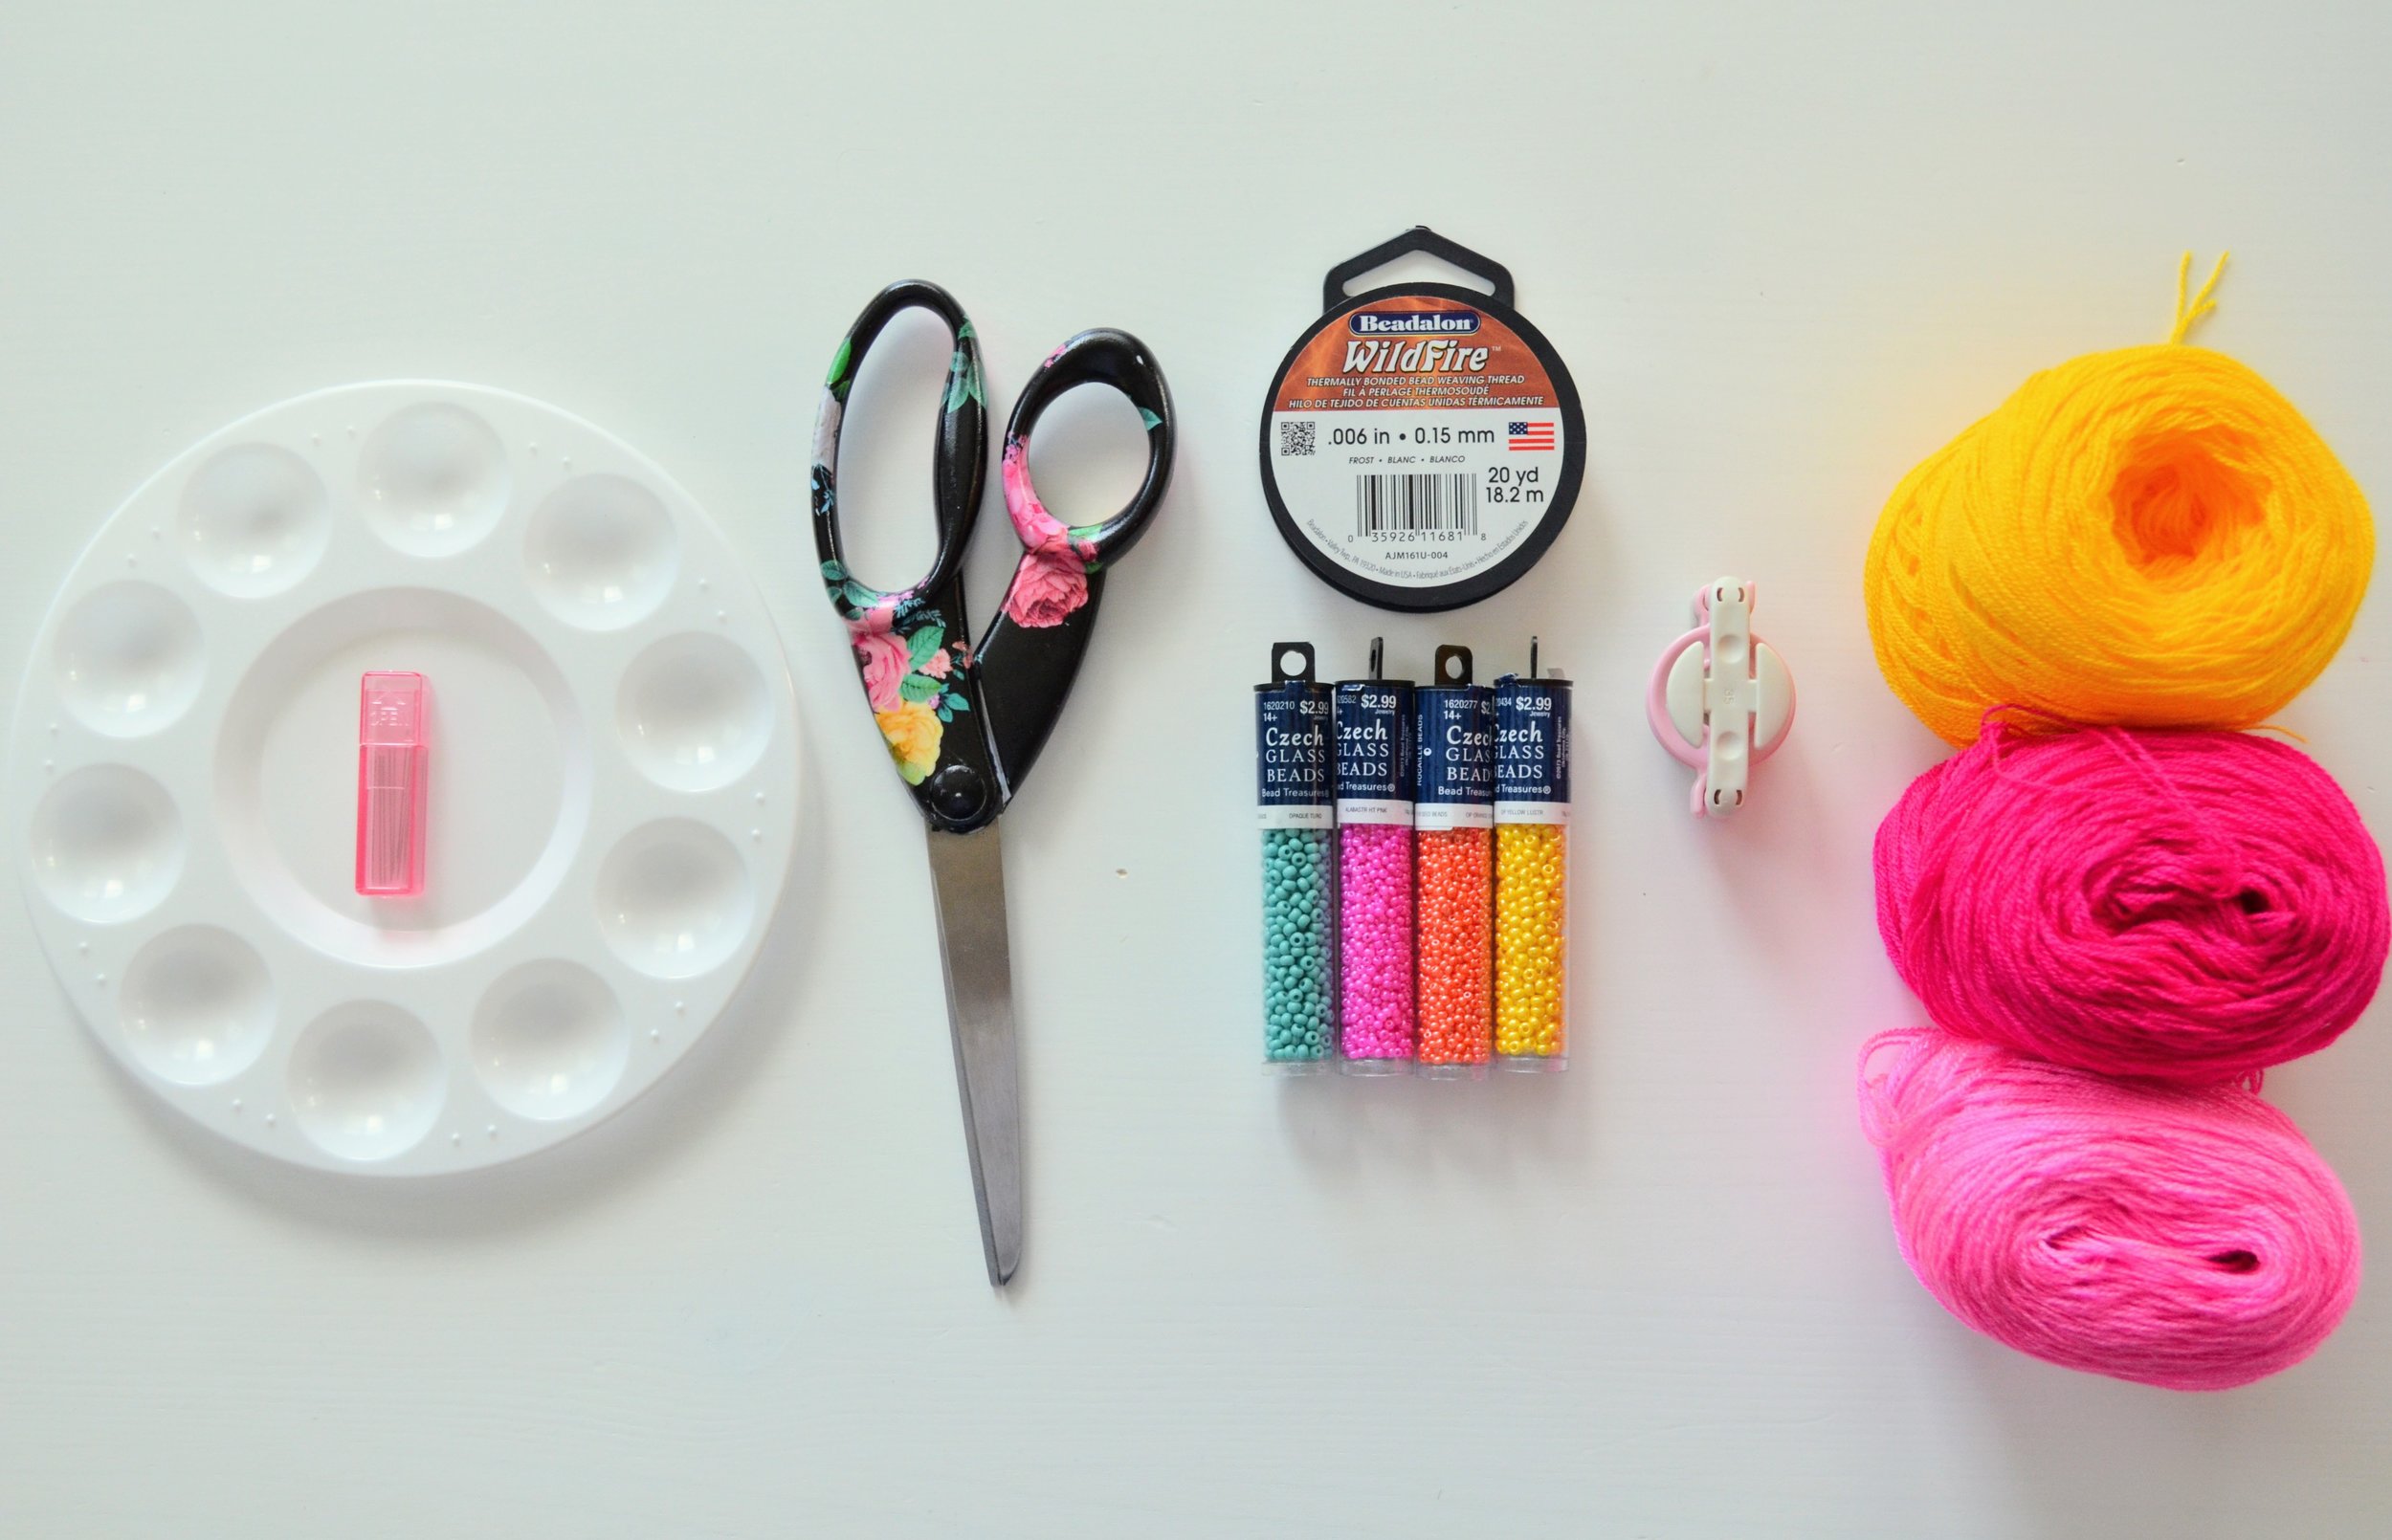
Supplies:
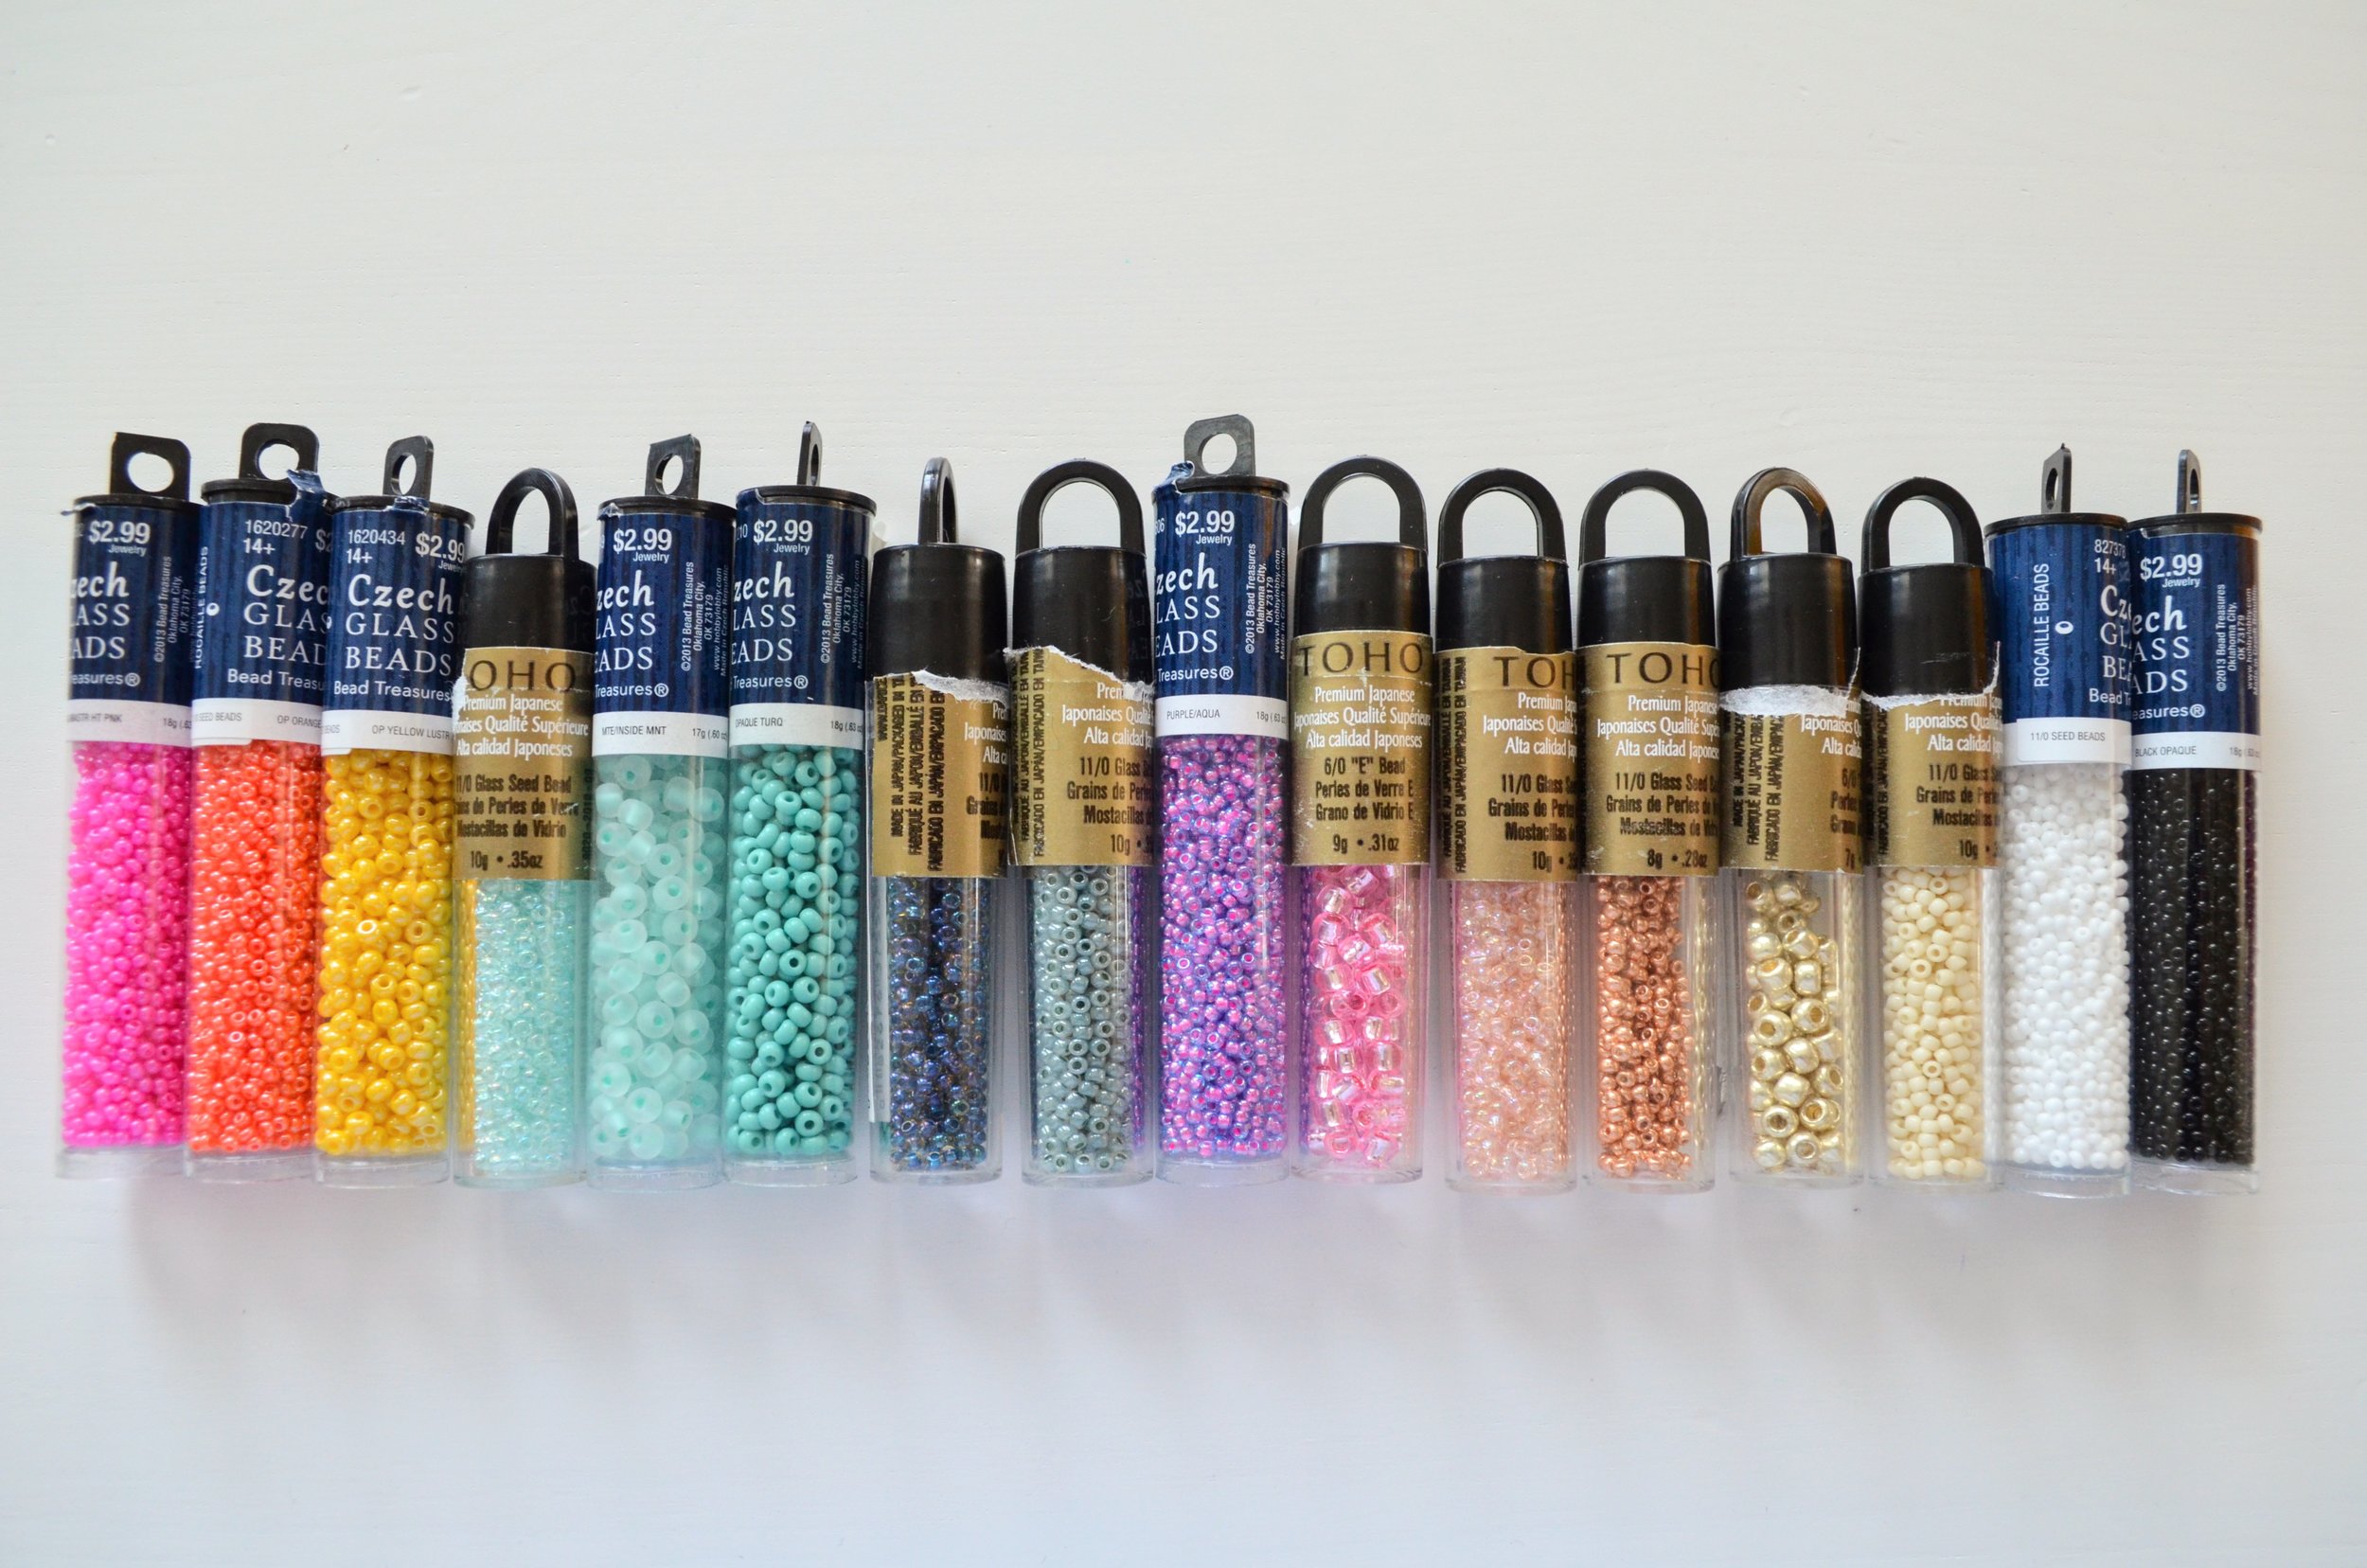
Seed Beads in various sizes and colors. I bought some online and some at craft stores. (Amazon has this fun multipack.) I didn’t worry about them being the same size, because I like the variety.
Small letter beads if you want them.
Beading string. I wanted these necklaces to be long, so I used string as opposed to elastic. I found mine at Hobby Lobby, but this clear string from Amazon is a good option. You will probably want to secure your ends with a dab of strong glue to make sure the knot doesn’t come out. Thin elastic is another good option (like this one from Amazon).
Pom Pom maker. The clover pom pom makers are my favorite ones!
Tassel Maker or piece of cardboard. I really love the tassel maker that comes with this pom pom set. The tassel maker is adjustable and it makes it easy to get tassels of the same length. (I also love the giant pom pom maker that comes with this set!)
Scissors.
Beading needles if desired. I found that the string was waxed enough to string directly onto the it without needing needles. Plus, needles can be a little dangerous for some kiddos, so we skipped these altogether. You do need one to go through the pom pom or tassel, however, so keep one handy if you aren’t using it the whole time.
Paint palettes. These are perfect for keeping your beads so that you can pour out several colors at a time. I bought this 15 pack from Amazon because I figure that we can use them for painting projects too!
OmegaCryl yarn or regular yarn. I love the vibrant colors of OmegaCryl and the light, fluffy pom poms and tassels they make. I get mine from The Neon Tea Party. She has an awesome selection!
How To:
Start by cutting long strands of thread or elastic. I wanted them to be long enough to slip over our heads, so I made sure they were quite long. It’s always easier to make it longer at the beginning and cutting it shorter than starting too short and not being able to add more string. Tie a knot in one end of the string leaving about 2-3 inches for a tail, making sure that it is large enough so that the beads won’t go over it.
Start stinging your beads in any pattern you like.
When you get to the center (or wherever you want to place your pom pom or tassel), you will need a needle to go through the center of your pom pom or top of your tassel.
Letter beads can be added anywhere. My girls wanted them close to their tassels/pom poms.
At the end of your necklace, tie a knot (or several) with the ends. It is also a good idea to use a strong glue like E6000 or something similar.
Trim your ends.
The problem is that once you make one of these necklaces, you will want to make more because they turn out so cute! I want one with every color of tassel and pom pom! I was really impressed with the necklaces my girls made. When you have super cute beads and the best colors of pom poms and tassels, the necklaces pretty much will always turn out darling!


