Valentine's Plastic Canvas Hearts
As you probably already know from my woven rainbows (see THIS post), I sort of have a thing for plastic canvas. I know it is kind of retro, but it is just so much fun for crafting! Because it is plastic, it holds its shape well and because the holes are larger than cross-stitch fabric, you can use yarn (also one of my favorite things!) to make your stitched designs. And, it now comes in fun colors! You are no longer limited to just clear/white!
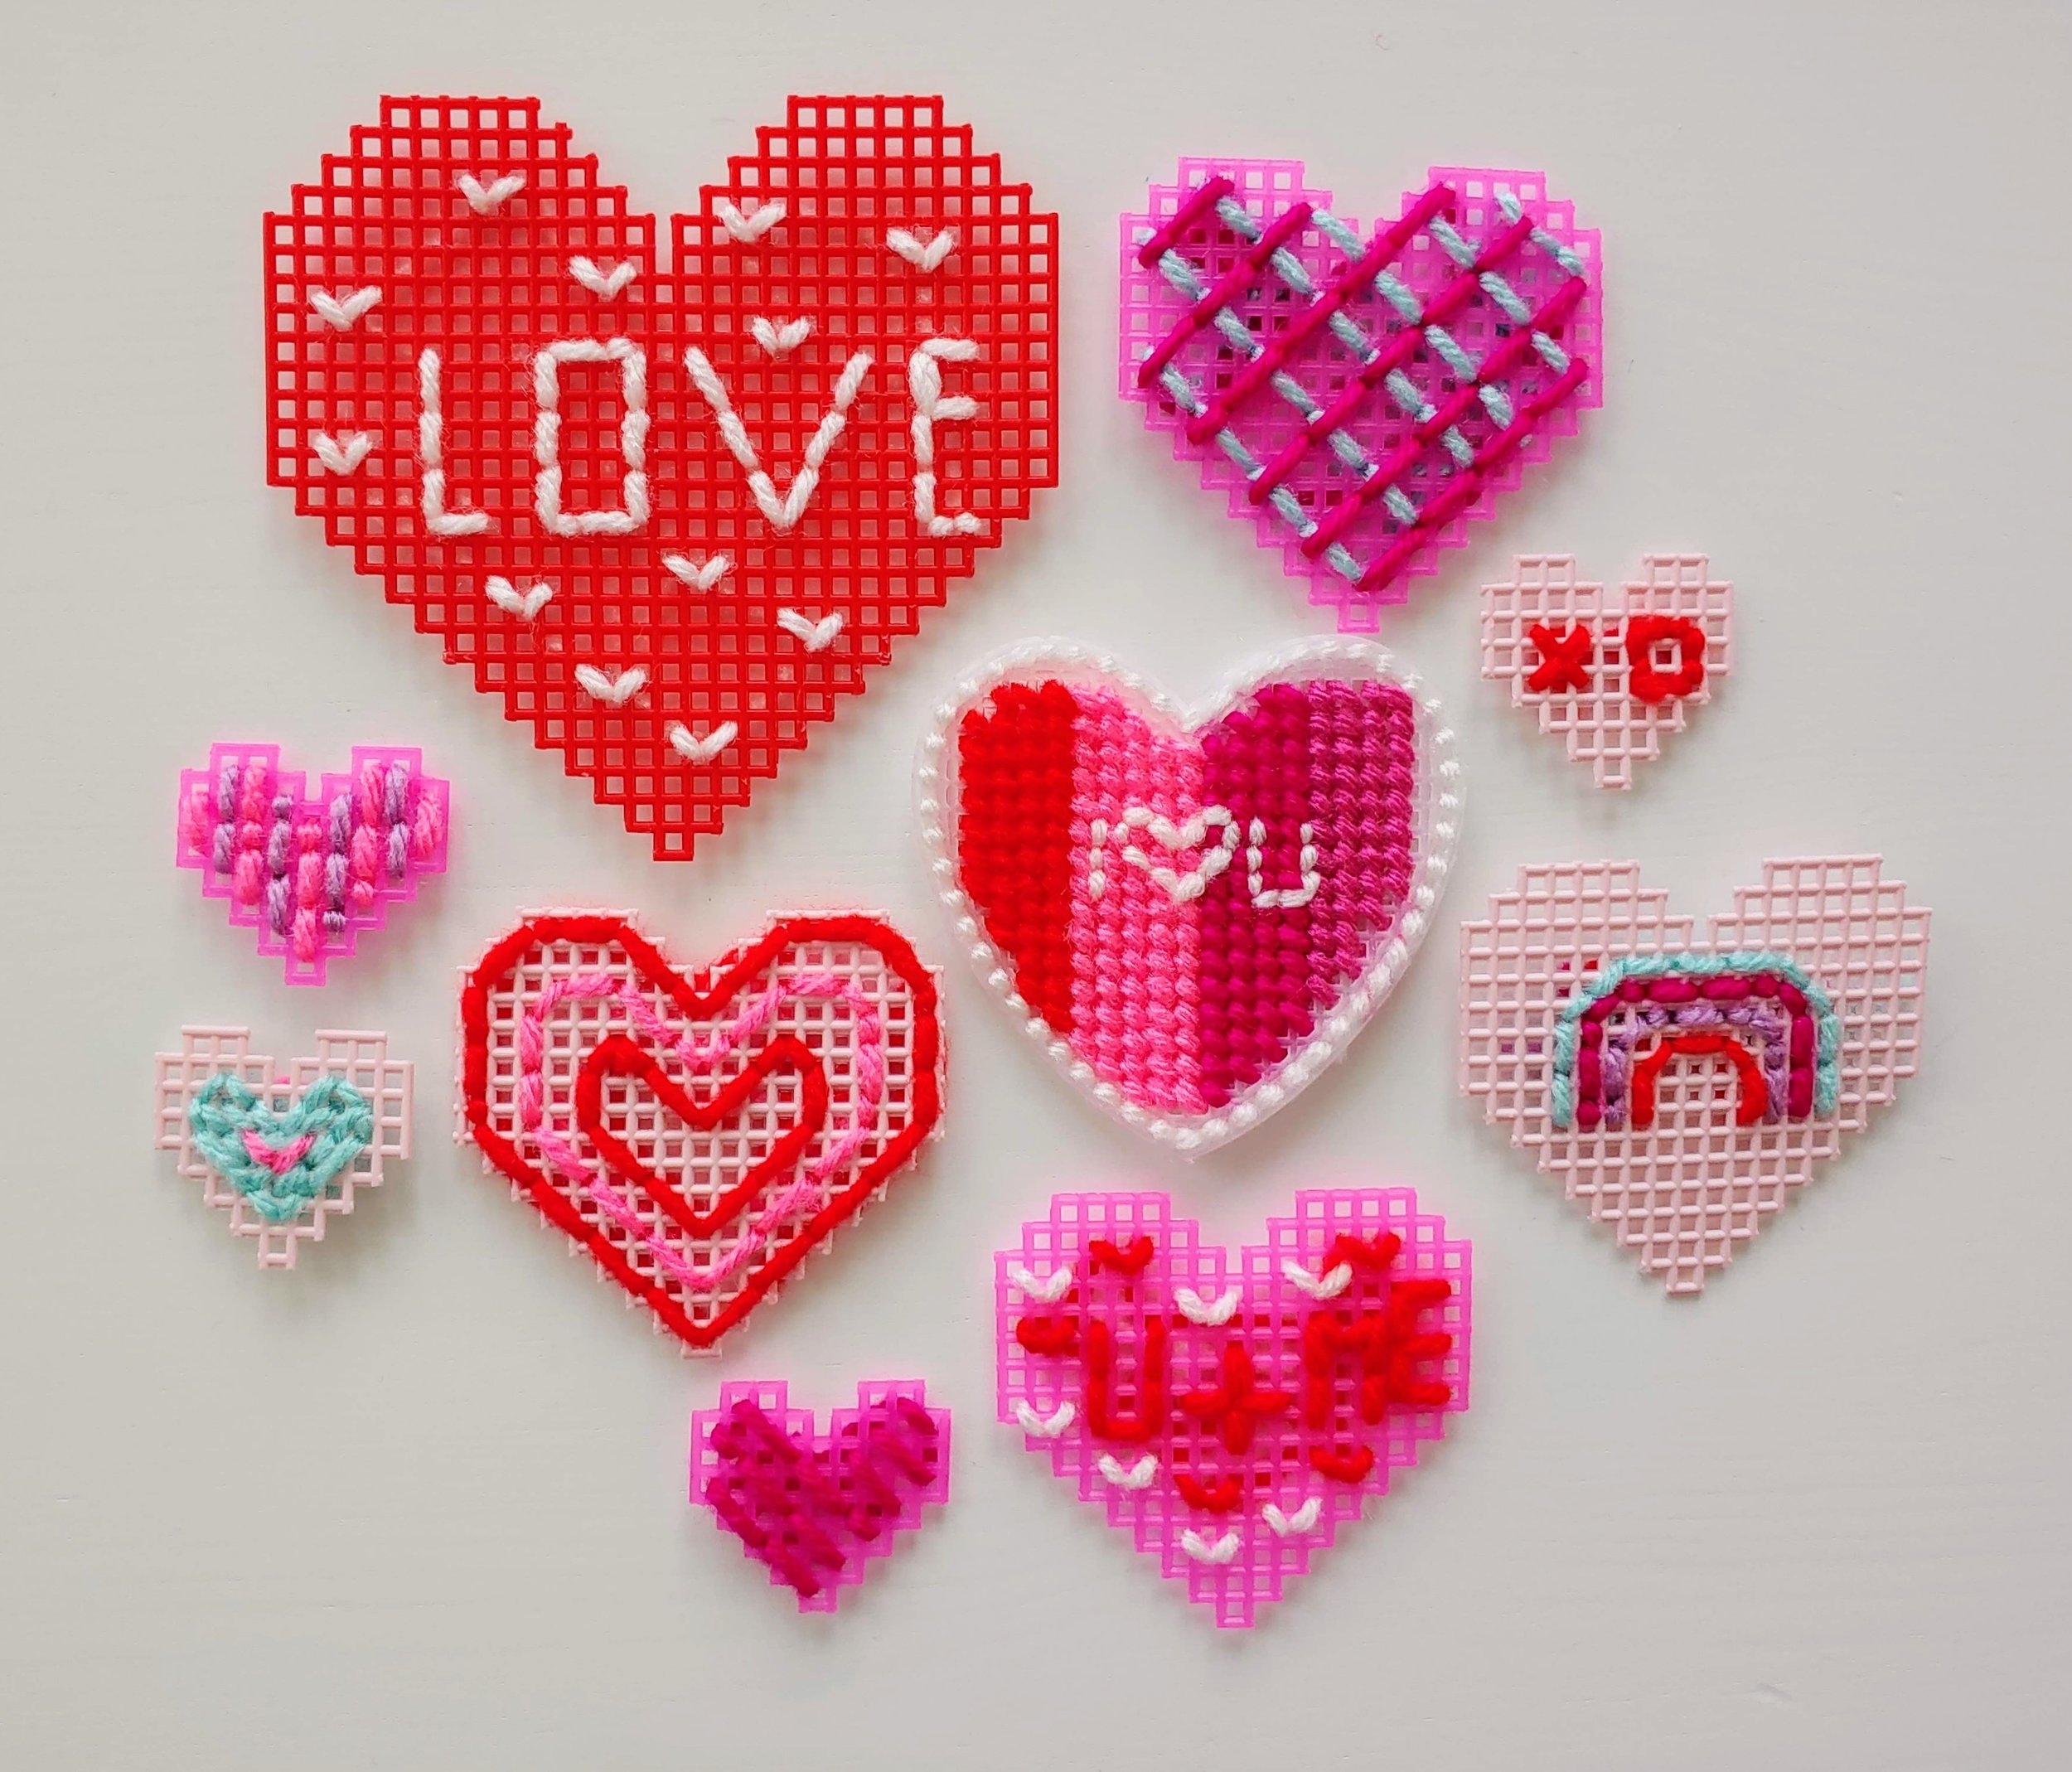
For Valentine’s Day, I thought it would be fun to make little hearts out of plastic canvas then stitch them with fun designs and words. This is a super easy craft, and if your child is safe with a needle, he or she could make some fun Valentines for their friends!
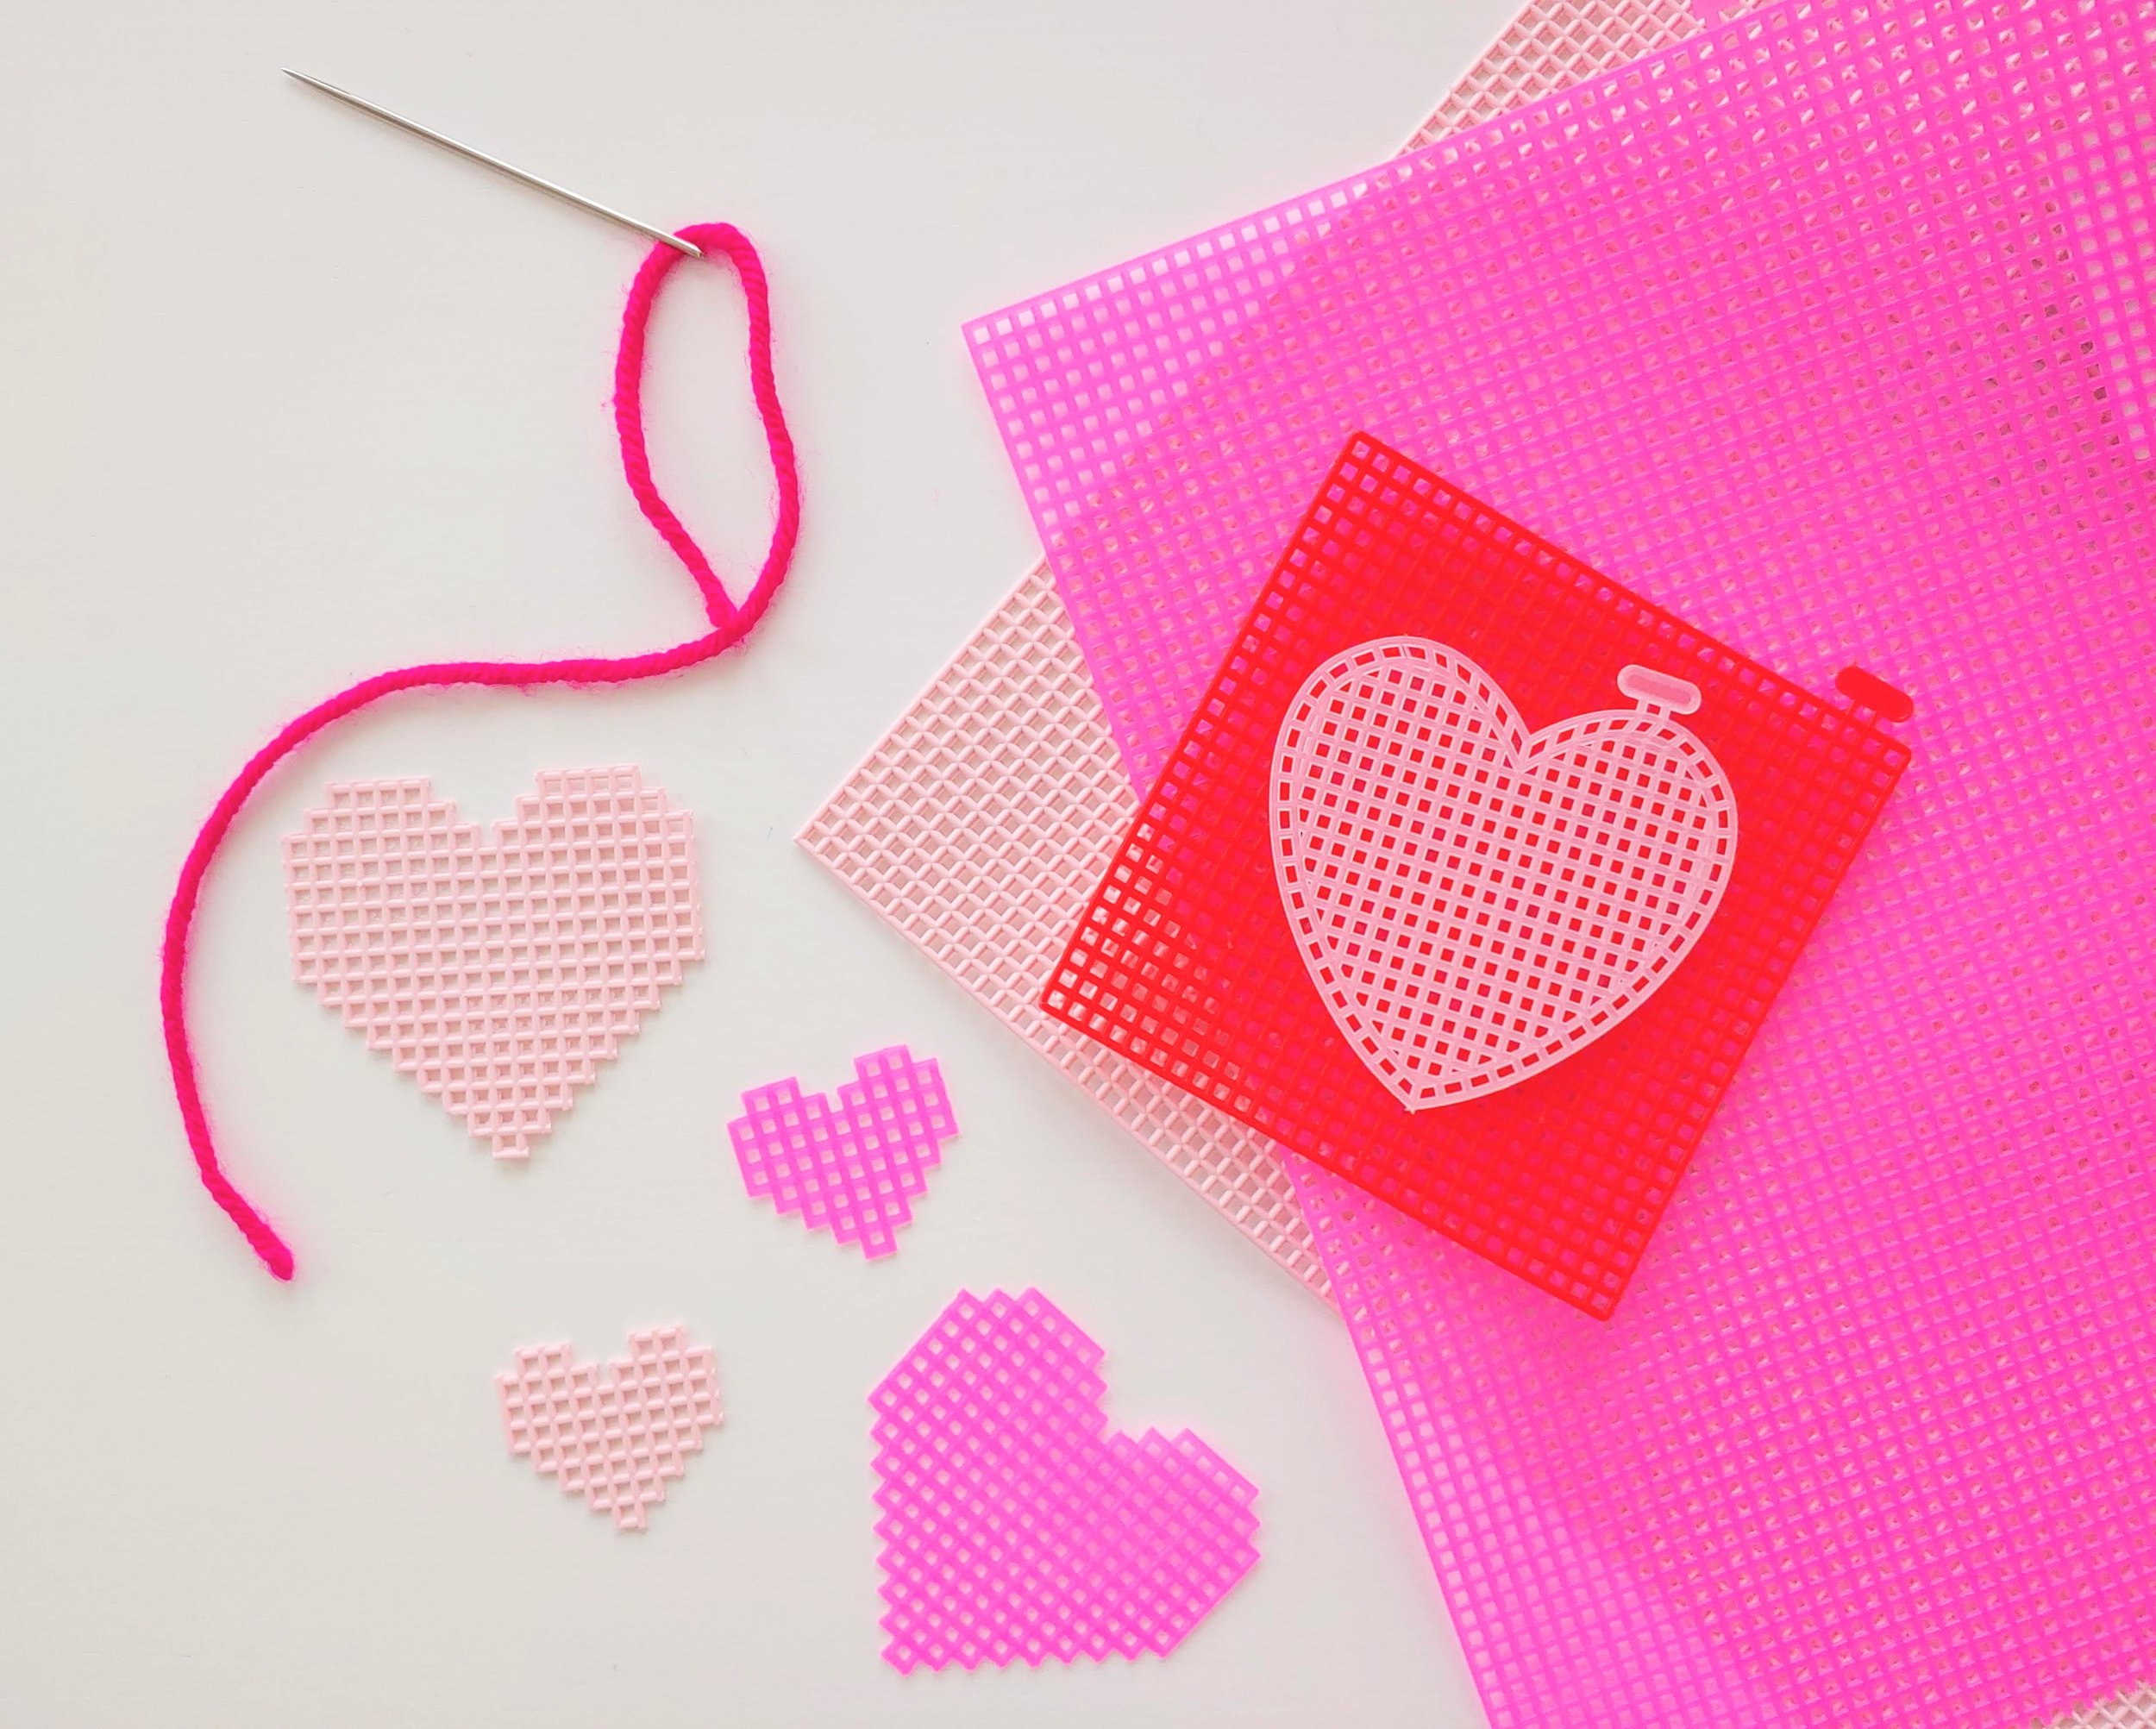
To make these fun valentines, you need some plastic canvas. I was able to find these lovely colors at Michael’s, but Amazon also has some light pink canvas in a bulk pack HERE. I also found pre-cut hearts at both Michael’s and Amazon HERE. The pre-cut hearts make it super easy with no cutting of the canvas, but they only come in the clearish-white color. So if you want to skip the canvas cutting step, you could just go with the pre-cut hearts.
You will also need a large yarn needle. I like a size 18 yarn darner. Amazon has a set of six needles HERE. I prefer the metal to the plastic for this craft because you want your needle to be strong enough to get through those tight little spaces.
And of course, you need yarn in all sorts of colors. This is a perfect craft to use up your yarn stash.
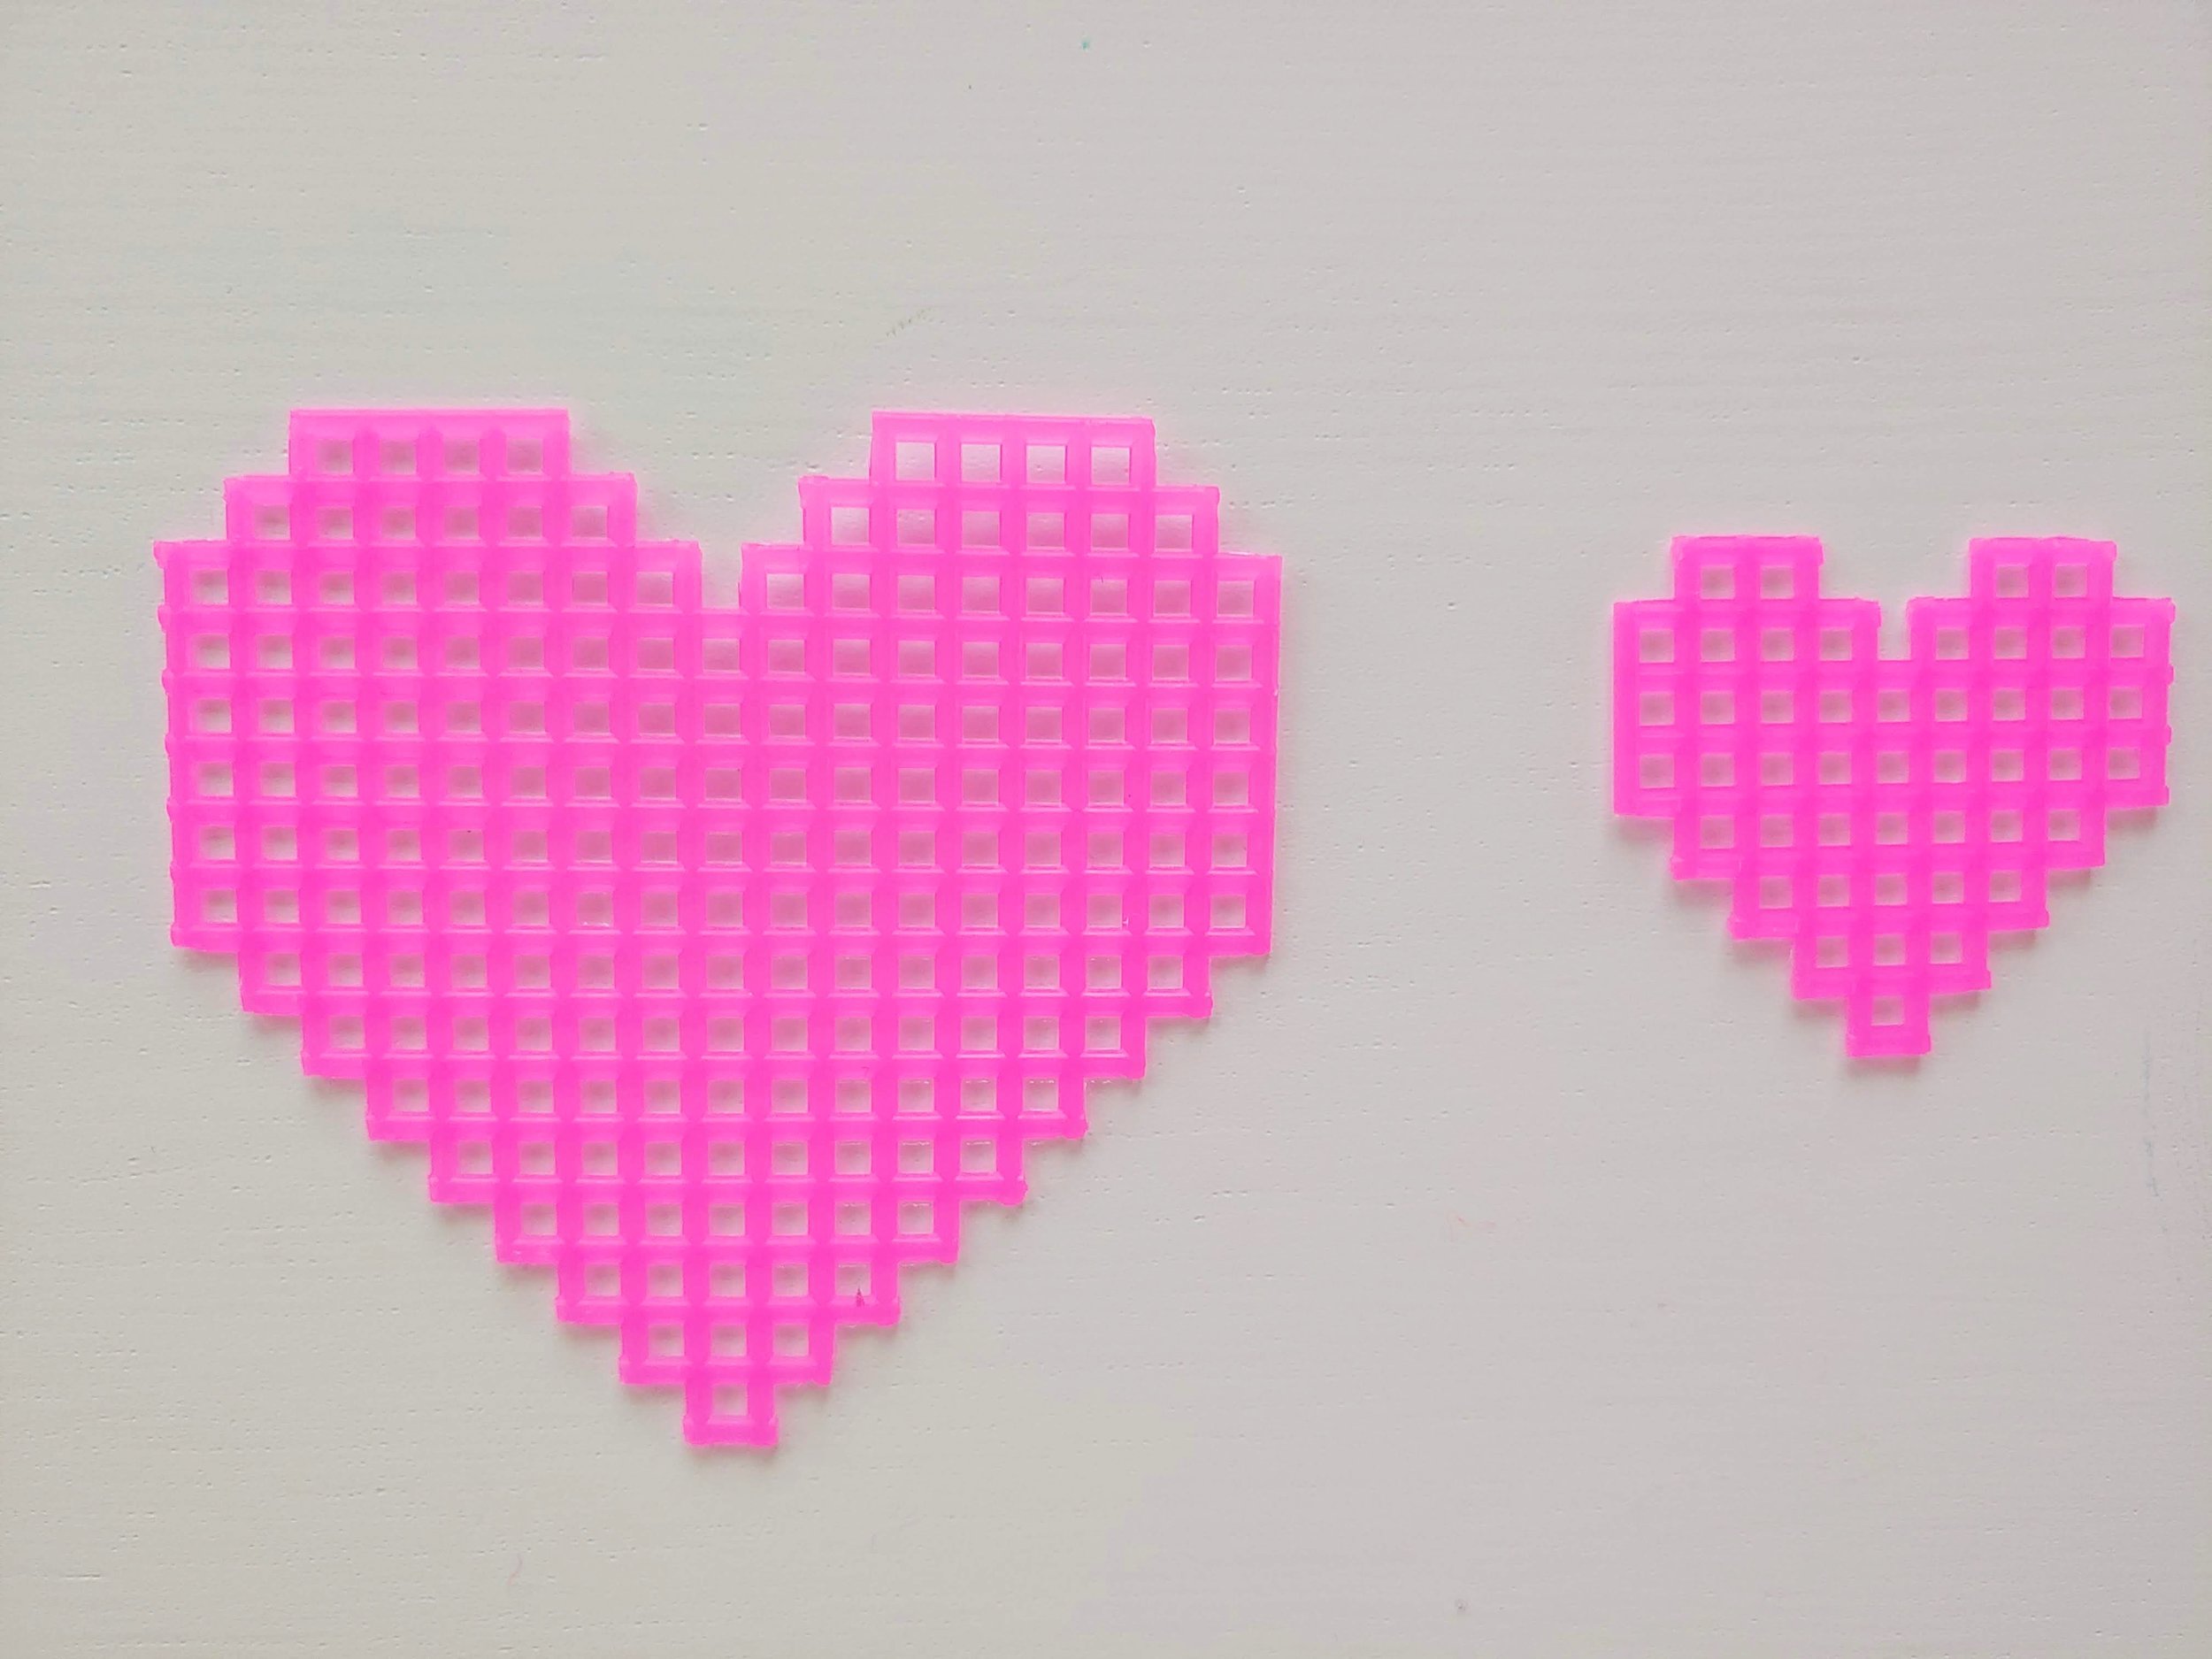
If you are going to cut your own hearts, you can use the above photo as a guide. For the tiny heart, I cut a piece of canvas that measured 9 squares across by eight squares tall. You want your across number of squares to be odd so that you can have your center point at the bottom of your heart. The tall number should be even. For my bigger heart above, I measured 17 across and 16 tall.
I liked the design above for my hearts, but you can really do anything that you would like. The trimming takes a little time, so just be patient, and make sure you have a pair of sharp but not too thick scissors. You need to cut into some of those tight little areas with your scissors, so you don’t want a pair that is too thick.
Once your hearts are ready, you can start stitching your heart out!
If you refer back to my plastic canvas rainbow post, you can get the details about stitching into this canvas. Because there is no right or wrong way to stitch these, you can really do any design you would like. Make sure that you weave your ends in so that you don’t have yarn hanging out, but, really, that is the only thing to worry about. Have fun with these!
What do I do with my hearts once they are done? Well, you can do all sorts of things! You could attach magnets with hot glue to the back, you can make them into pins by hot gluing pins to the back, or you could add a keychain to and a little felt to the back of the heart to make it look tidy from the back side.
Now you can wear your heart on your sleeve (or front of your sweater!) and spread some Valentine’s love!


