DIY: Plastic Canvas Rainbows
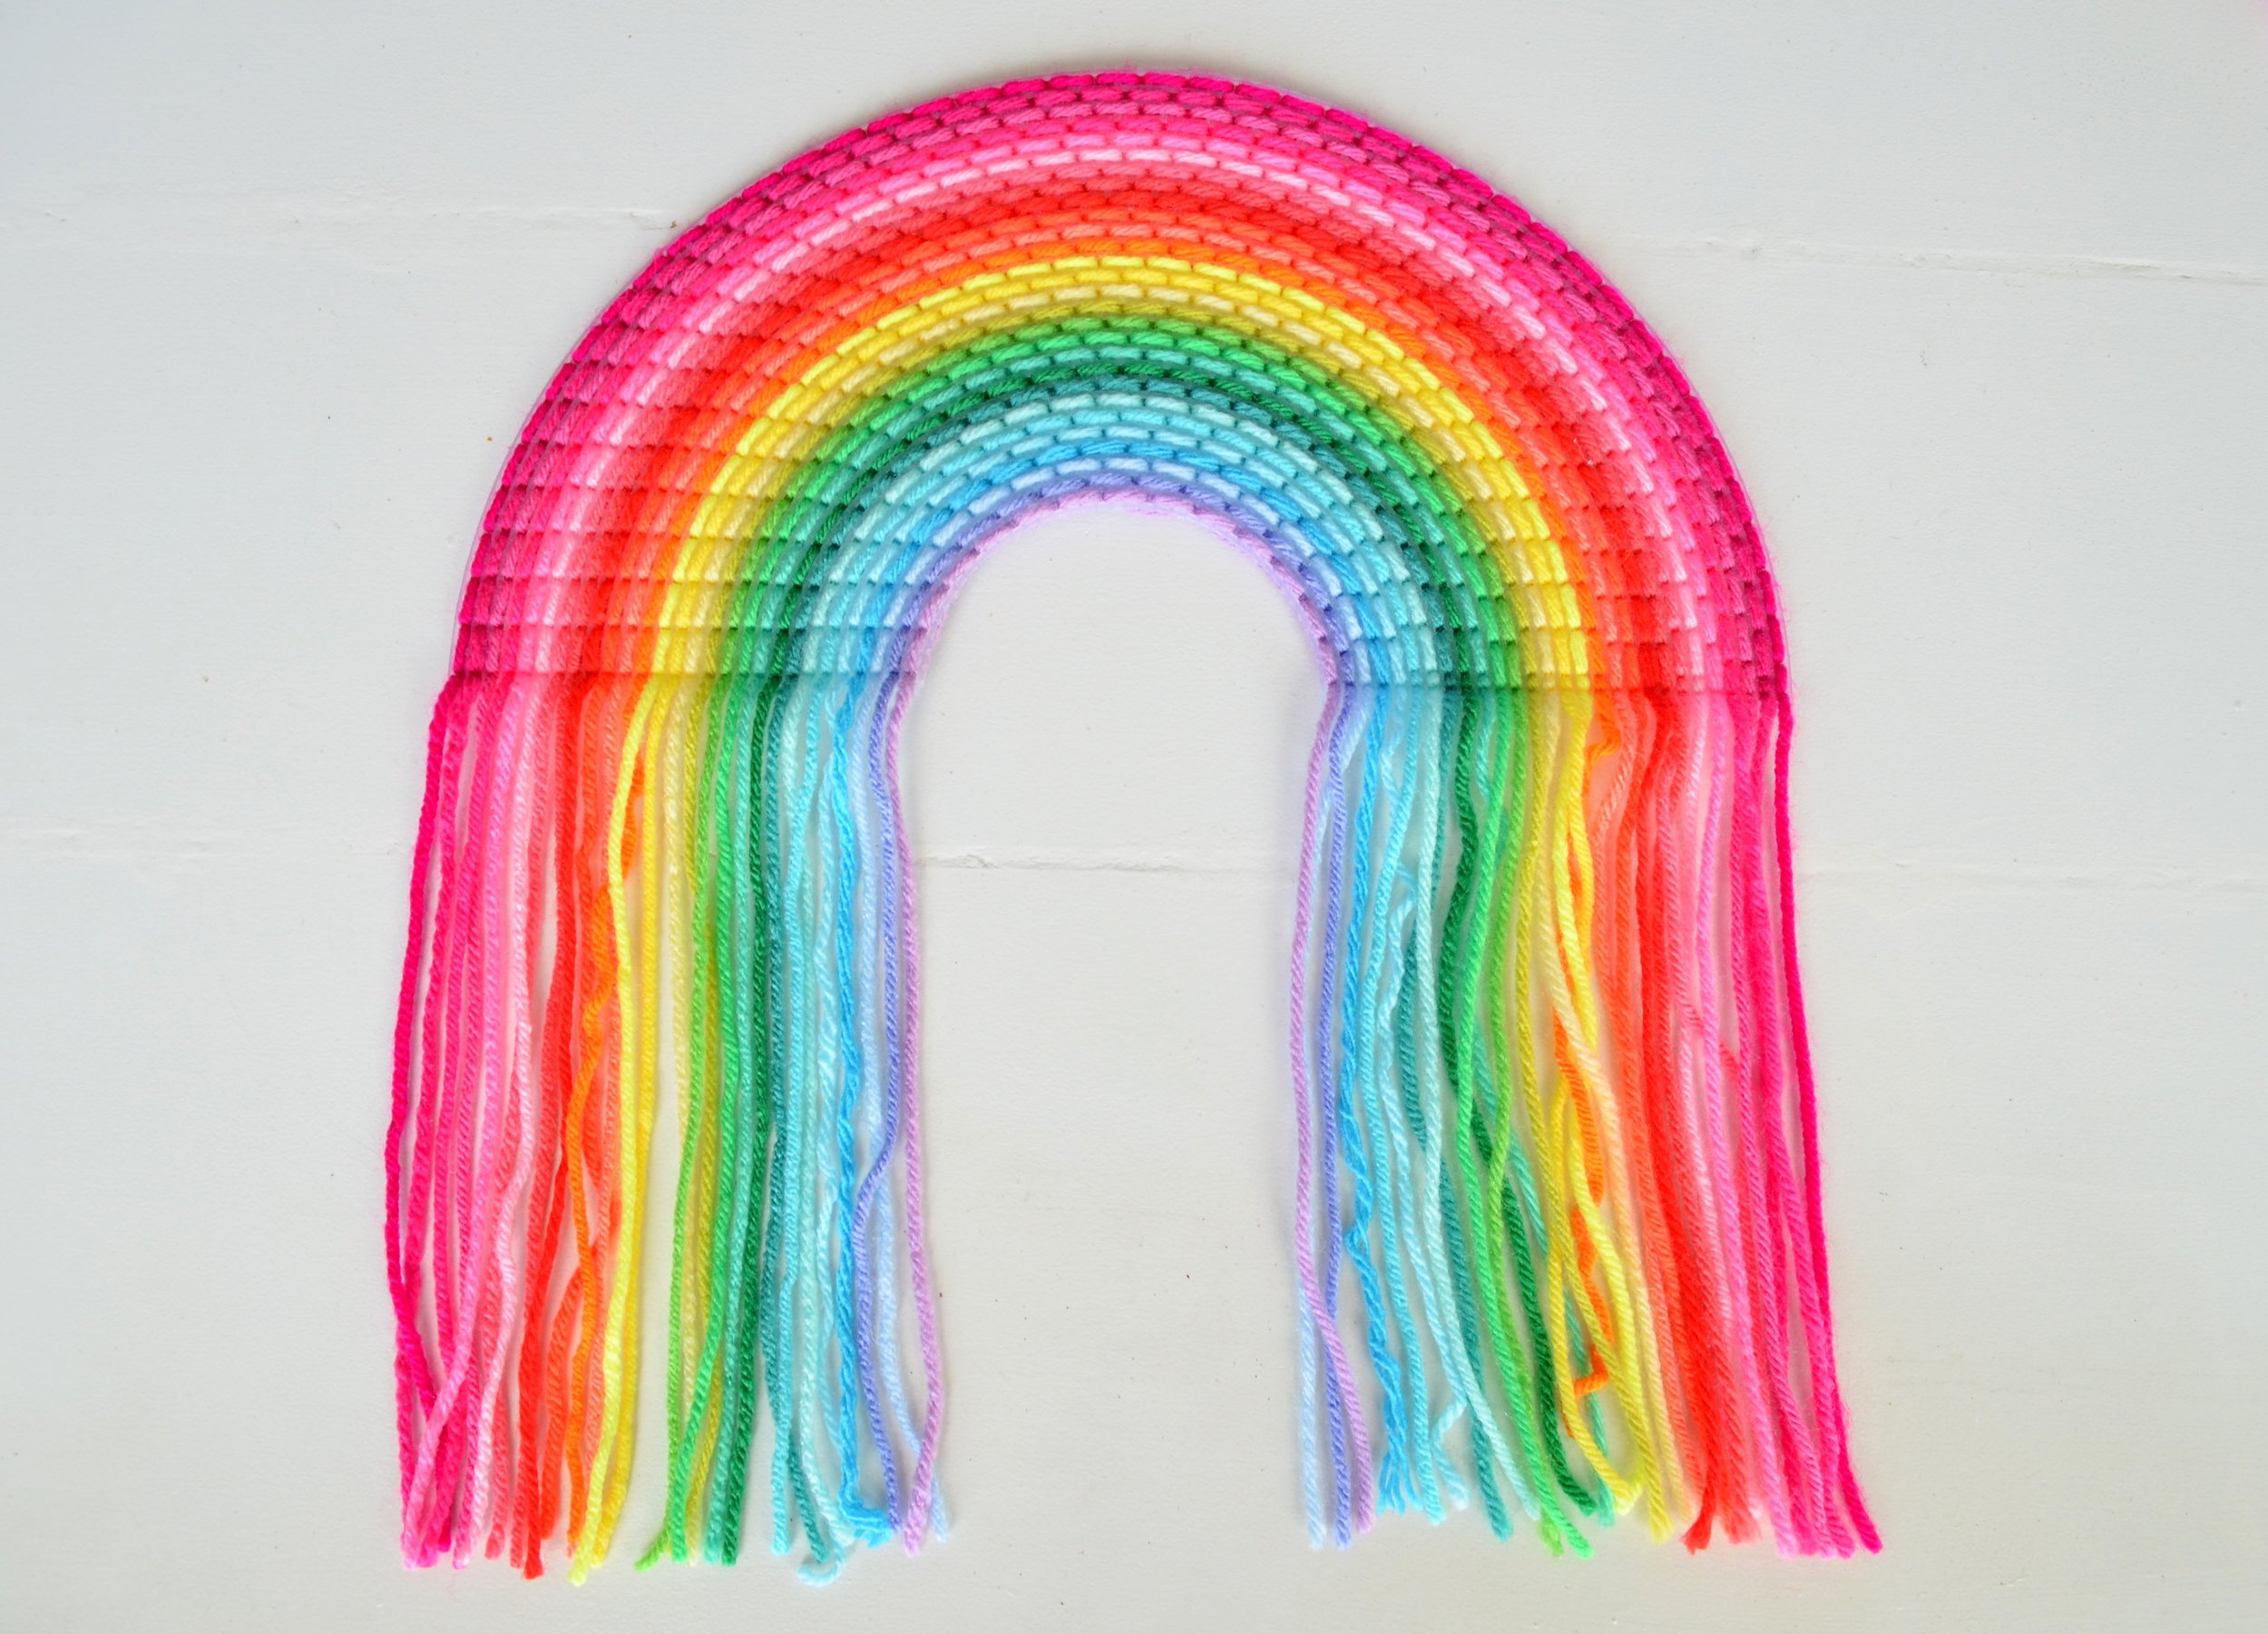
If you are a child of the 80s like I am, you might remember home decor items made out of plastic canvas. My mom bought me a book with all sorts of plastic canvas crafts, and I remember practicing my stitching on this gridded-plastic. You may remember the lovely kleenex box covers made out of this canvas as well or even baby nursery decor. Thanks to the rigidness of the plastic and the ability to use yarn as opposed to embroidery thread, this craft medium lends itself well to home decor. I love how you can get a woven look with the yarn without needing a loom. In an effort to bring back the plastic canvas, I've started playing with it in my home decor, and wanted to share these woven rainbows with you! I'm warning you though: these are addictive, and once you start making them, you will want to make them in a million different color combinations! You can also see how I used a plastic canvas to make a yarn chandelier HERE on my website.
Materials
Circle Plastic Canvas. I love to make rainbows in all sizes. You can find 4.5", 6", 9.5", and 12" on Amazon. Craft stores carry a variety of sizes too.
Yarn. Chunky yarn doesn't work well for this project, as it it hard to fit it into the eye of the needle.
Scissors.
Yarn darning needle. I like size 18. Sold in a package on Amazon HERE.
Embellishments if desired: pom poms, pom pom trim, etc.
Hot Glue Gun for gluing embellishments.
Instructions
Begin by cutting your circle in half. There is a line down the middle, so it makes it easy to keep your cutting lined up. You can make two rainbows out of one circle.
To find out how much yarn you will need, lay your yarn around the outside edge of your circle and include yarn at each end for your trim. Now mark that spot with your finger and double that length. I have found that the outer layers especially use double the amount of yarn as goes around the edge. You may even want to add a little extra to the first few rows of your rainbow. The inner rows aren't usually double the amount, but I just keep doubling the whole time. It is easier to have too much yarn than too little. This isn't very mathematical, but it seems to work pretty well. If you want a fuller rainbow with more fringe at the bottom, you can even double again and have two long strands coming from your needle.
If you want your rainbow to have a cut-out center arch, you can also cut that at this time. I like the look of both the rainbows that have a cut-out and the ones that are solid. It it completely up to your preference. You can even use this baby rainbow later on for another rainbow!
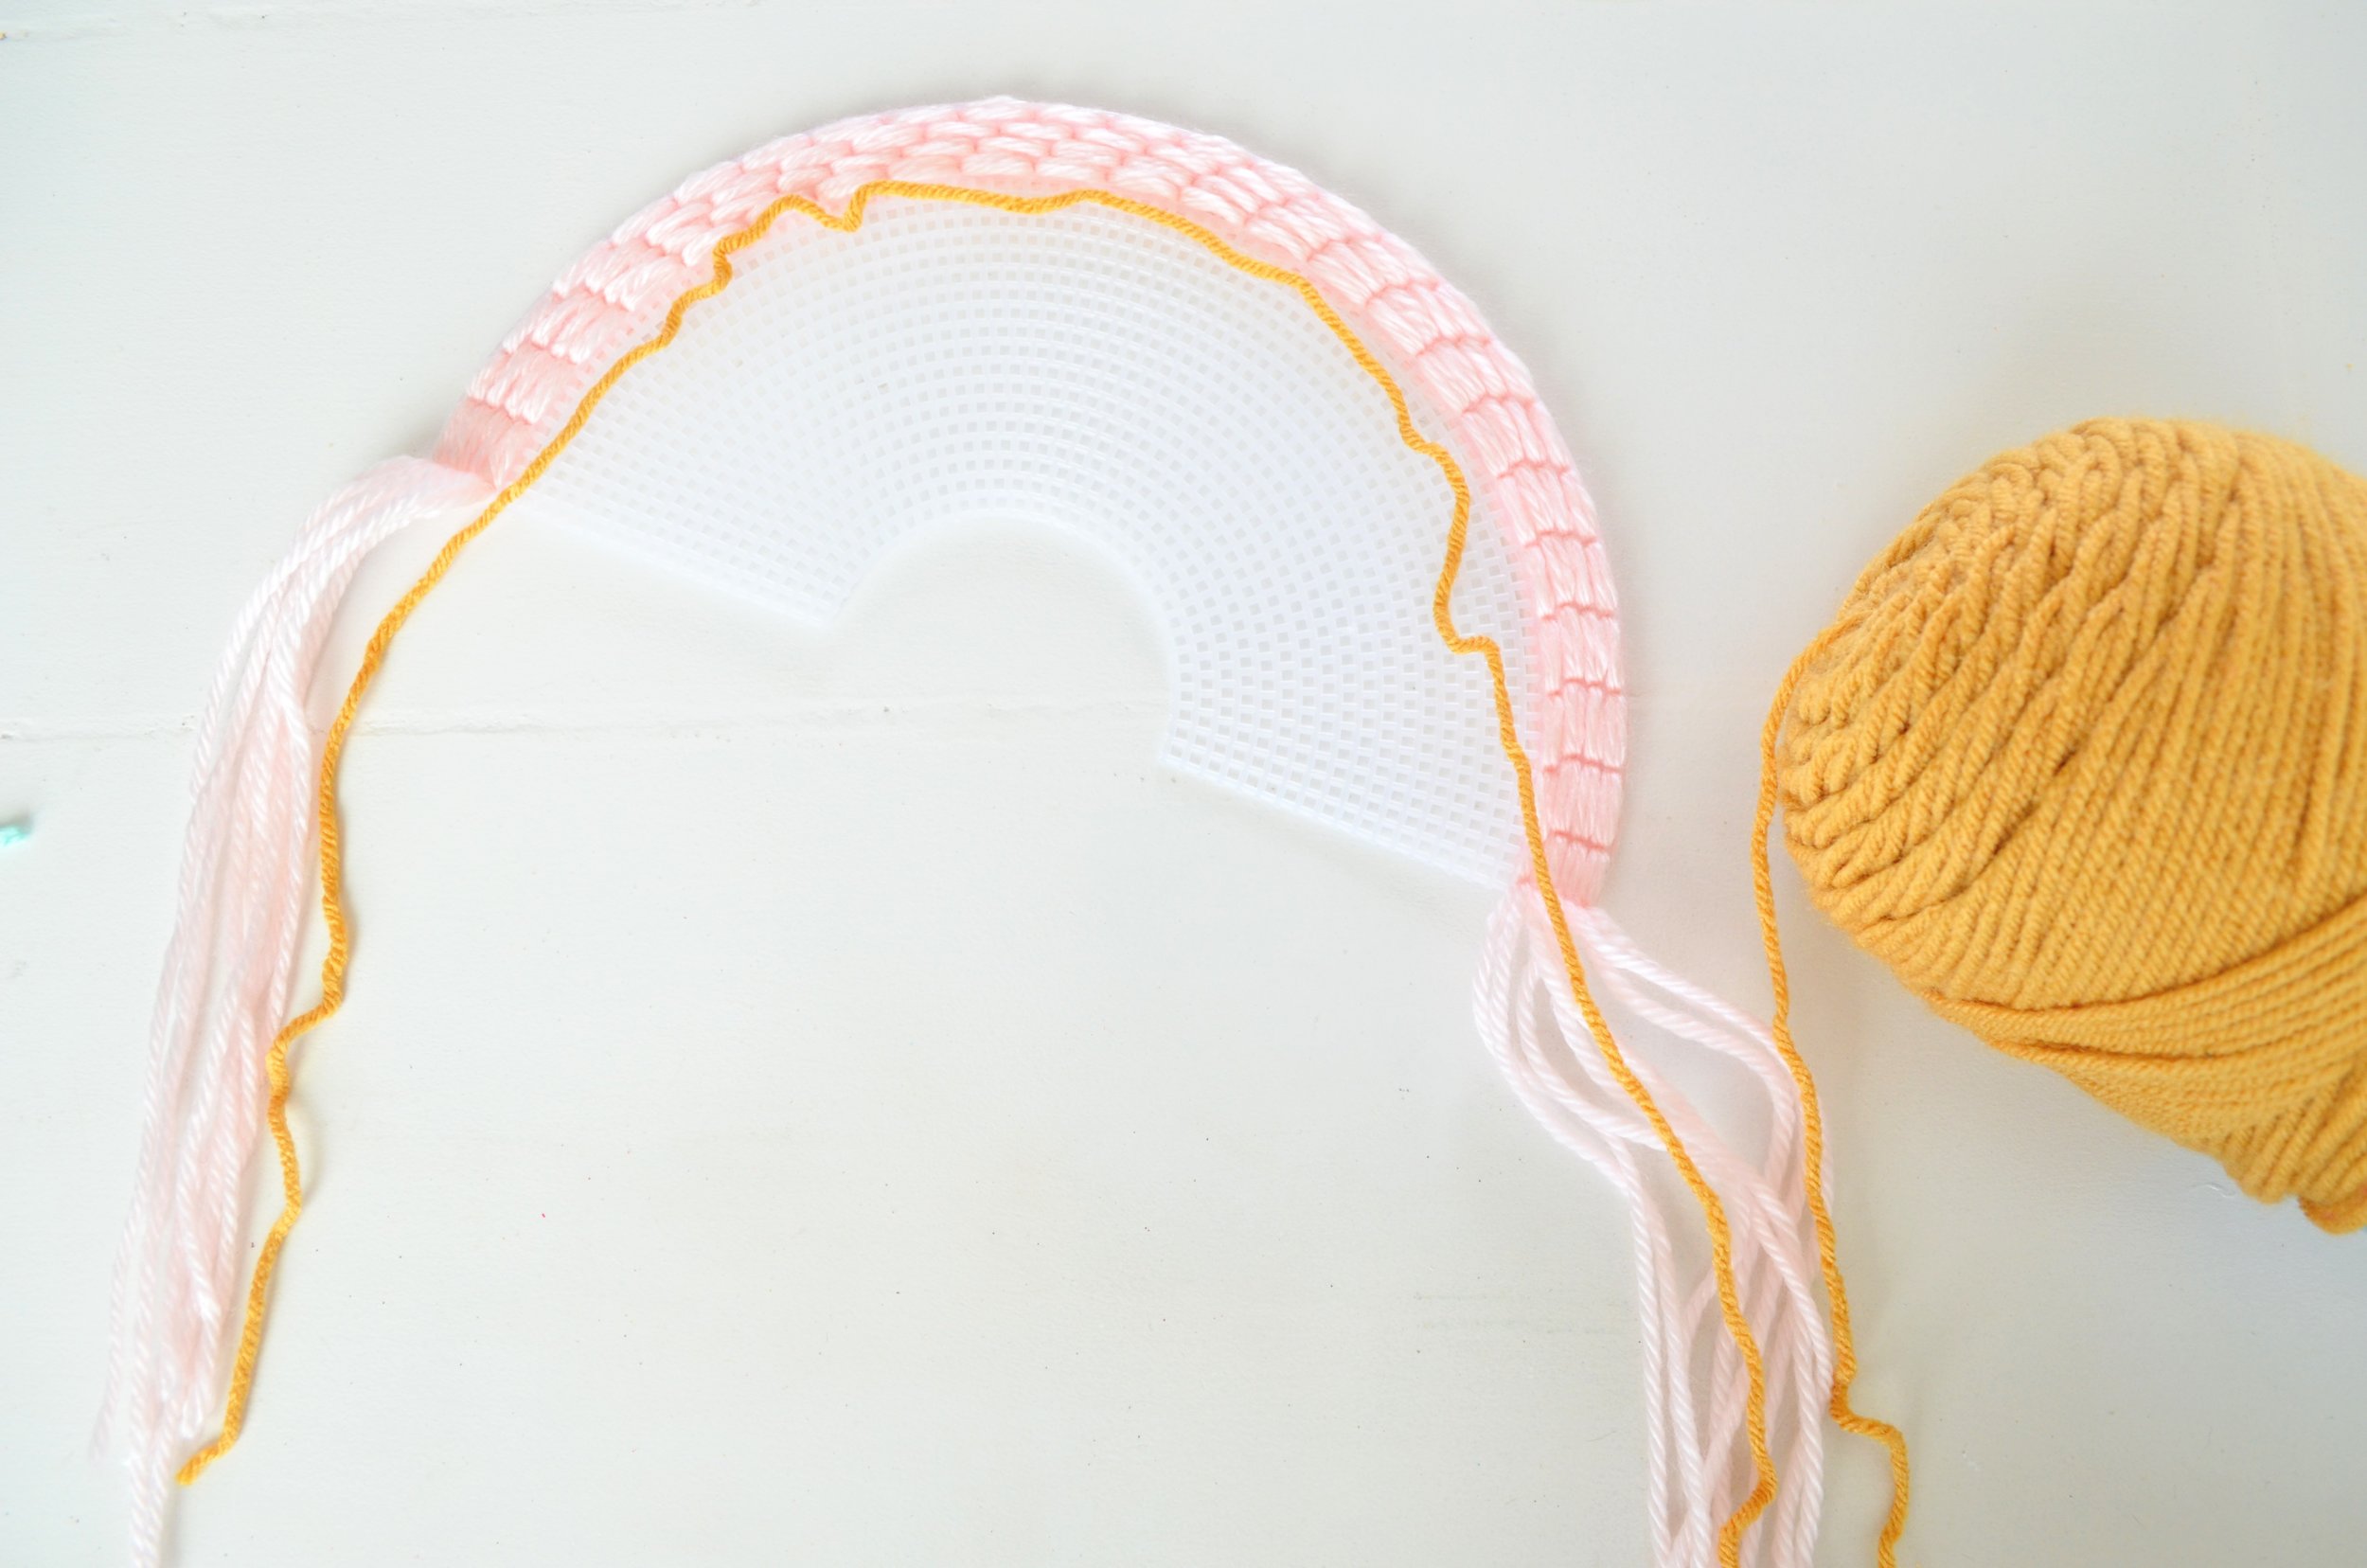
I always like to count how many squares are in the radius of my circle so that I can plan my colors accordingly. If I have 24 squares in the radius and I have six colors I want to use, each color will have four rows in the rainbow. It usually isn't an even number though, so I just give a few rows a little more or less. I also cut all of my strands of yarn for one color at the same time. It makes it easier. I'm wanting a more full rainbow this time, so I measured, doubled, then doubled that amount to get my string length. I slid my needle into the center of the strand so that I have double yarn going in each square. I also like all of my fringe strands to be coming out of the front side of the rainbow, so I begin and end with the yarn strands coming out of the front.
Pull the needle through the front side of the canvas until you have the fringe length that you like on that side.
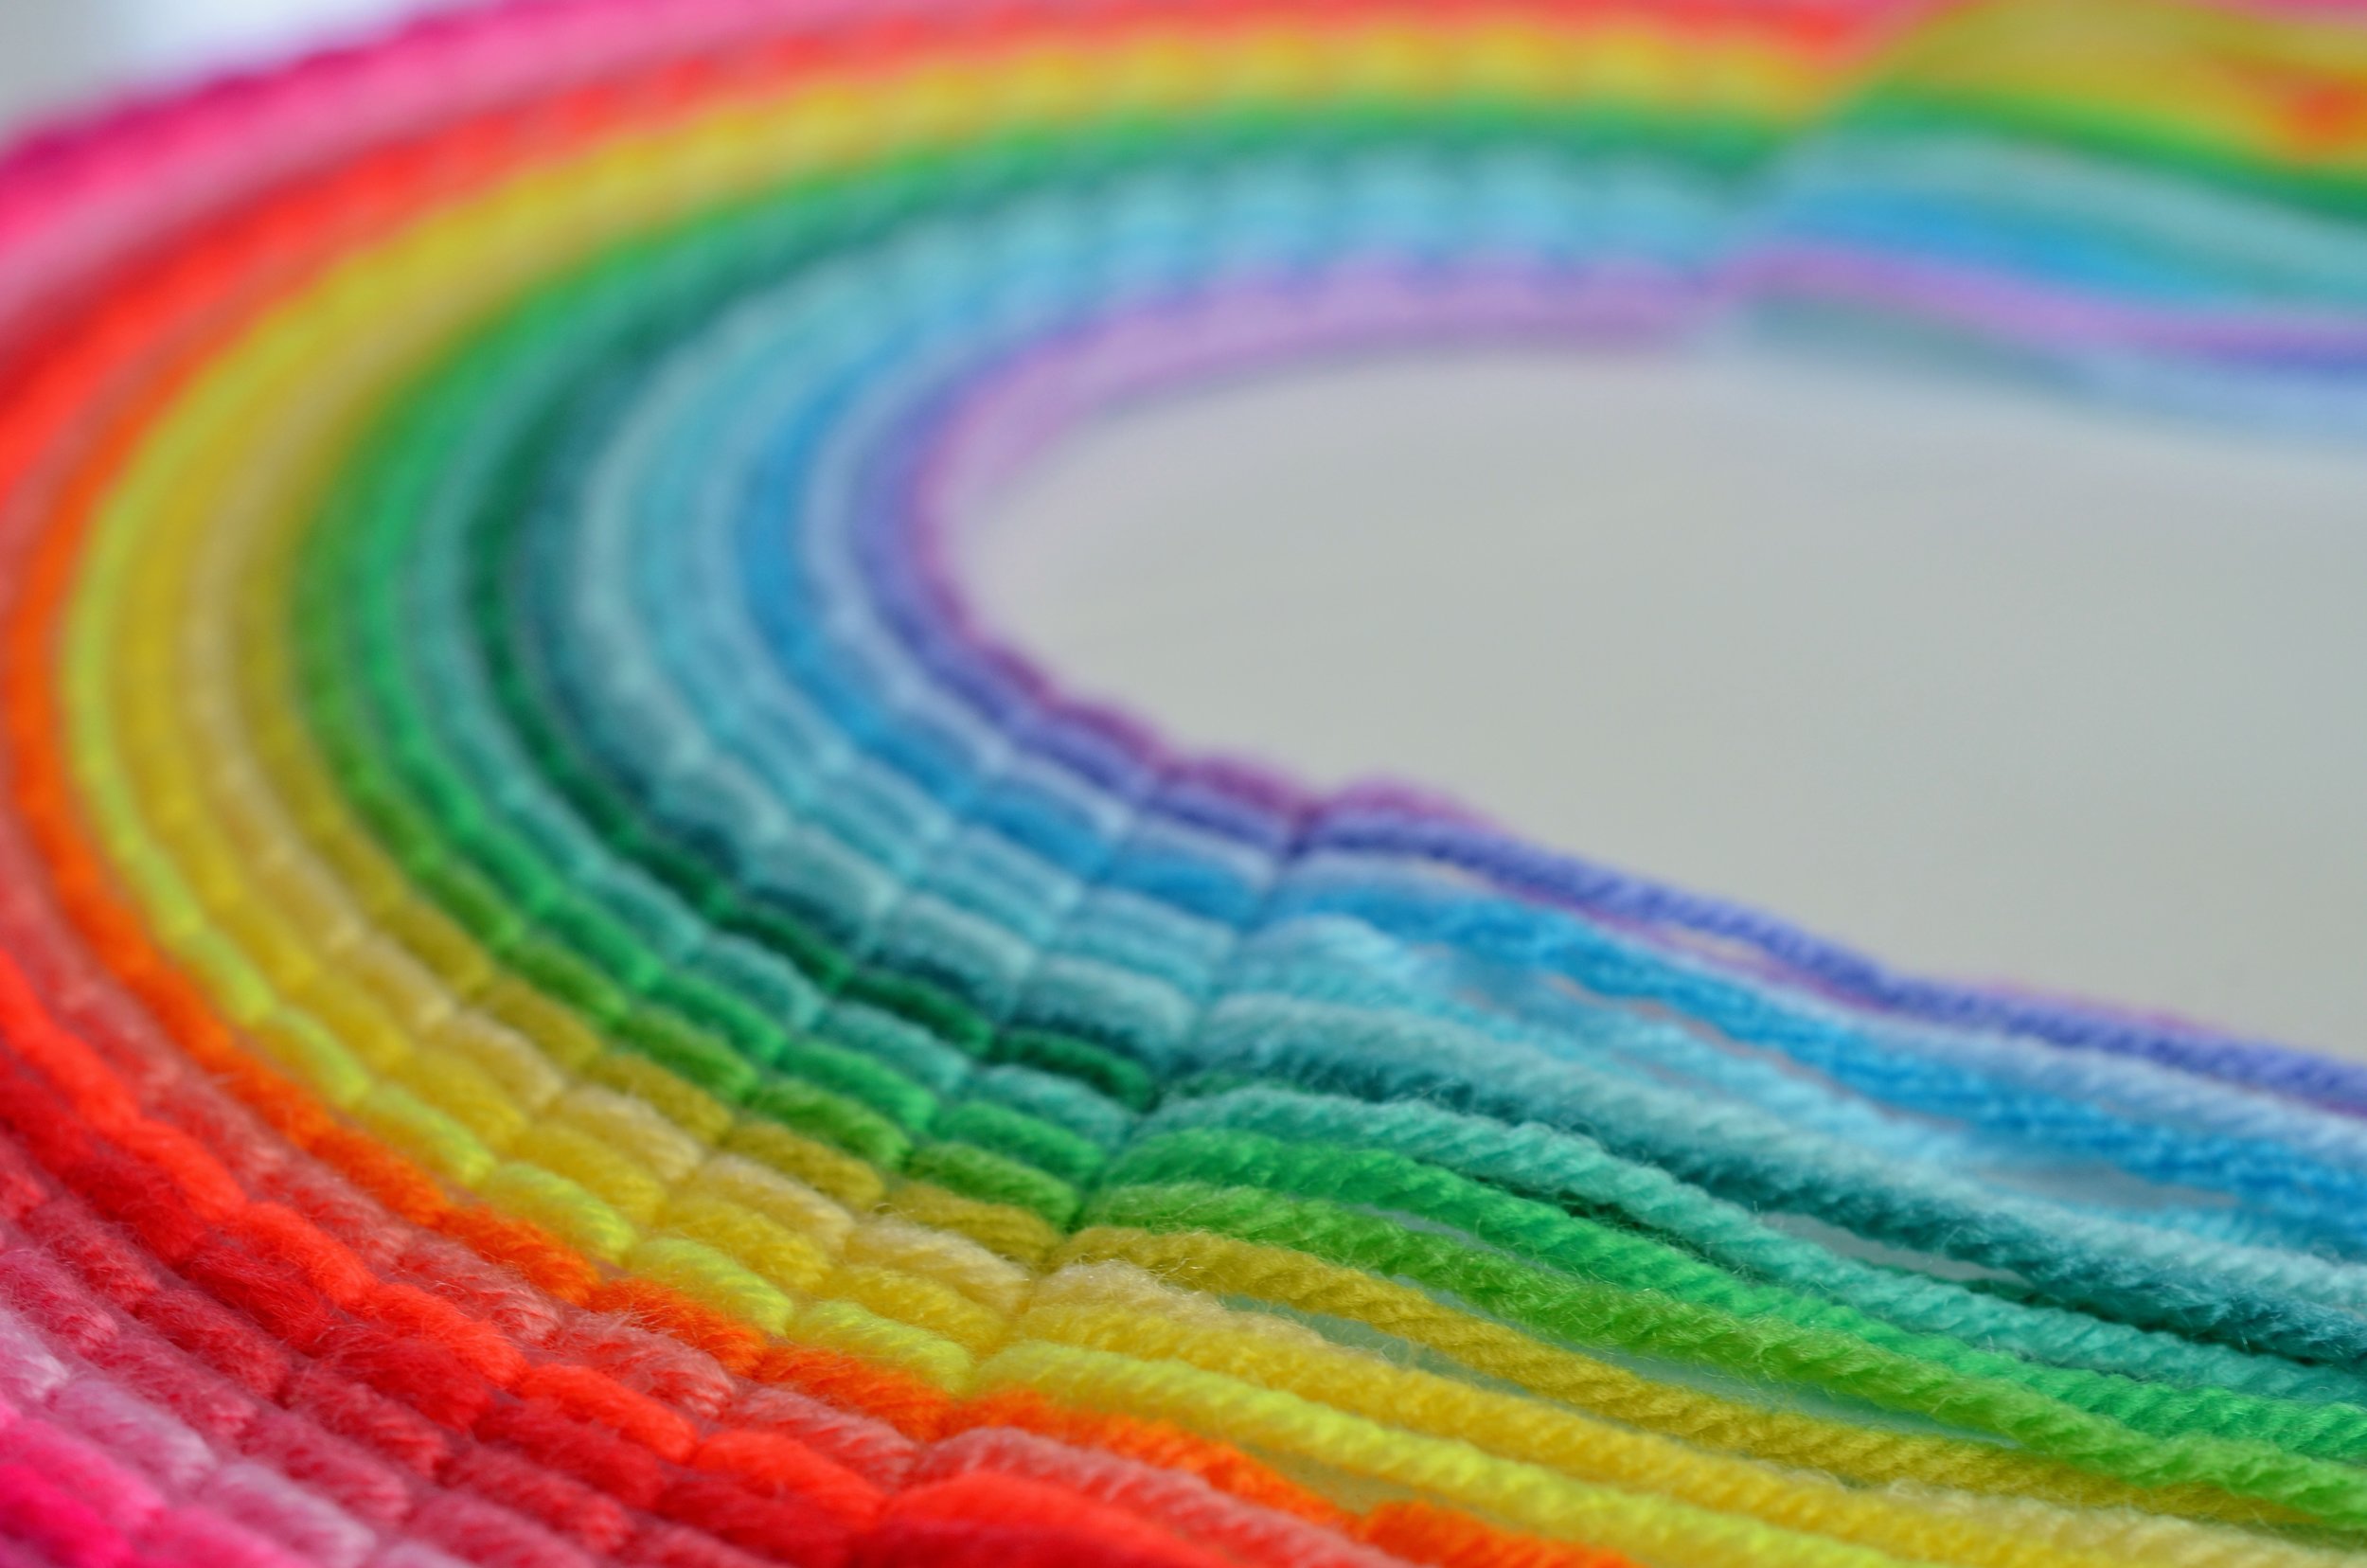
We are going to be using a backstitch all the way around this rainbow. You can skip a few squares, but keep in mind that your rows will less round if you skip too many. I like to skip 2-3 squares at a time. The number doesn't always work out evenly with skipped squares, and at the end you may end up with only one square. That's okay too. Just back stitch it like normal, and you won't notice much when it is finished.
So, skip 2-3 squares then stitch back into the canvas. The yarn will now be back on the front side.
With the yarn and needle now on the front side, go back into the first square that you went into. You have created your first stitch. Now with the yarn and needle on the back side again, go up 2-3 squares above this stitch and go through the square. You will then go into the same square as the top of the first stitch. You will continue this backstitch all the way around the rainbow until you get to the end. Make sure you have some fringe at the other end.
Continue this pattern with all of the rows that you want in this color.
To add a second color, measure around your rainbow and double the yarn. Then double that amount if you want a fuller rainbow. You will continue to backstitch this color in the same manner as the first color.
When you have finished all of your rows, you can trim your fringe to make it even. I have often just used the edge of a table or counter to help me line it up, but it also helps to use a large ruler to trim the ends.
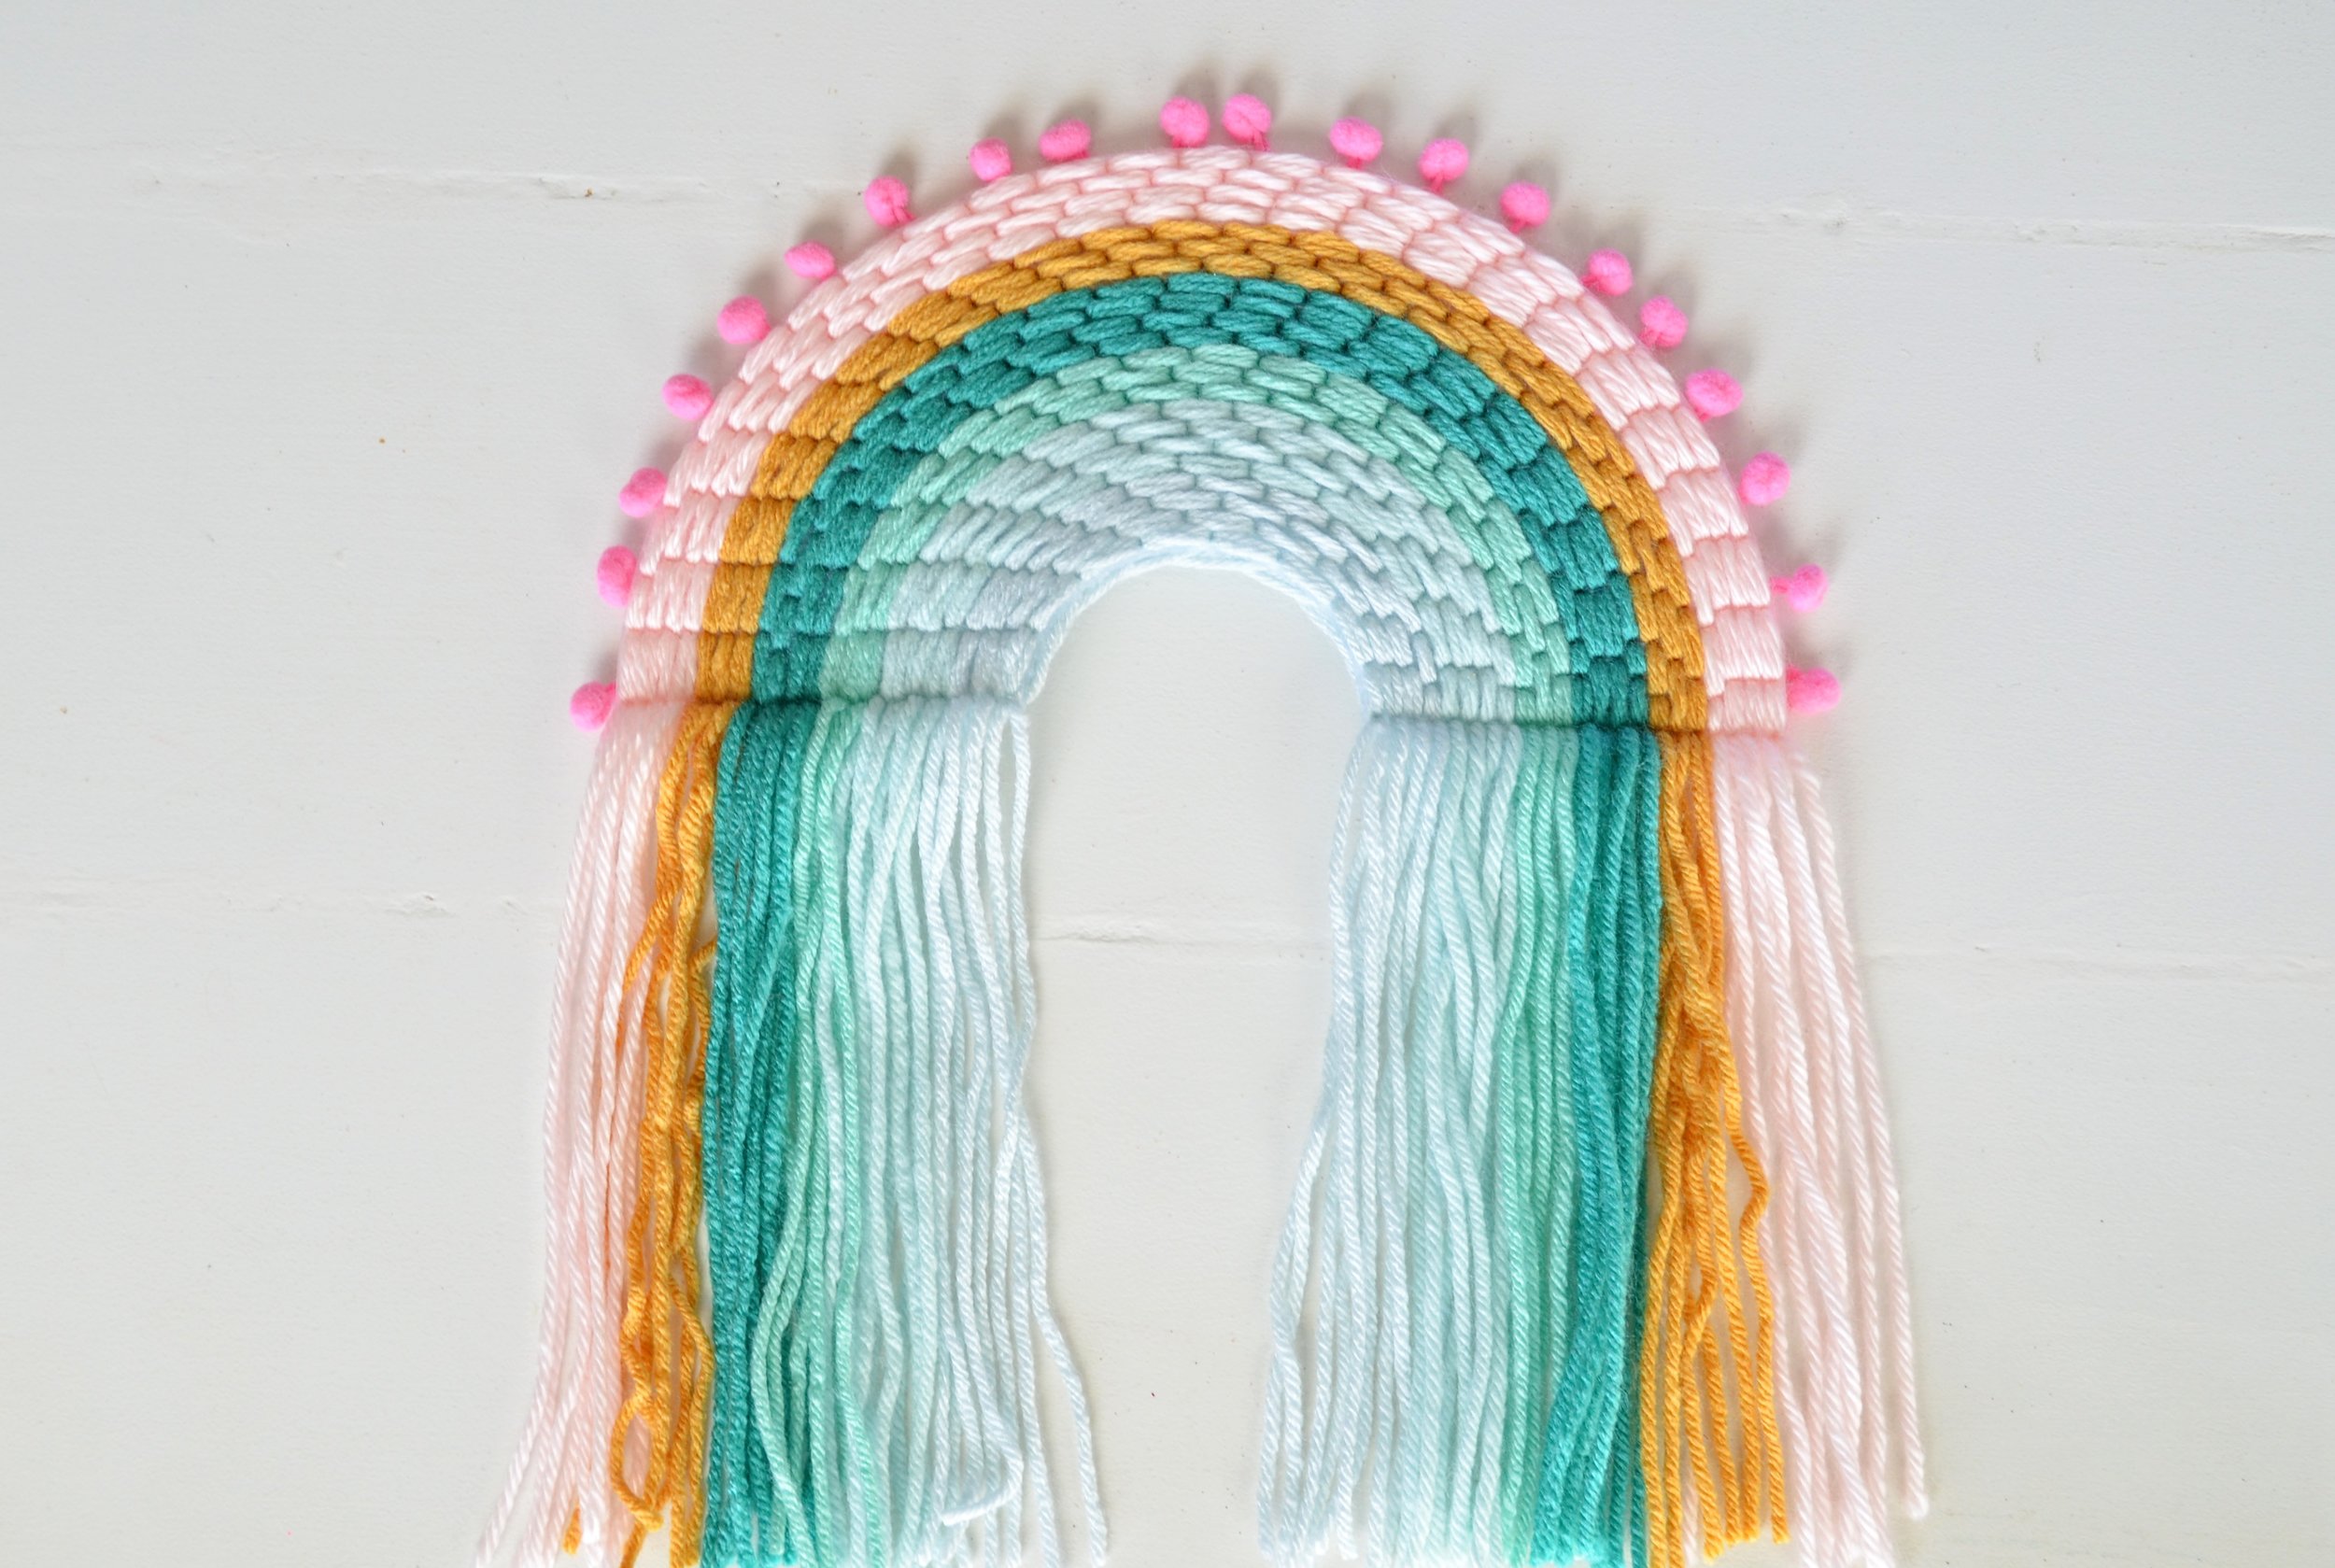
If you want to add any embellishments, now is the time to add them. I like adding handmade pom poms to the bottom, and I love adding pom pom fringe to the outside edge. Use hot glue to apply your embellishments.
And that's it! These fun rainbows are perfect for a little girl's room or for your craft room or gallery wall. I just can't get enough of them!

