Summer Kids Craft Camp - Session 1: Summer Snow Globes
My kids have always been on year-round school which meant that our summers were only three weeks long. This past year, however, they changed our school to a traditional schedule (which I actually prefer!), and we now have a normal summer! The thing I realized with having a regular summer though is that I have four kids home every single day for two and a half months. That seems like an eternity when you are used to three weeks! In an effort to keep the kids (and myself) busy, I decided to do a once a week Craft Camp. I have been pinning craft ideas and projects for so long, and my kids LOVE doing crafts, that I thought this would be a good chance to pull out some of those ideas.
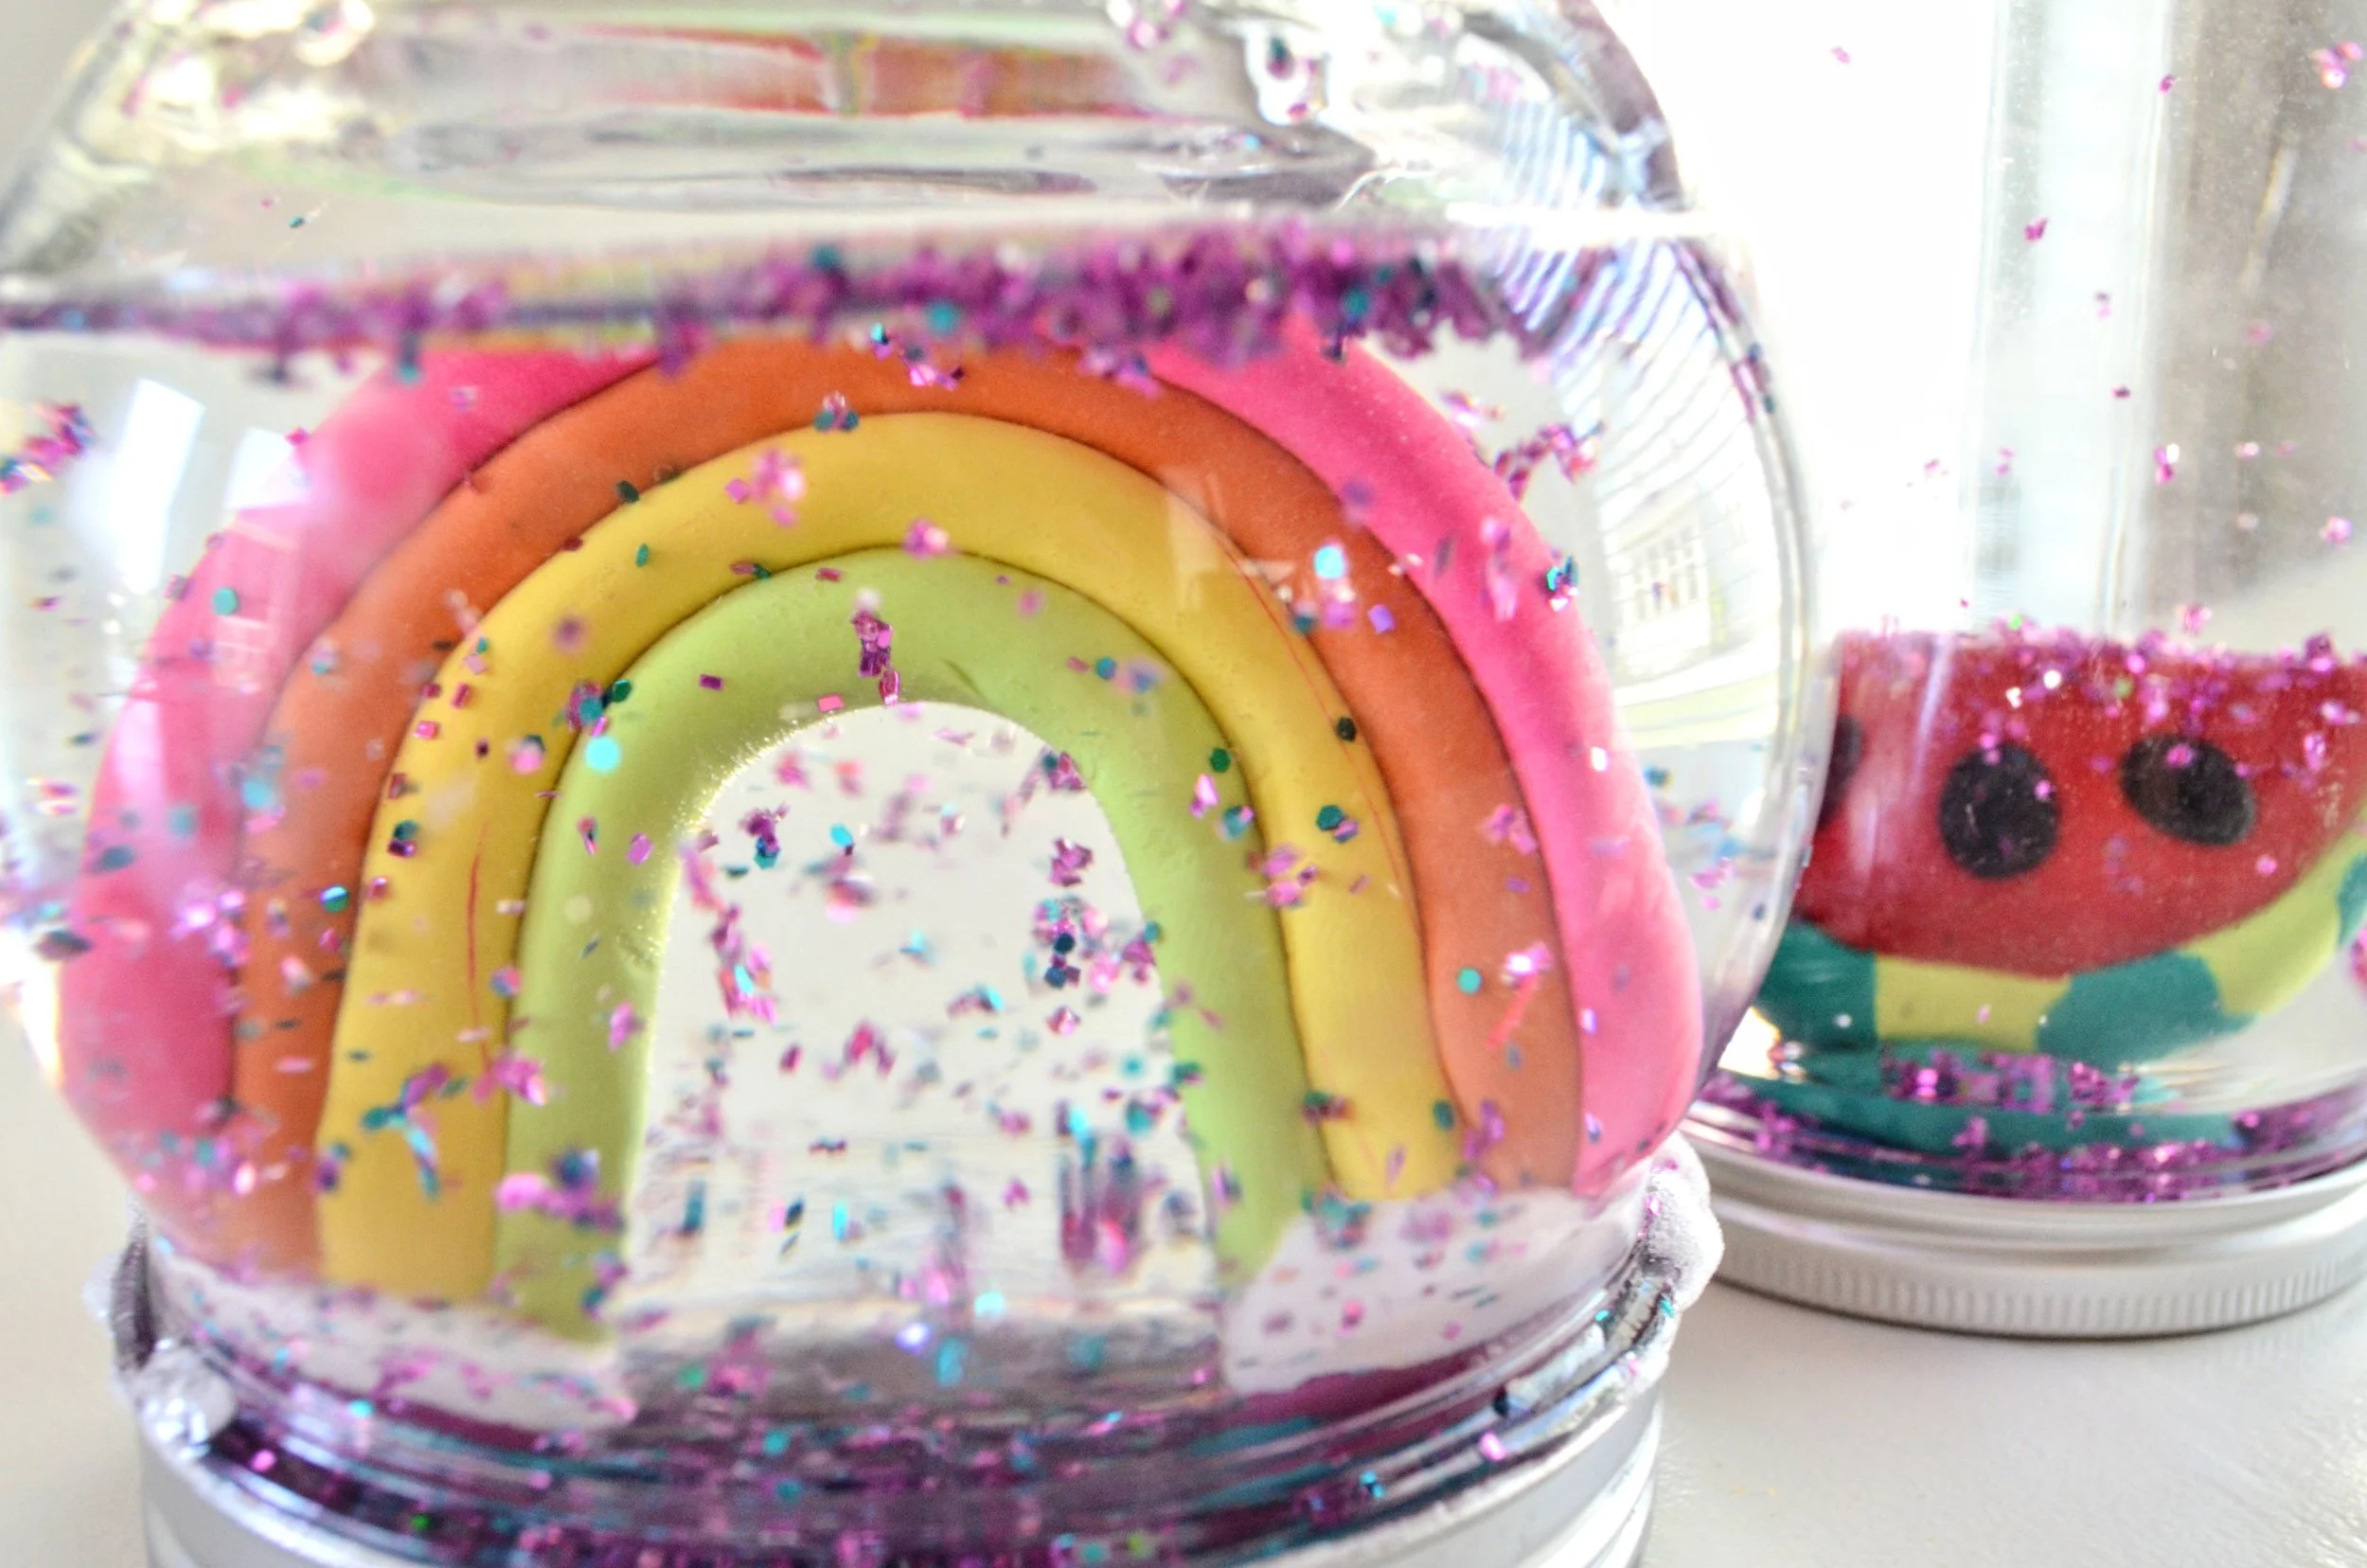
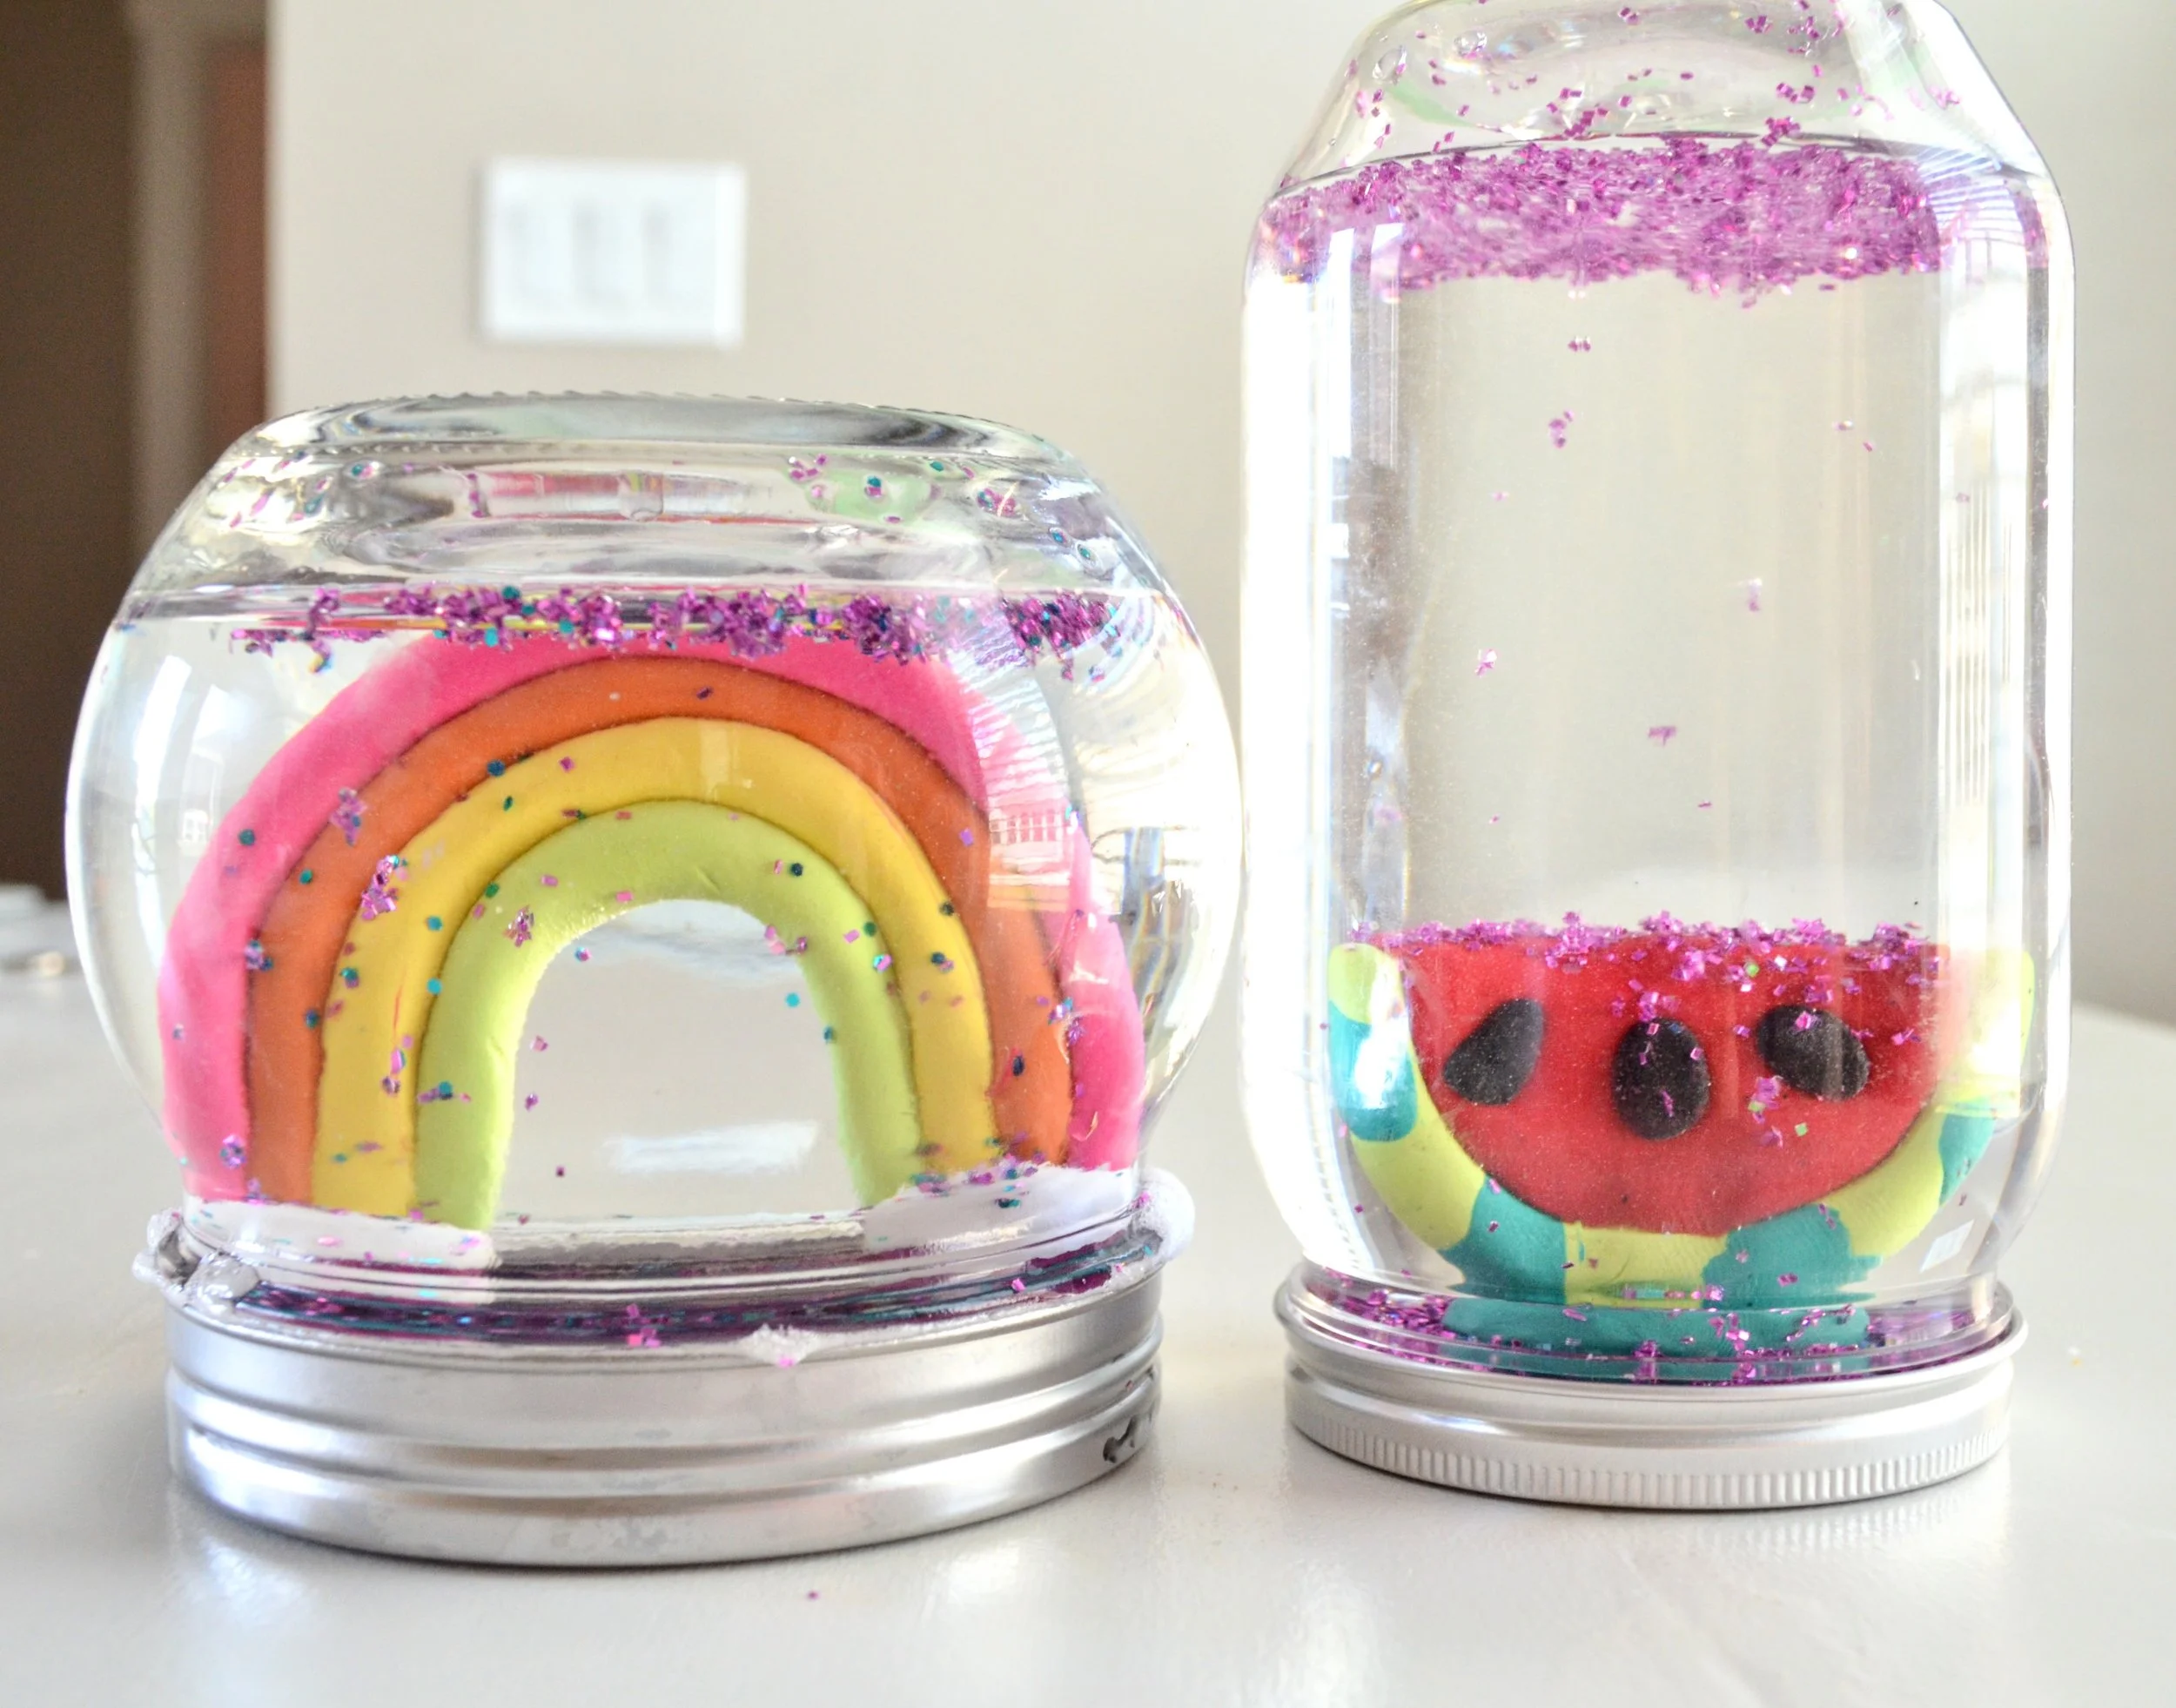
For our first Craft Camp, we made summer snow globes. I have had this idea in my brain for a long time, and I even had all of the supplies because it was something I have been wanting to do! I saw an ad for a cute rainbow, donut, and popsicle snow globes from West Elm, and thought that they were darling, but a little pricey. I thought it was something we could try to make. I did learn quite a bit while making these snow globes, so make sure to read all of the tips to make sure you don't make the same mistakes we did!
Supplies list:
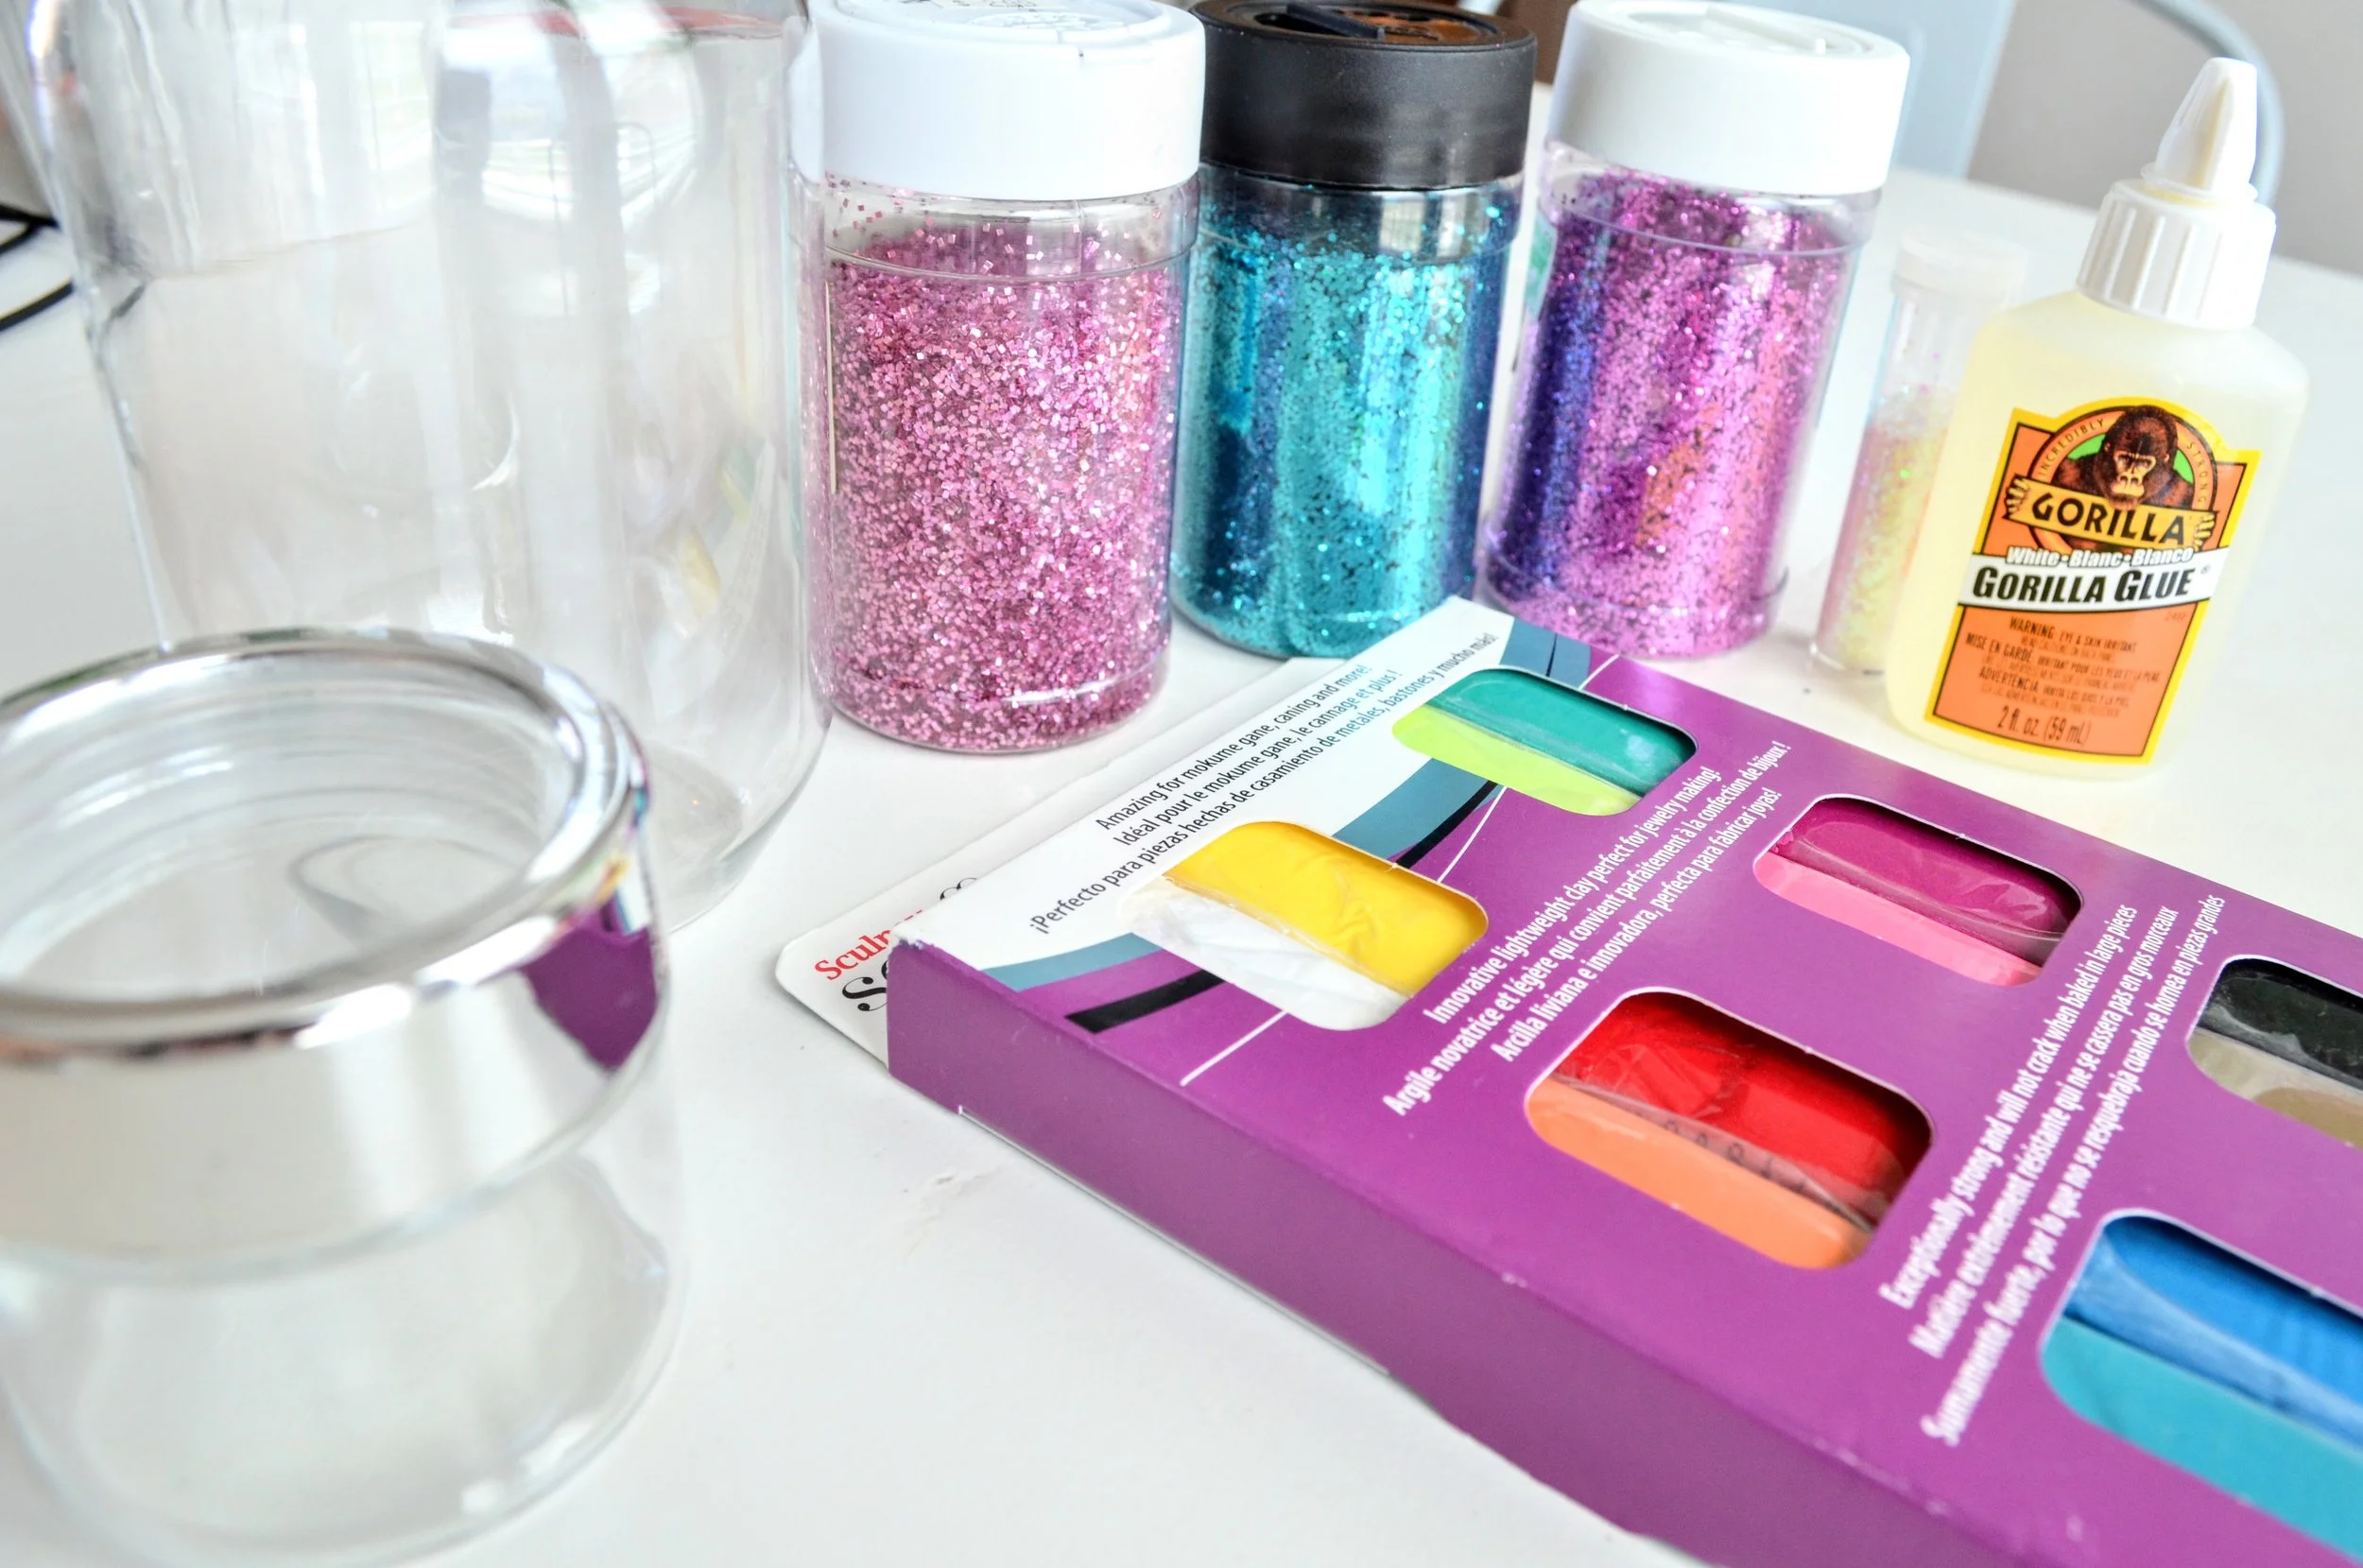
Jars - Make sure these will be water-tight when turned over
Baking Clay - We used the Sculpey Souffle Brand found HERE
Gorilla Glue or other glue that can glue to glass found HERE
Glitter - the finer the better
Water
Lets talk jars for a minute. Not all jars are created equal for snow globes. Out of the six jars I bought, only ONE jar was actually able to hold the water when turned upside down. You may want to test your jar with water in it before you begin your project. Fill it with water then turn it upside down to see if it leaks. Some jars are definitely better than others! If you don't want to fill your jar with water, then any jar can work! You also want to look for jars that have thinner lids so that you can see your clay creations. The larger the lid, the more you will have to build up the base of your clay creation to actually be able to see it.
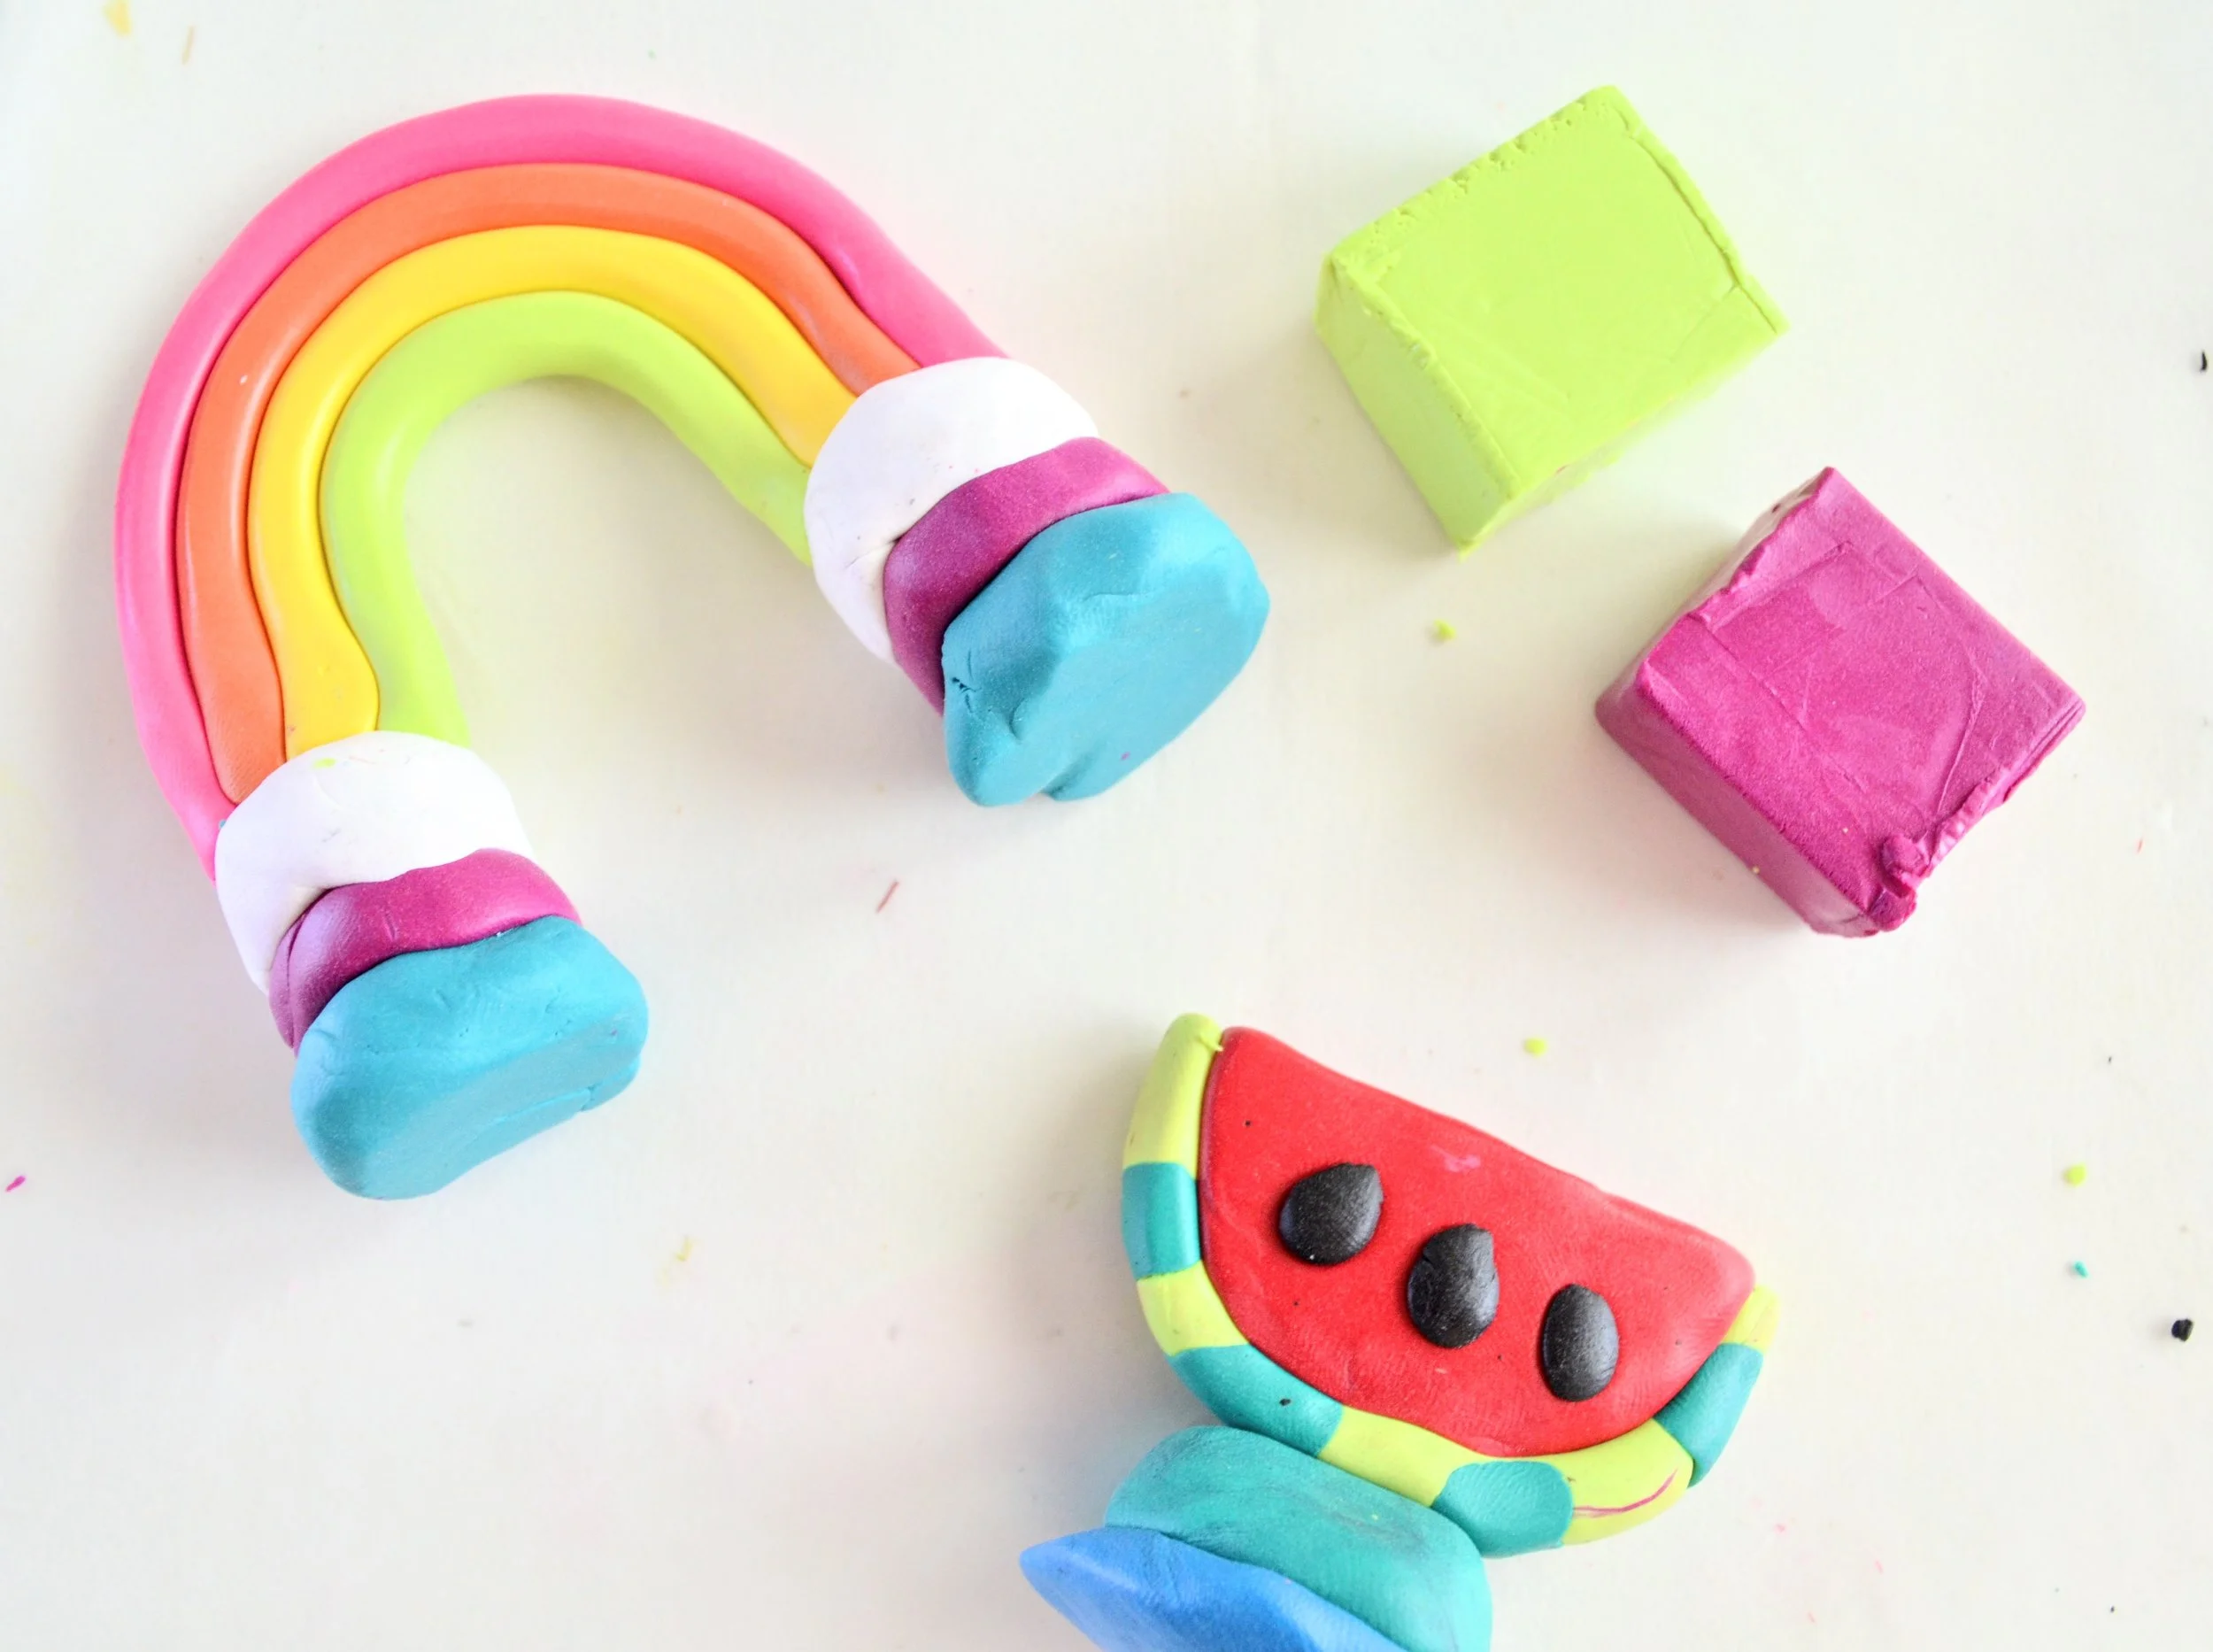
To begin this craft, you need to figure out what you want to make out of clay. I decided to make a rainbow and a watermelon. My kids decided to make a donut, a cactus, and a rainbow. Keep in mind that your clay object needs to easily be able to fit inside your jar or you may not be able to close your jar once your clay object is baked. Two of my kids learned this the hard way. Before the clay was baked, my kids could still squeeze the lids on, but once they were baked, they couldn't get the lids to shut.
Follow the instructions on your clay for forming your objects. I found that working the clay in my hands for a few minutes made it much softer and easier to work with. When attaching pieces, make sure you stick them together well so that they don't come apart in the snow globe. For both my rainbow and my watermelon, I added bases to raise them up so that you can see them above the lids. Before baking, I placed them on the lids and put the jars on top to make sure they fit and that I could see the objects.
Now bake! Follow the instructions on your clay to bake properly. My instructions said to bake at 275 for about 30 minutes per 1/4 inch of thickness. I think I ended up needed to bake mine for 50 minutes, but make sure you follow the instructions listed for your brand of clay. Your objects will come out a little soft, but as they cool, they will harden. Let them cool completely before moving on to the next step.
Once your clay has cooled, you will attach it to the inside of the lid. I used Gorilla Glue, but you can use any glue that can be used to attach to metal. The Gorilla Glue needs to have a slightly damp surface to stick, so I wetted my lids slightly, then applied the glue to my clay objects. Don't use too much because this glue will harden and leave a foam looking substance anywhere it is visible. I learned this the hard way! Only apply just enough to make it stick! Let your glue dry according to the directions on the bottle.
Now that your object is glued to the lid, you can fill your jar with water and glitter. Finer glitter will float a little more and won't clump as much. I had a somewhat chunky, coarse glitter, so it didn't float as well. It also ended up clumping a bit. Our snowglobes still looked cute, but the finer glitter will float around more. Add glitter to your preference. Close up your jar TIGHTLY! You may want to add some glue to the lid so that it cannot be opened. I added Gorilla Glue to one of my jars to secure it. It did help secure it and make it so that it wouldn't leak, but it did get a bit of foam on the outside. Hot glue would probably work as well for securing the lid.
That's it! Now go find get those old Mason jars out of the basement and get snowglobing!


