

Kids Craft Camp 2019: Week 3 - Clay Pencil Holders
A few weeks ago, I saw a cute clay pencil holder on the Mod Cloth website. I thought it might be a fun craft to try to recreate because my kids love working with clay. As much as I wish I had a cool kiln in my backyard to fire my own pottery, I unfortunately don’t. So we are stuck with oven bake clay and air dry clay in our house. Luckily, air dry clay can be really fun! You have to be a little more patient with air dry clay since it takes a little time to dry, but it is worth it for the sake of craft camp! Do keep in mind though, that this craft cannot be done in one day. You will need to take one day to mold the clay and another a few days later to paint. Neither part takes very long, but you do have to wait several days in between to make sure your clay is dry. So get part of it started one afternoon, then get them back out when the kids are bored a few days later!

Supplies:
Air Dry Clay. I bought the Crayola white air dry clay, which worked fantastically. The texture is just like regular clay, and it looks really similar to fired clay when dry.
Craft paints. Any variety of paint from the craft store will work. You don’t want the washable kind for this though as you want it to stick on the clay and not come off.
A pen.
Toothpicks for making designs in the clay.

How To:
Roll your clay into a ball, then form your clay into a desired shape. I wanted to make a rainbow, so I flattened it into a half circle shape. You want your clay to have a thickness of at least an inch and a half so that it has space to make pencil holes.

Using the end of a pen, make holes along the top of your clay to be the pencil holders. You will want to make the holes bigger than the pen because they will shrink a little as they dry. Wiggle he pen around a little to make the space a little larger.

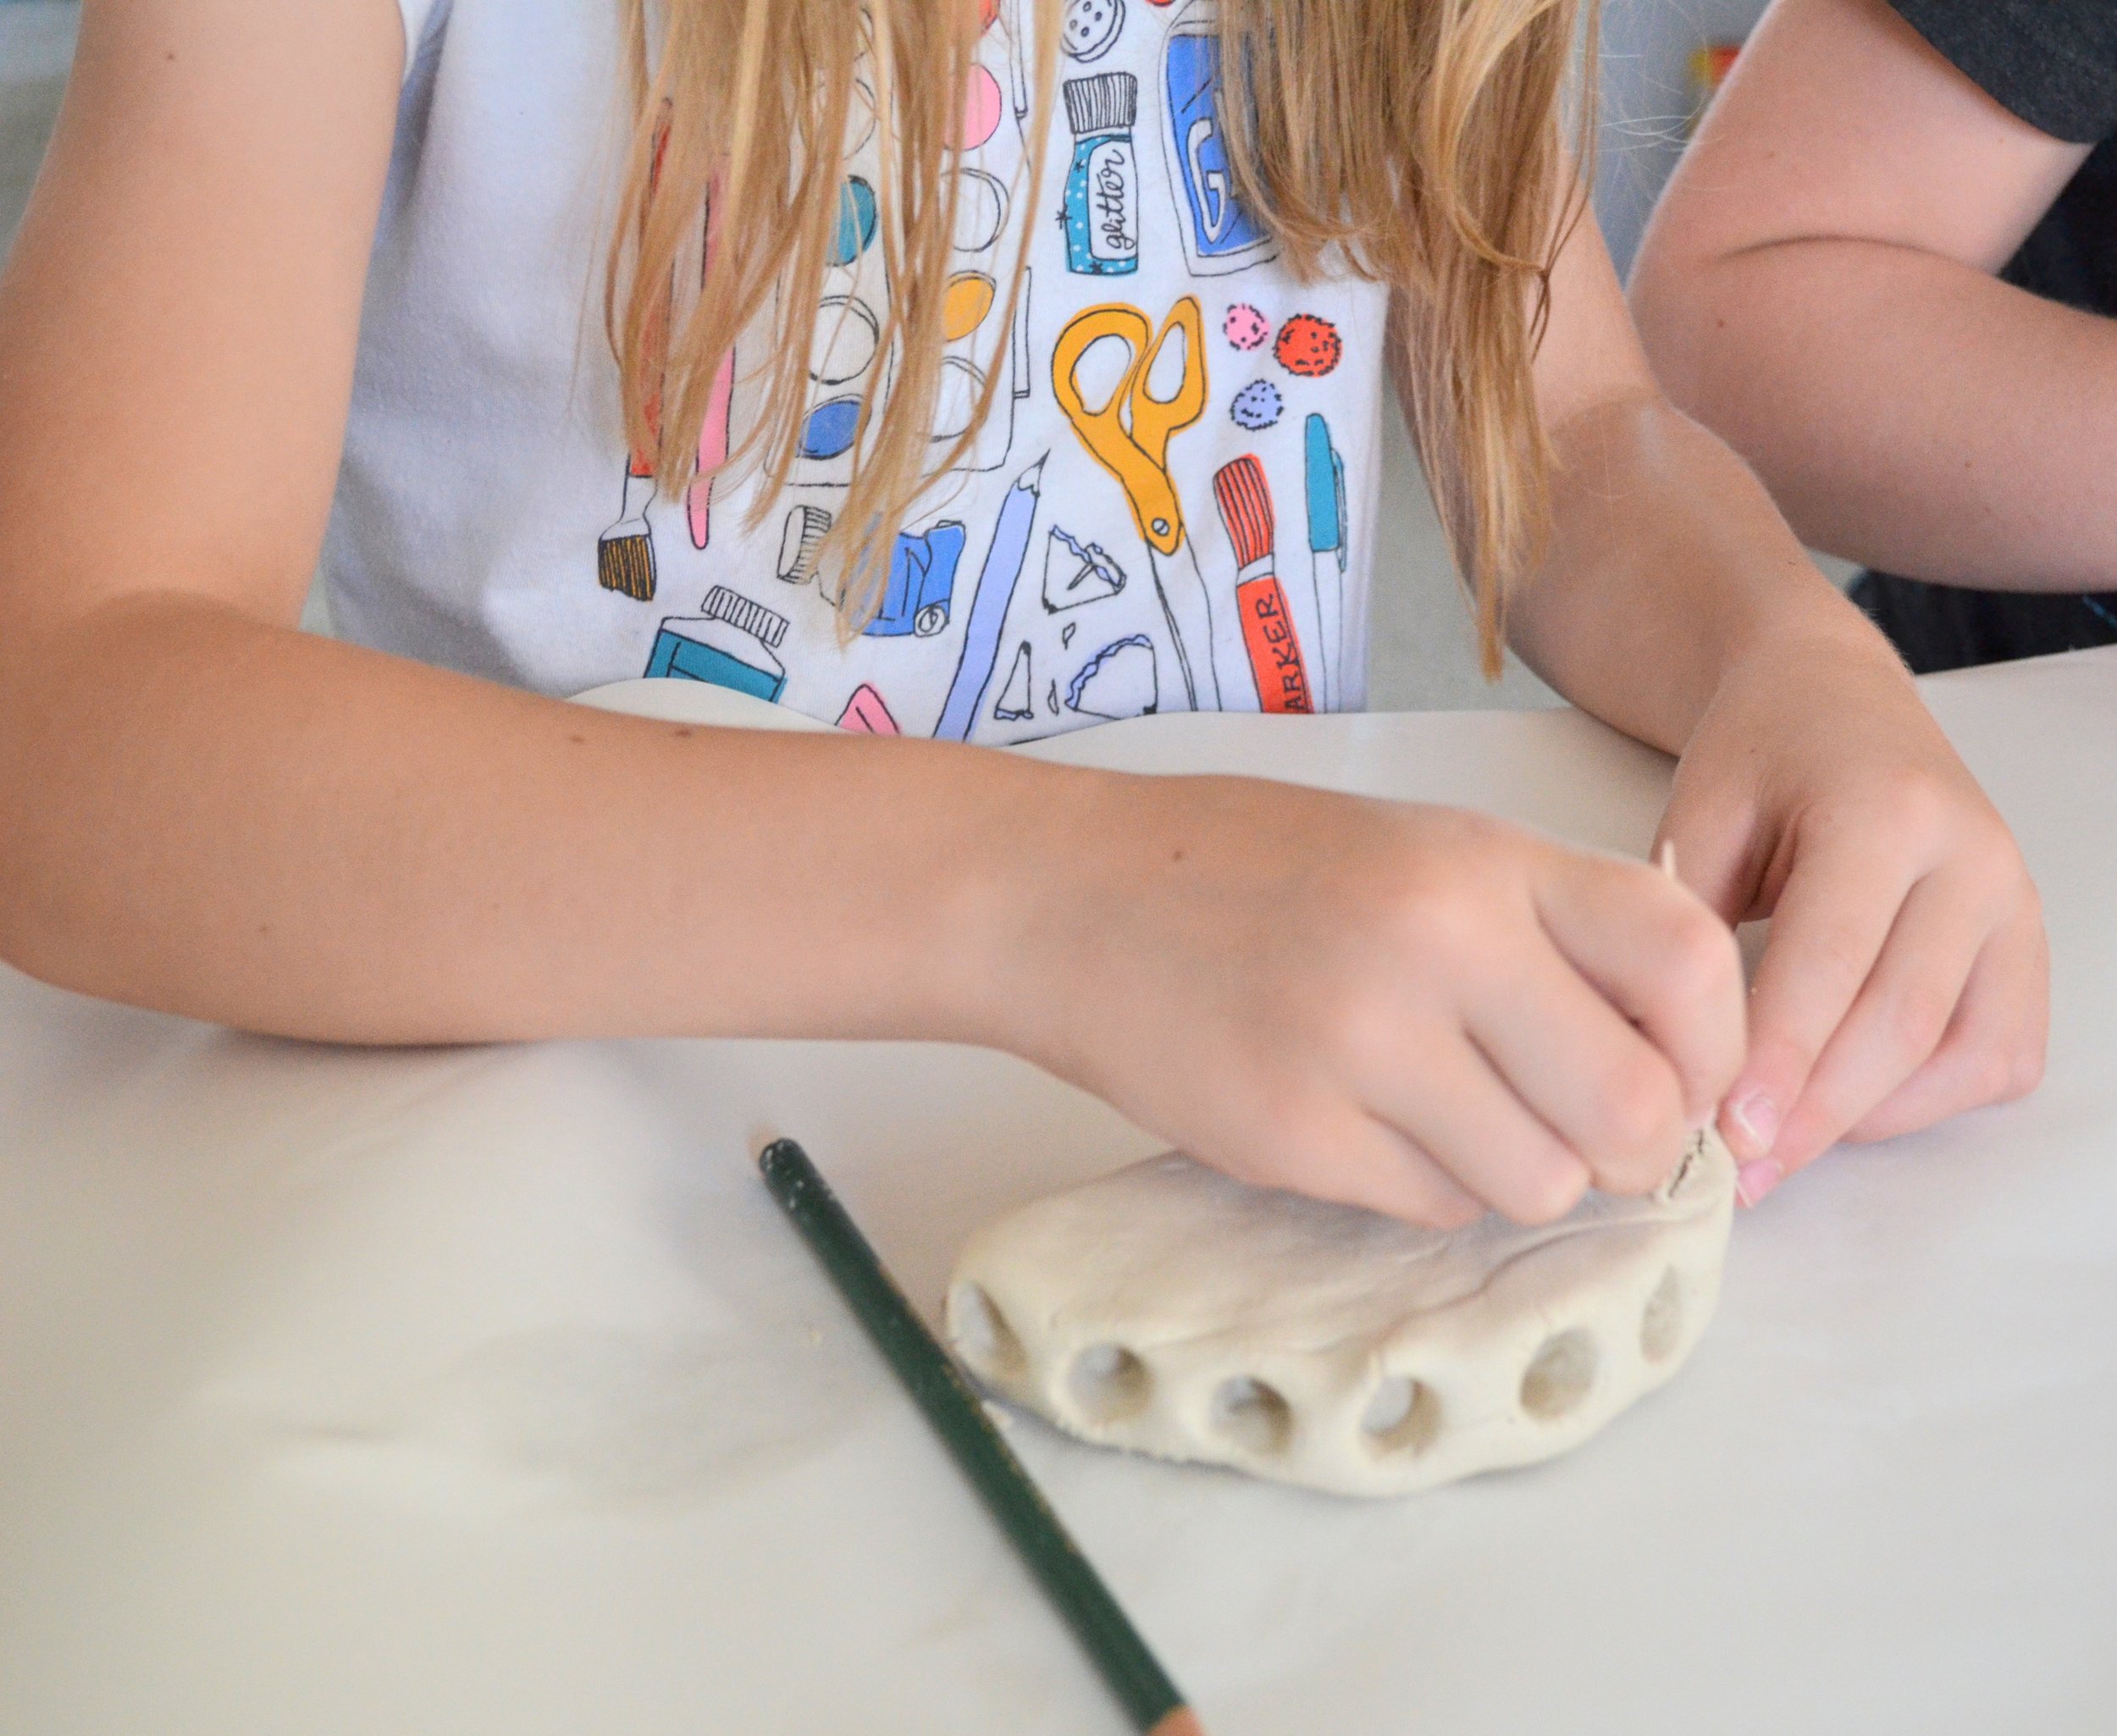
Using a toothpick, make designs in your clay. I made stripes for my rainbow with mine, but you could also just leave it blank and paint on the designs later. I thought it made it easier to paint into the designs when I had the lines already drawn, but either way works great.
Because these clay sculptures are thick, you will need at least two full days to allow them to dry.

When your piece is completely dry, you can paint your work of art! The paint dries fairly quickly because the clay is slightly porous, so this part shouldn’t take very long.
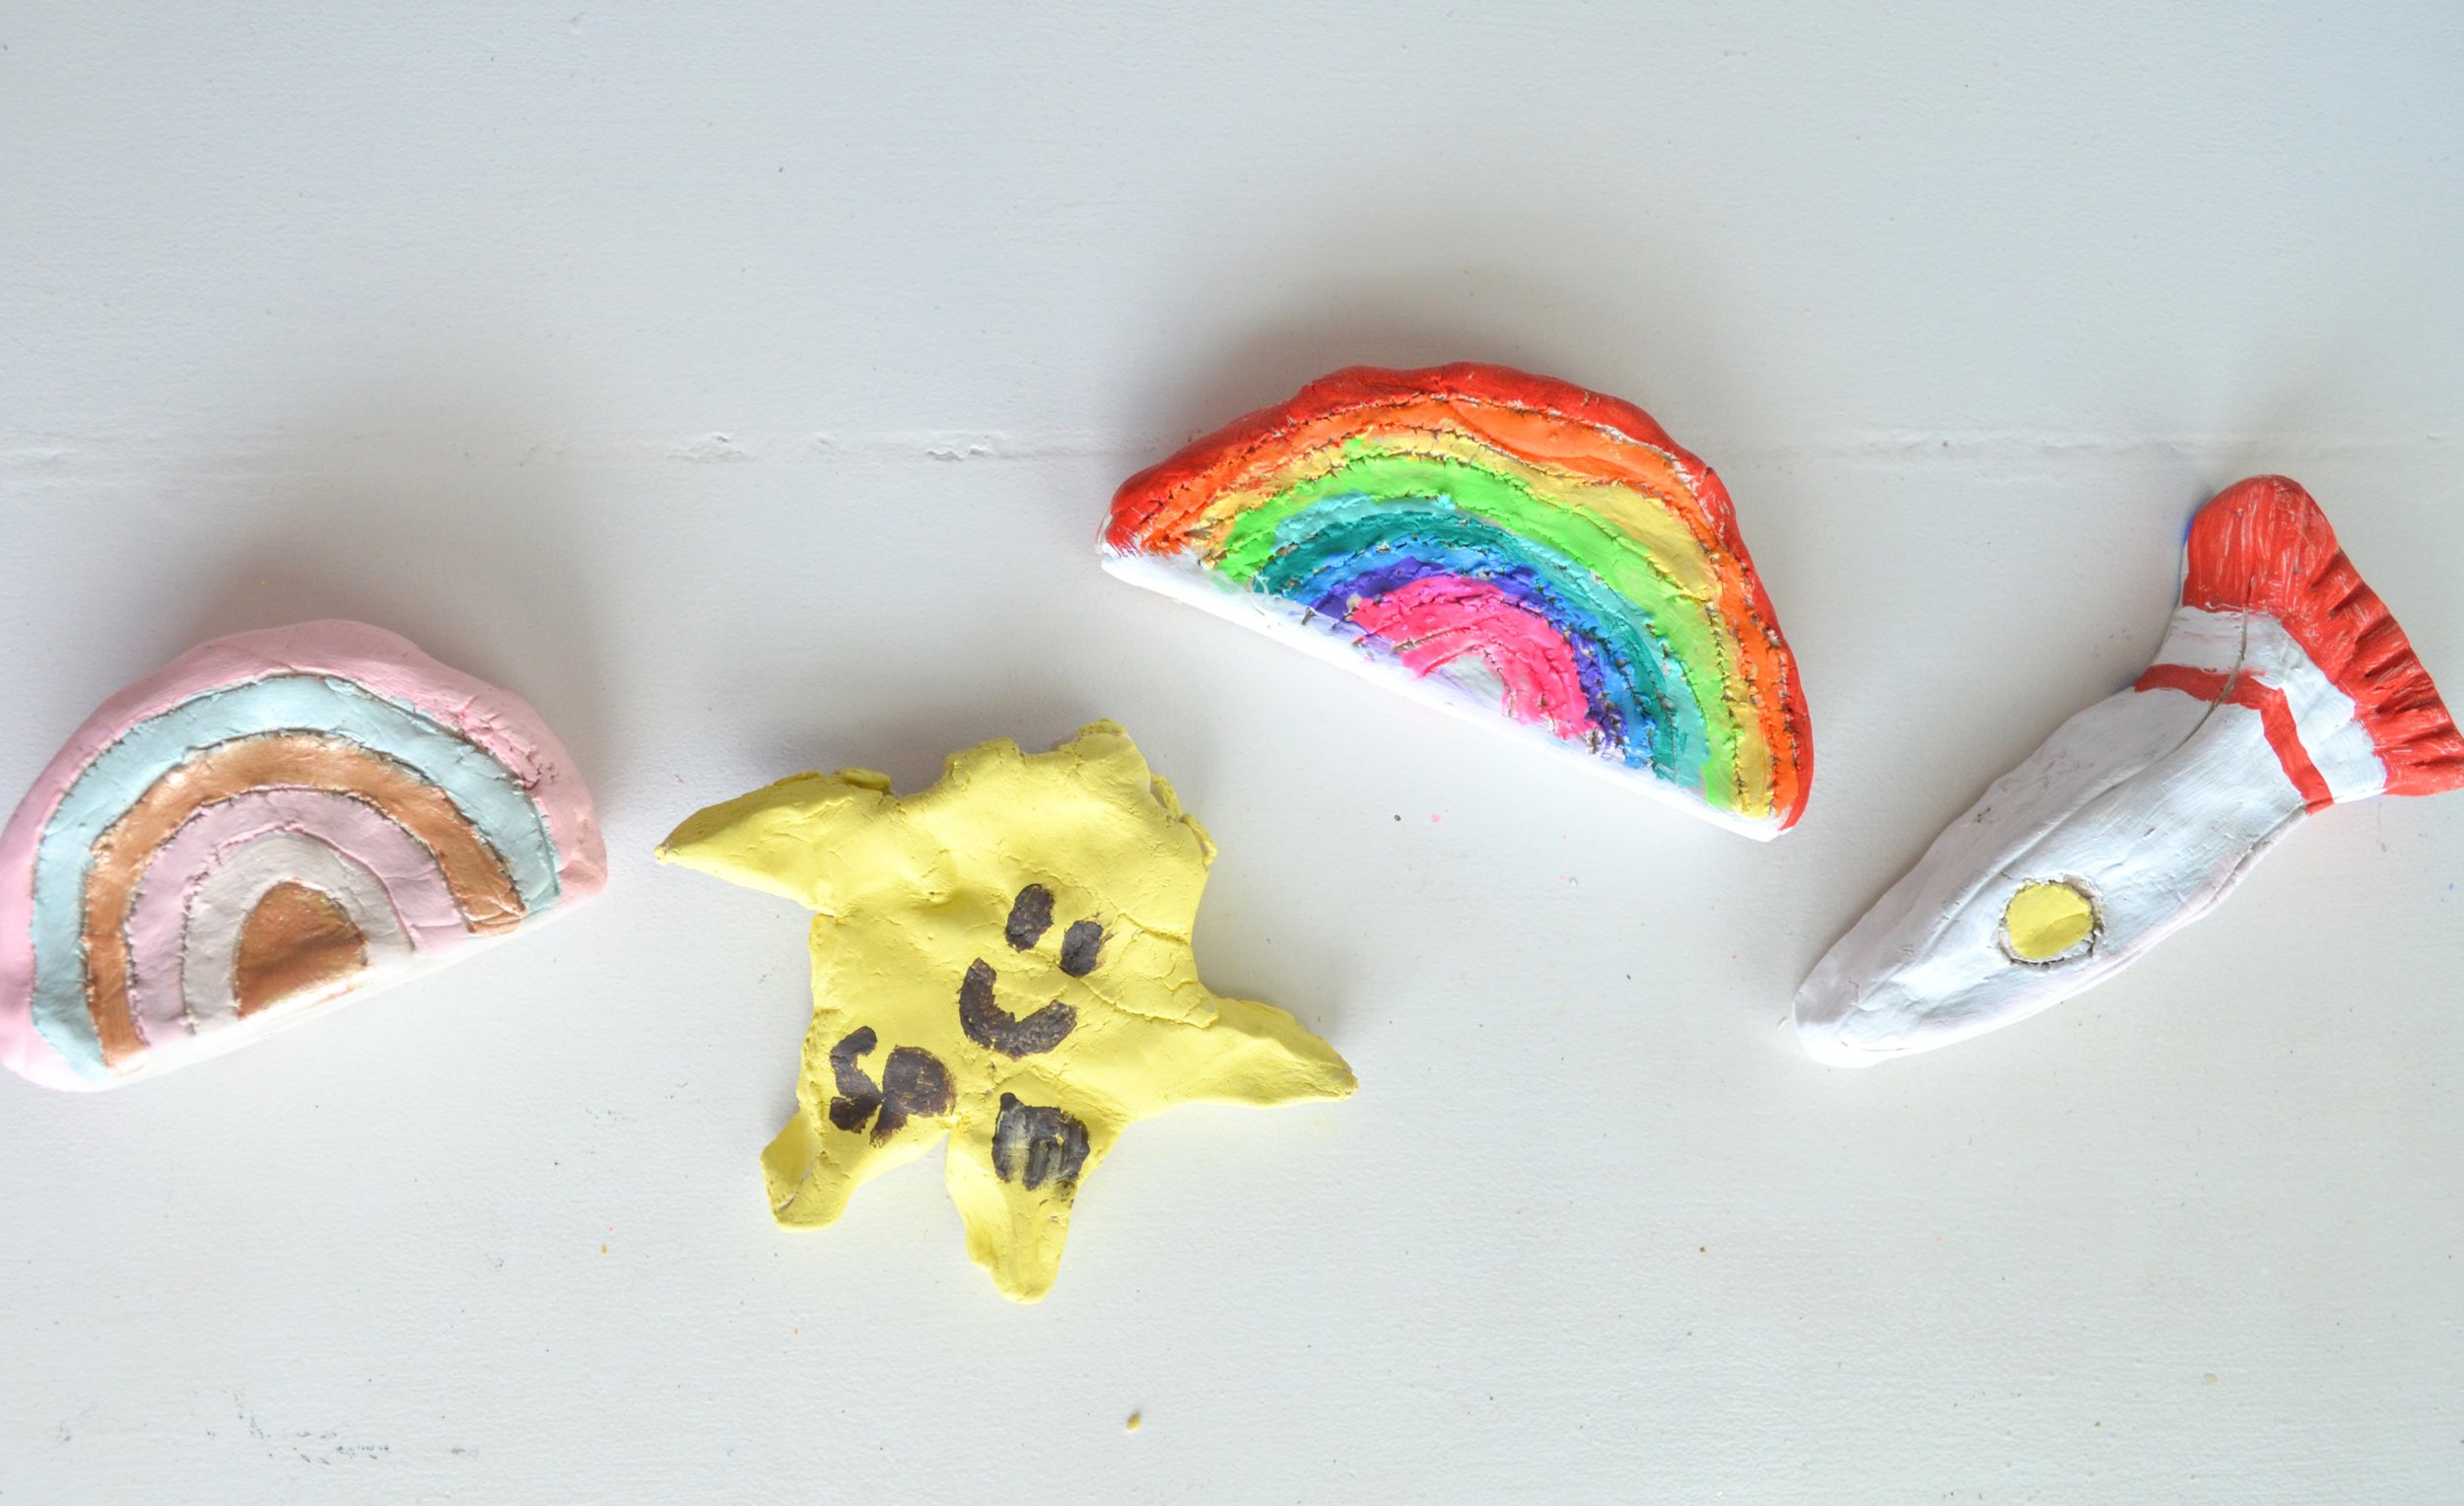
Then you can enjoy your cute pencil holder! You have a work of art that can also help keep some of your office supplies organized.
My kids made a variety of different pencil holders: we had another rainbow, a Super Mario Star, and a rocket. With the rocket, the pencils can be stuck in end as if it was fire shooting out. I loved seeing the unique ideas that each of my kids had. Even though we had to start this craft but then finish it a few days later, they were still excited to get back to their pieces and paint them. Go fill up those shelves with a bunch of these cute clay pieces!


